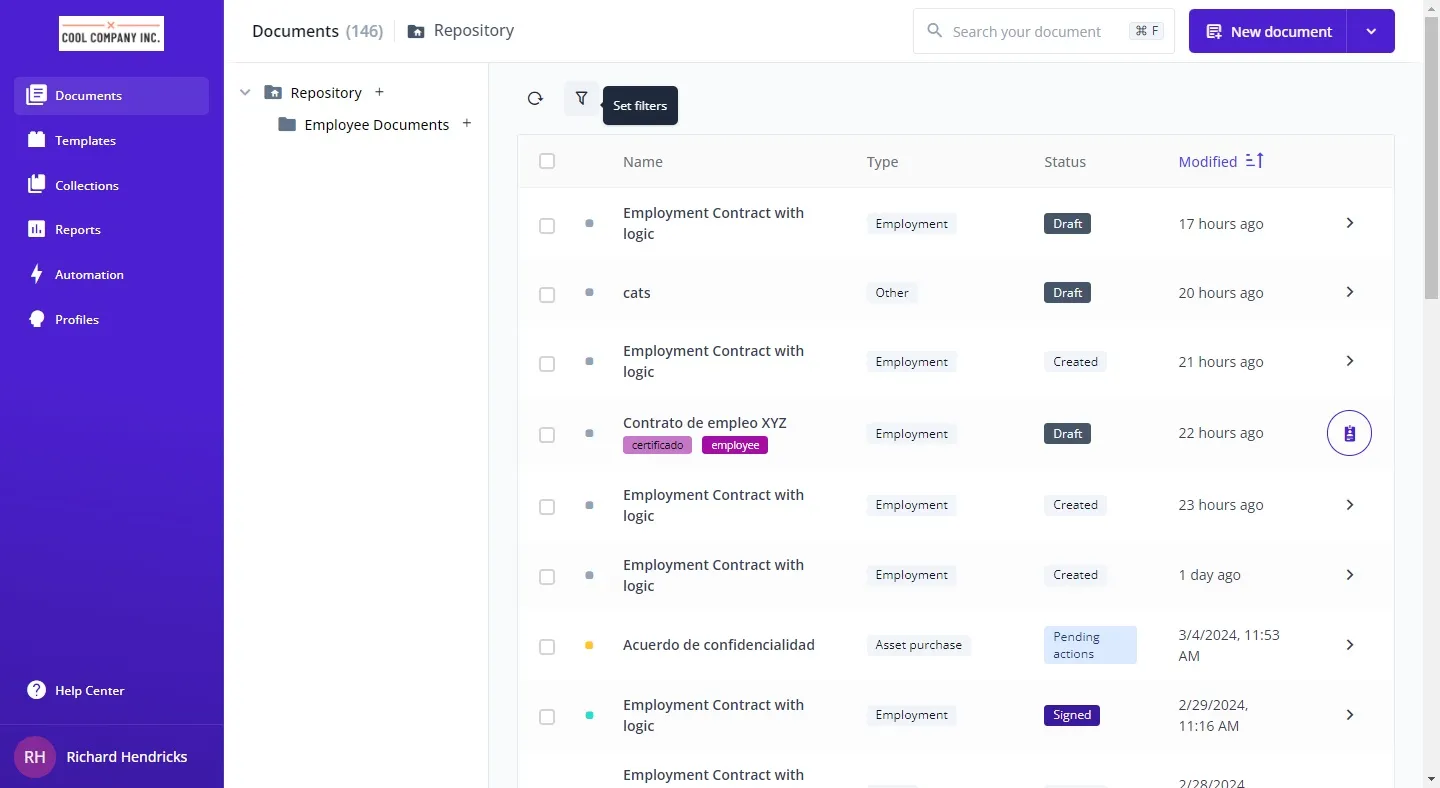
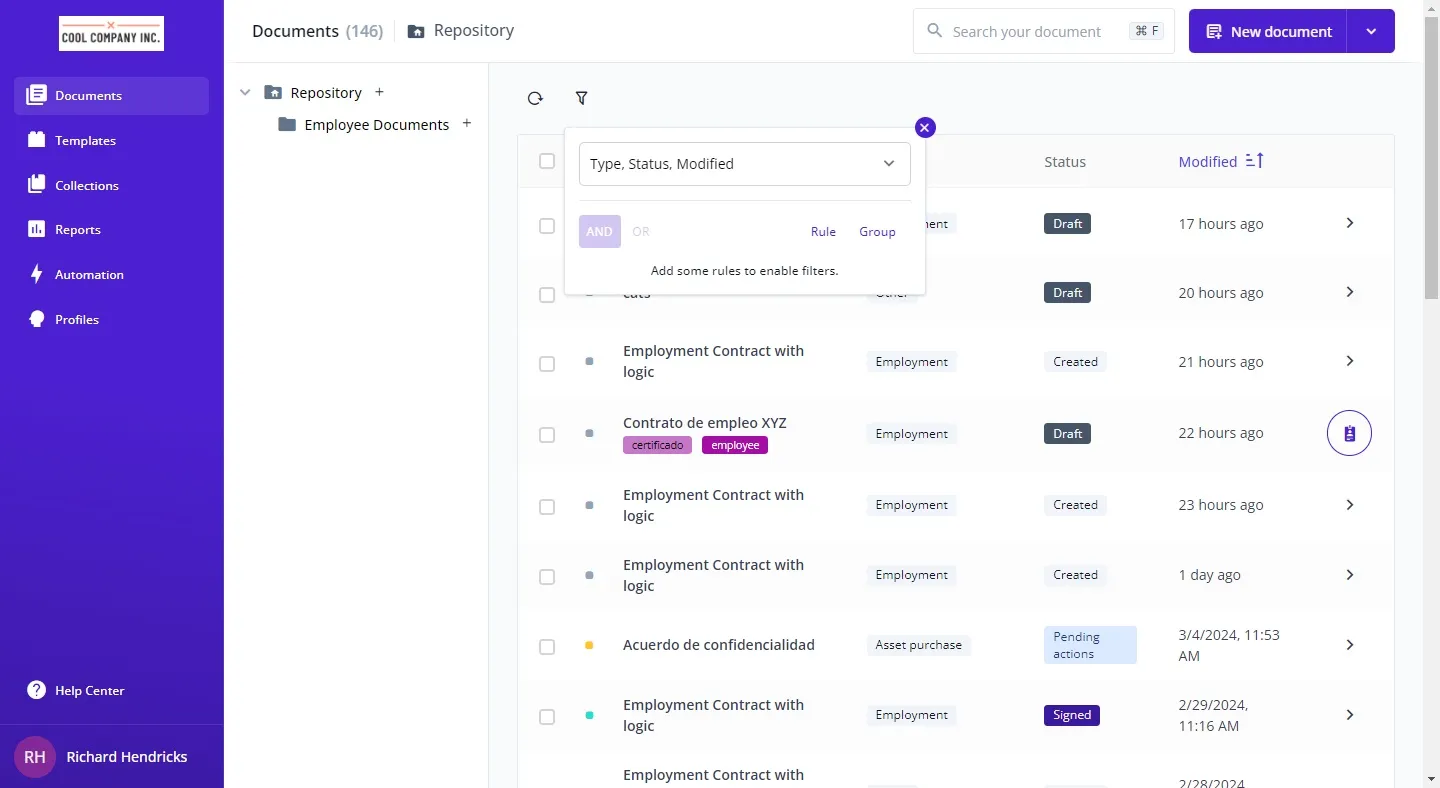
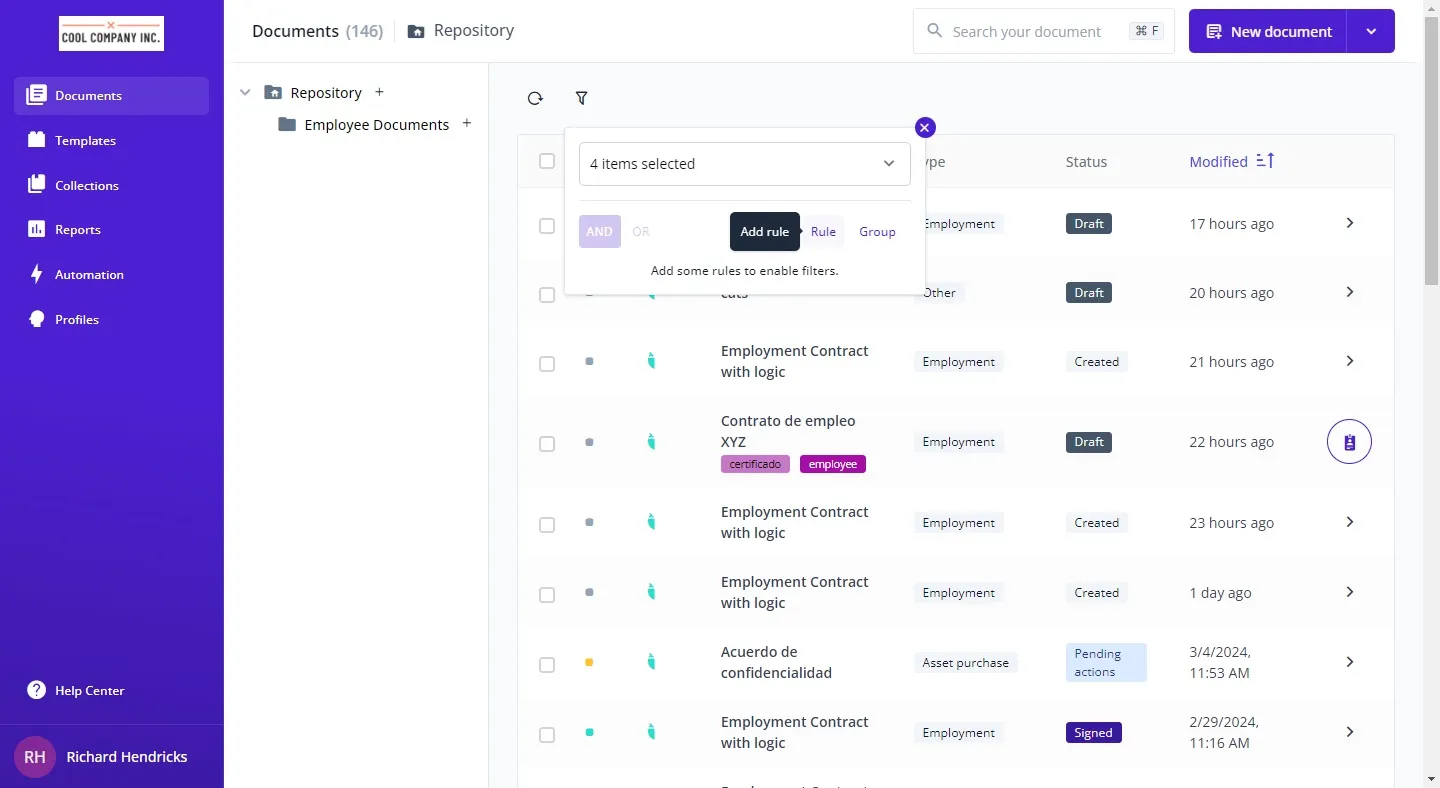
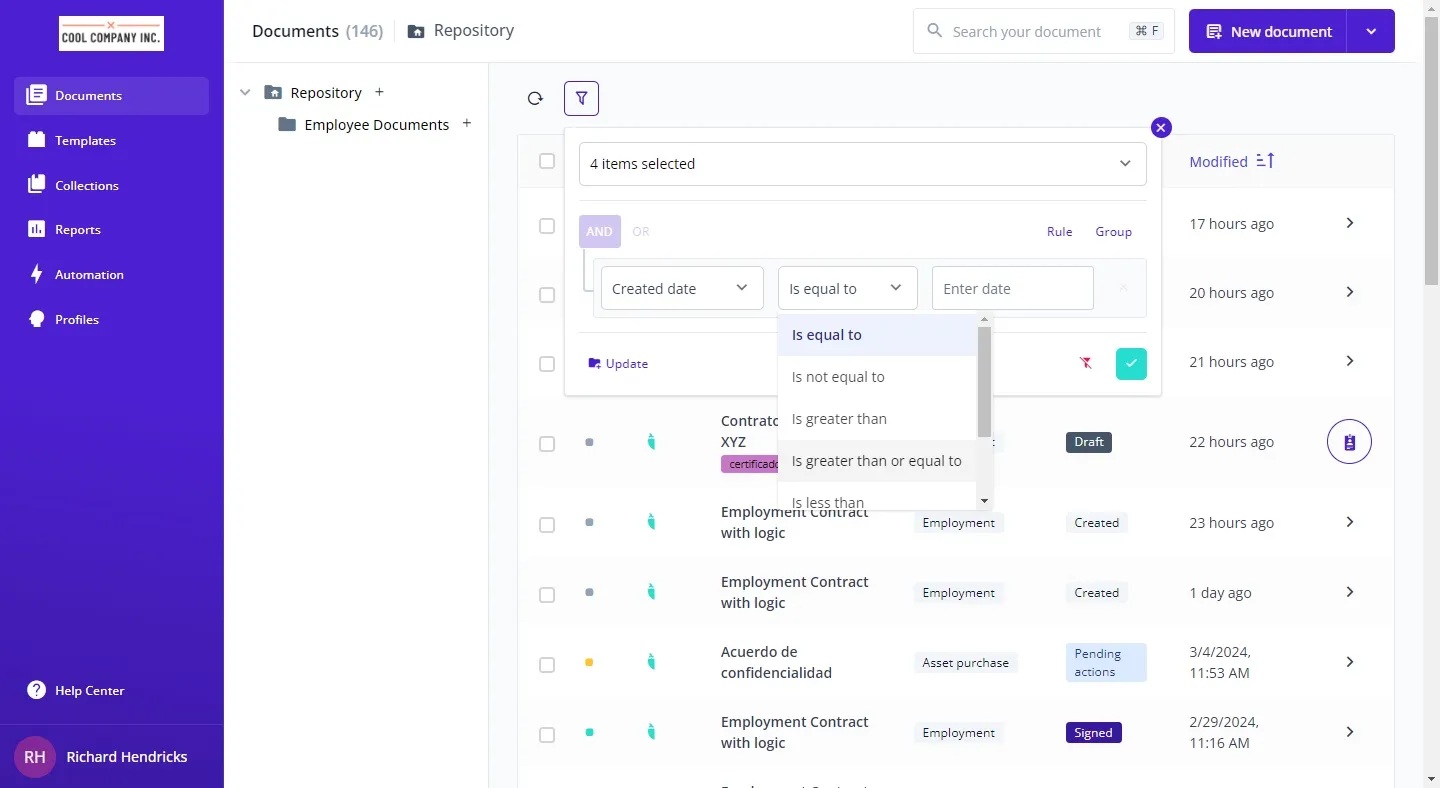
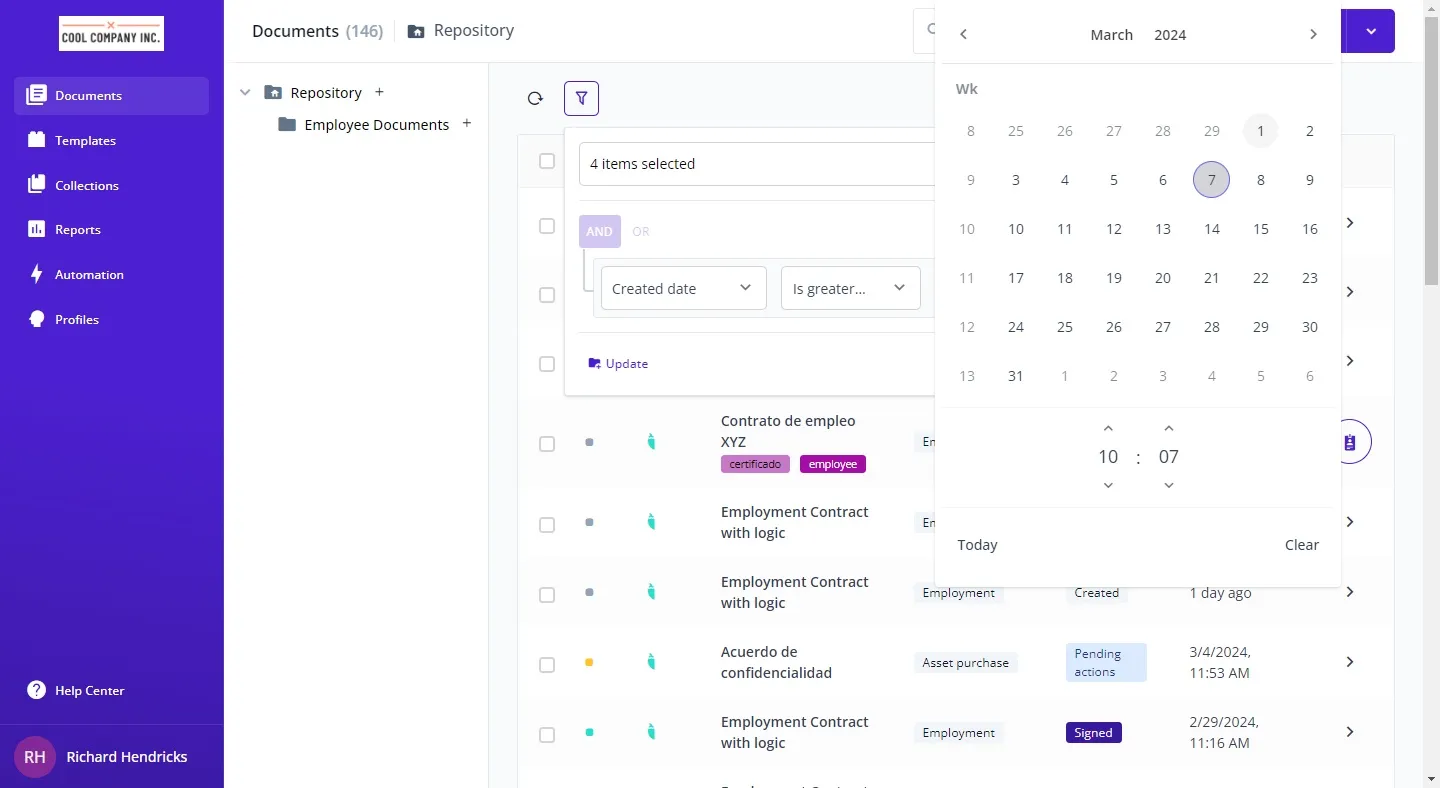
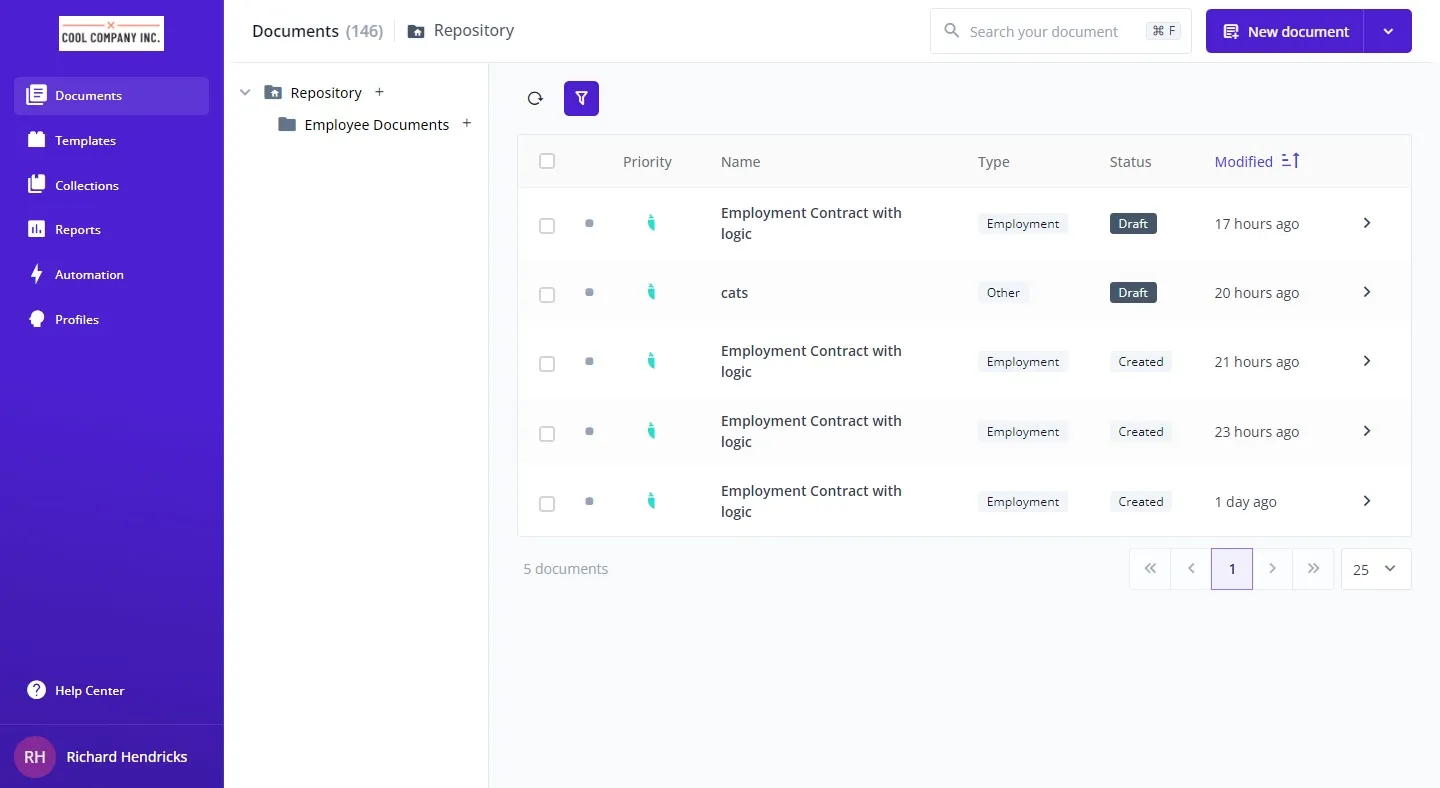
Efficiently navigating through data is key in today’s digital landscape. Custom filters enable swift data sifting, focusing only on relevant information. Bounsel’s platform enhances this process with robust filtering capabilities, tailored to meet specific user needs. This guide walks you through setting up custom filters, improving your data management and analysis.
Navigate to Bounsel Docs to access resources.


PRO TIP
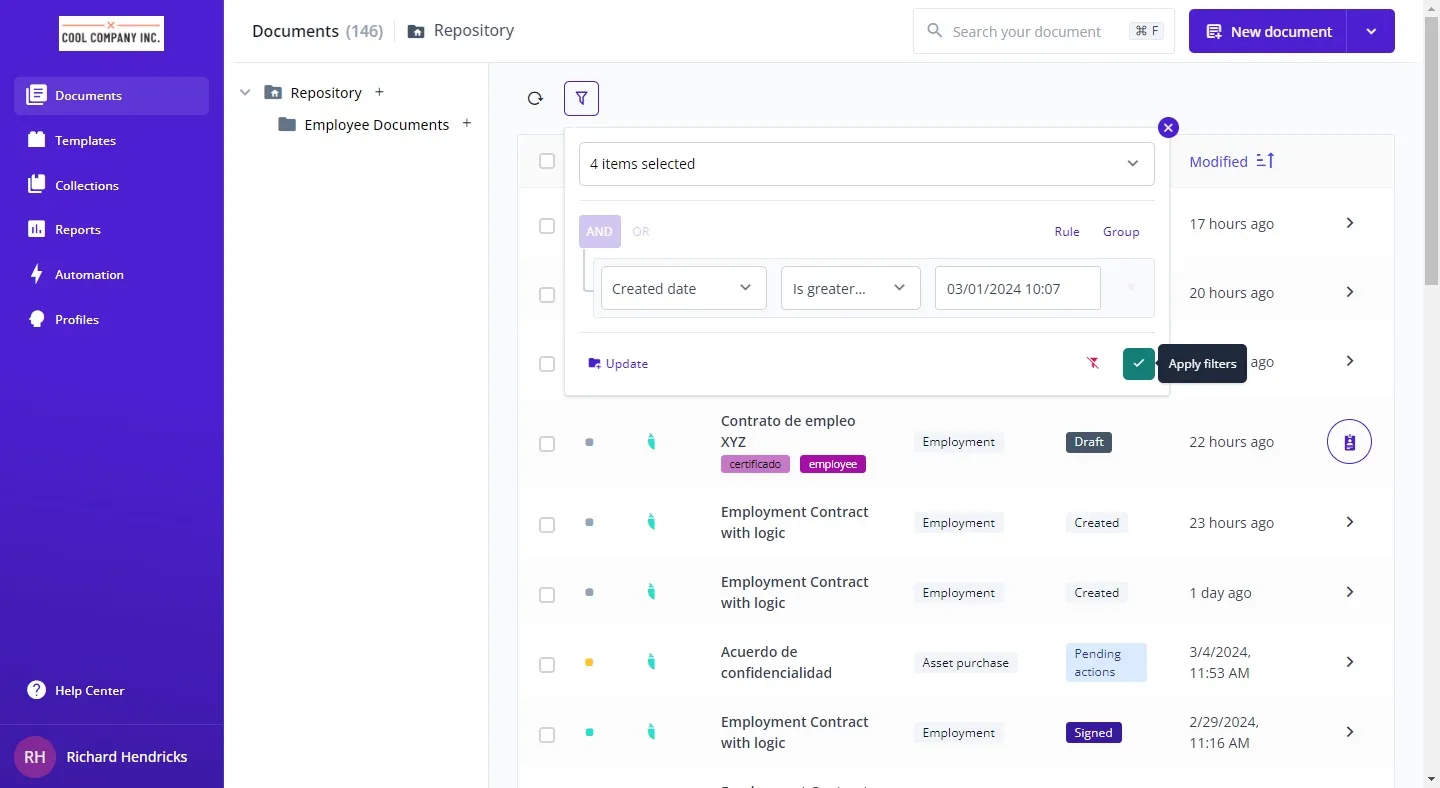
Enhance organization and efficiency by saving your custom filter setups
as smart folders. This feature allows you to quickly access predefined
views, streamlining your workflow. Apply your filters, then save them as
a smart folder for easy future access, keeping your workspace tidy and
your data readily available.
By following these steps and utilizing smart folders, you ensure a smooth, efficient data management process, tailored to your specific needs.