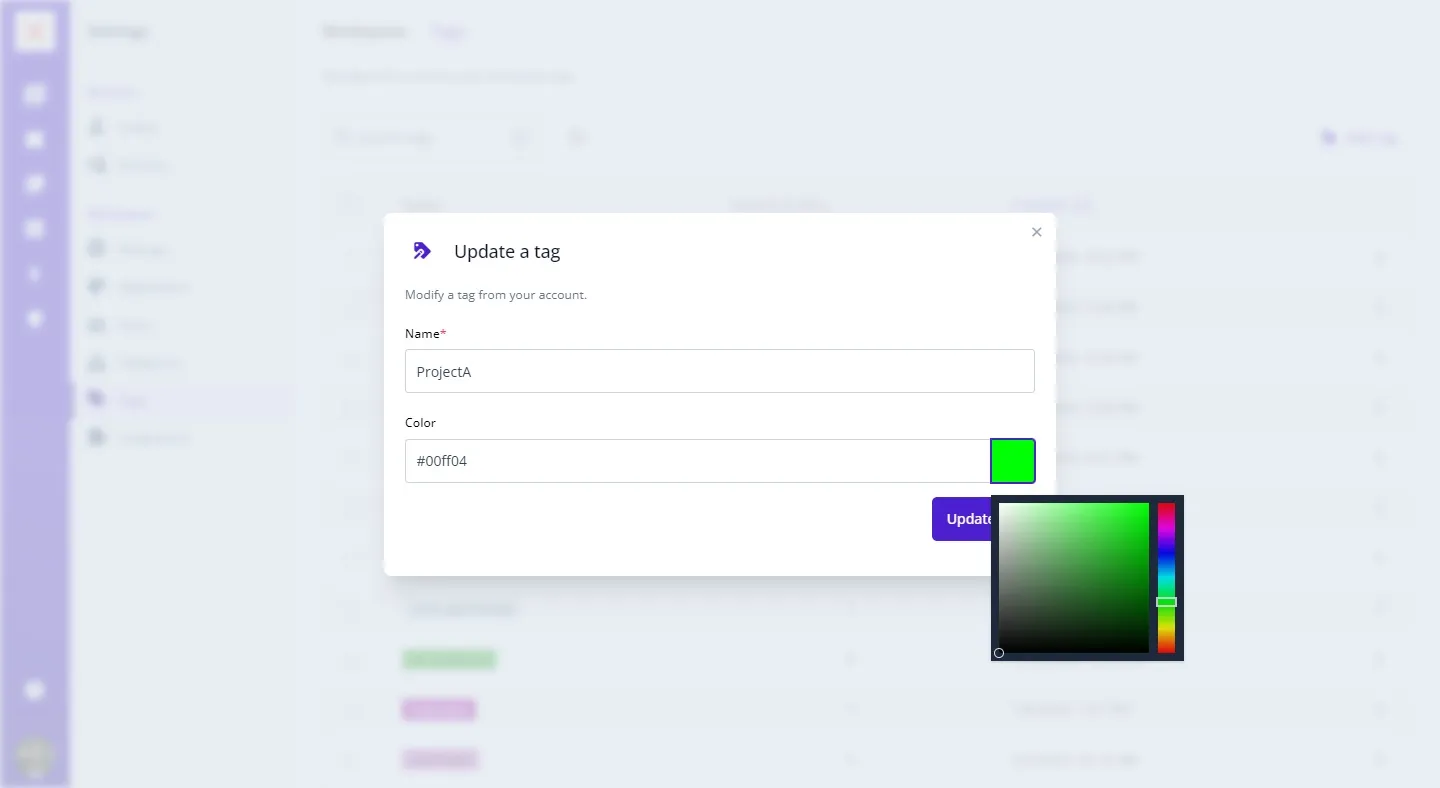
Customizing tag colors in Bounsel not only adds a personal touch to your workspace but also enhances the organization of your documents. Changing a tag’s color is a simple process that can make your document management more intuitive and visually appealing. Here’s how you can do it:
After logging into your account, look for your profile picture, which you’ll typically find at the bottom left corner of the page. Clicking on your profile picture will reveal a drop-up menu with various options.
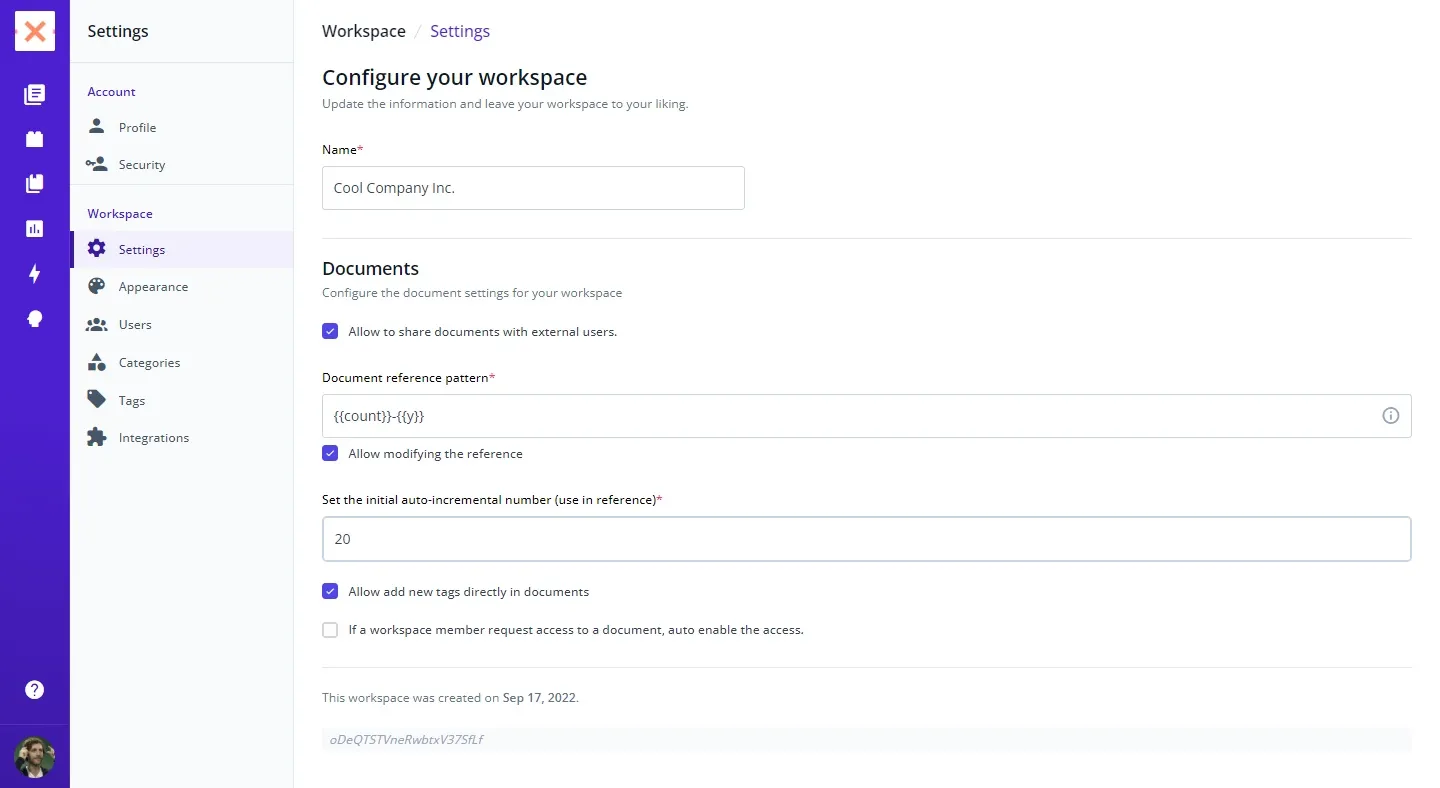
In the drop-up menu, click on “Settings” to access your account settings. This area allows you to customize and manage different aspects of your Bounsel account.

Embrace the power of color organization and watch your document management system transform.
Happy organizing! 🌈