How to move Documents

⌘K

How to move Documents

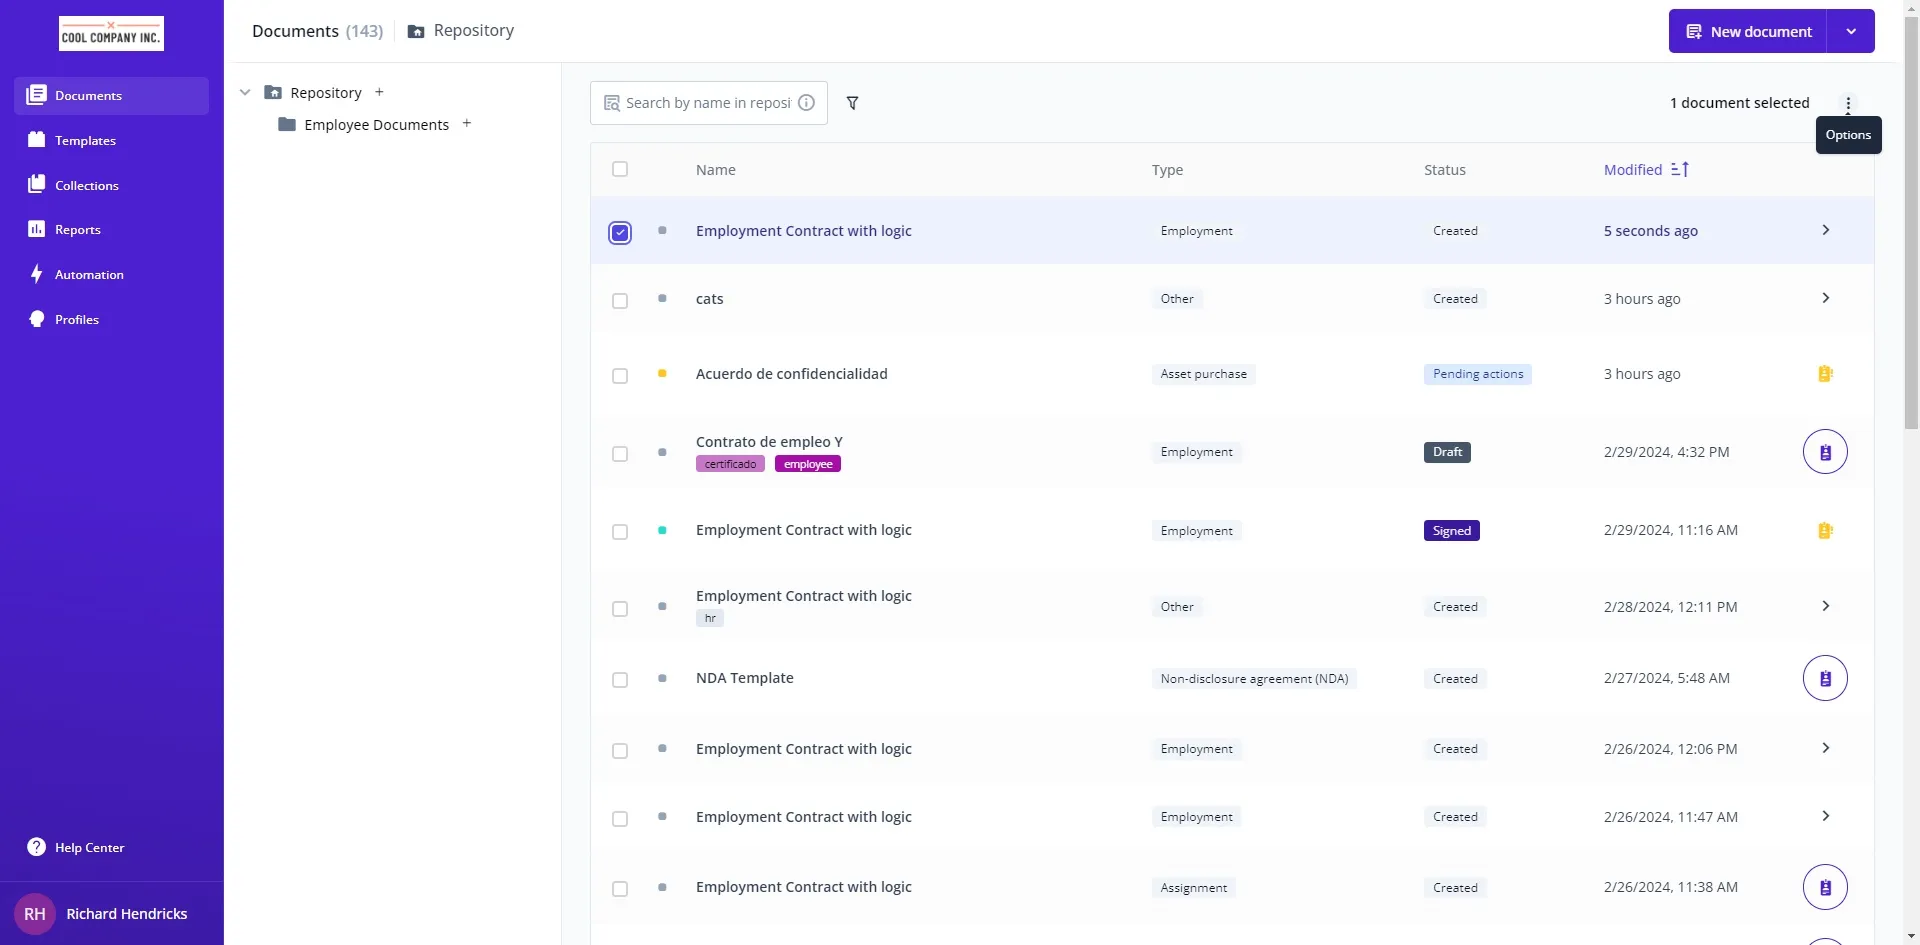
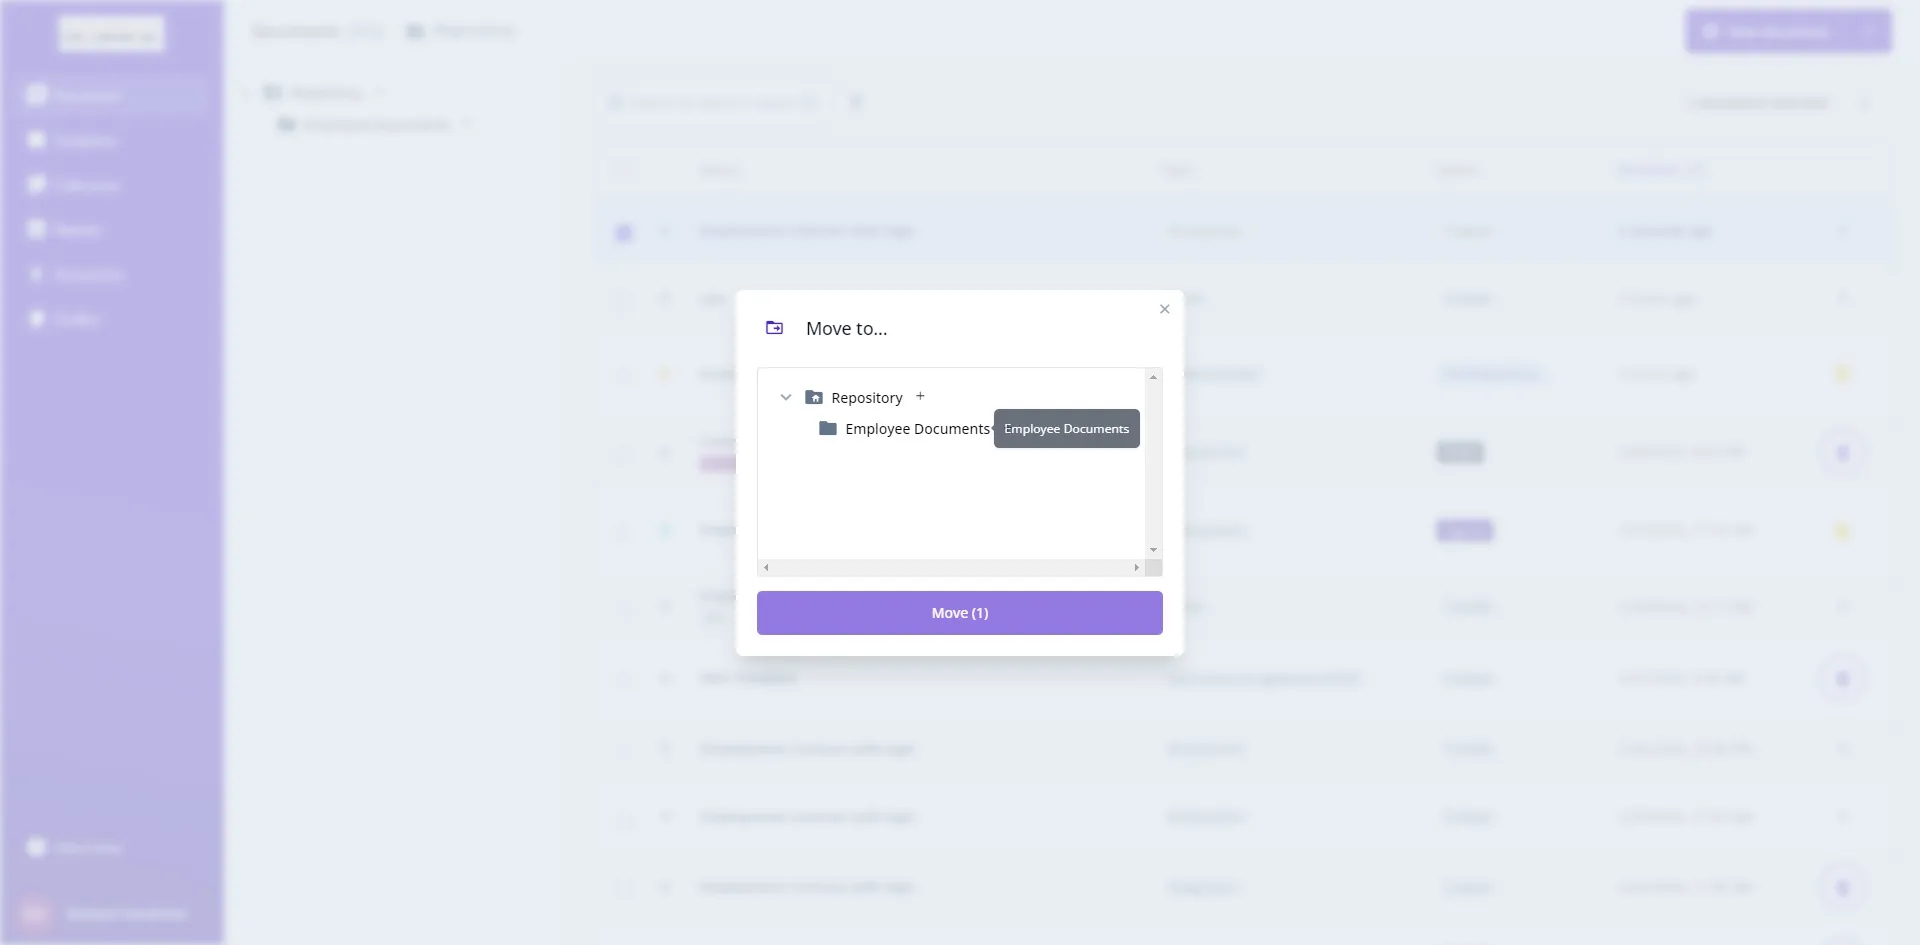
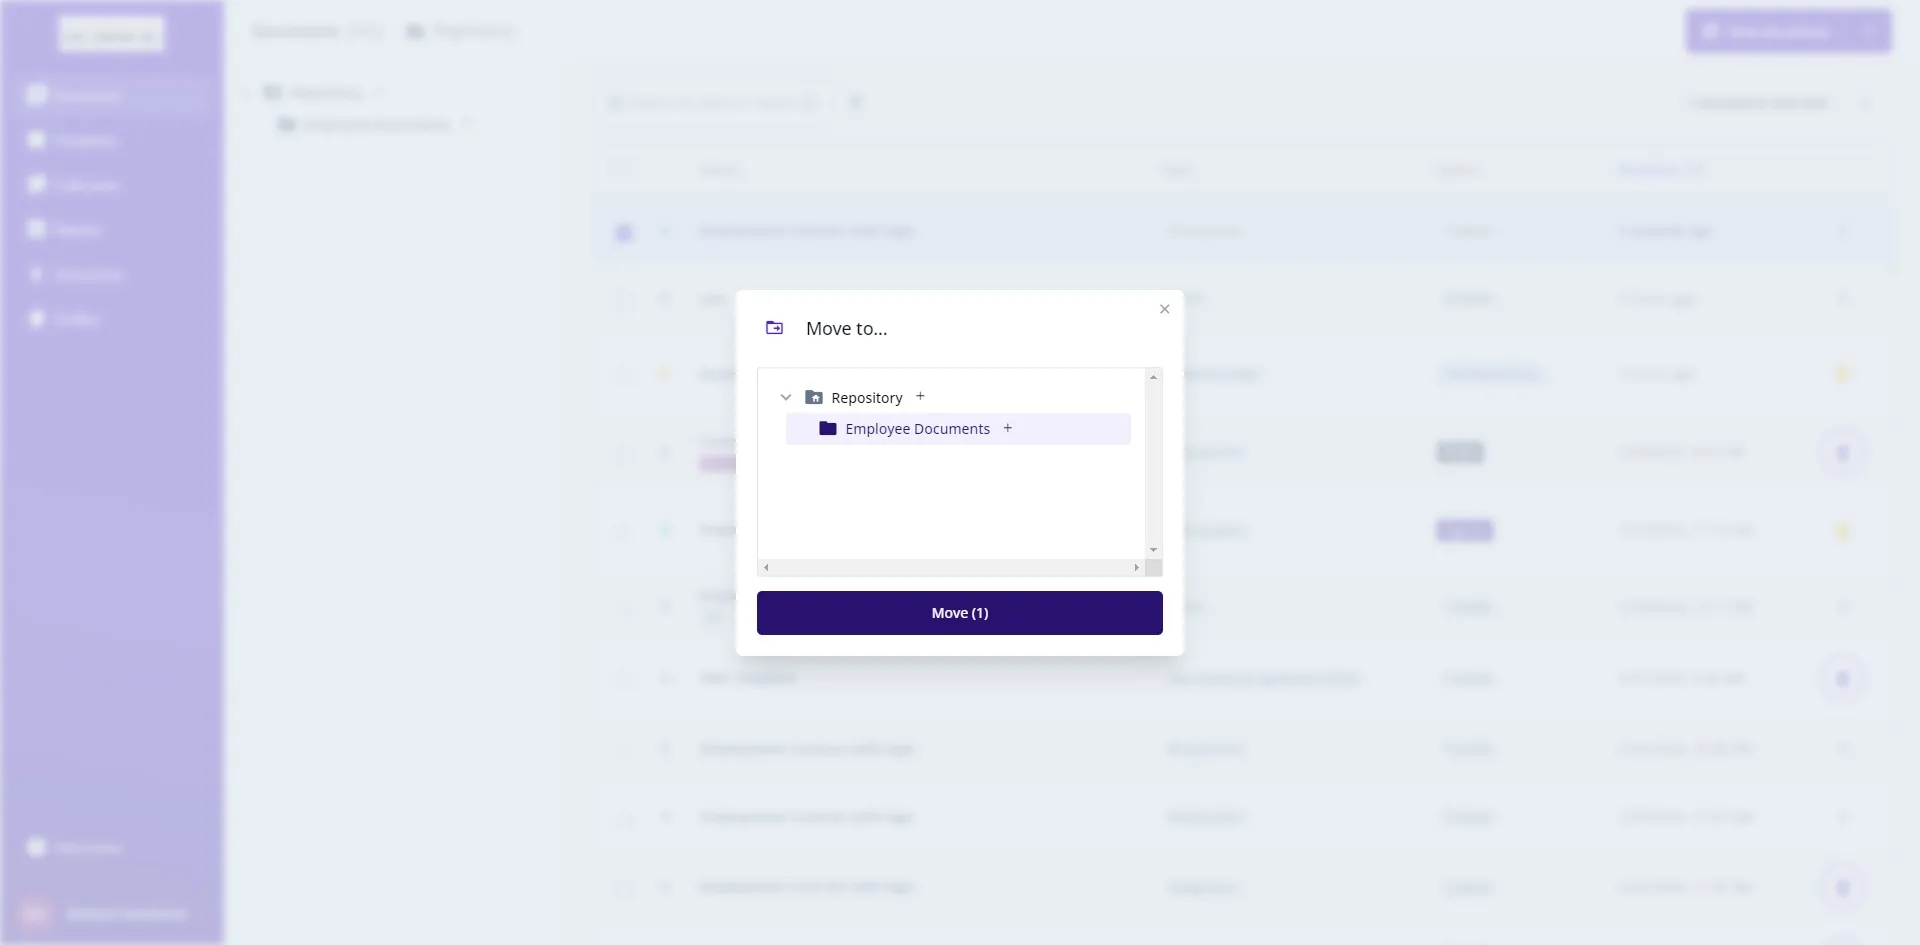
Organizing your documents in Bounsel is a breeze! Whether you’re tidying up your workspace or reallocating files for better access, moving documents to the appropriate folders can help keep your projects streamlined and efficient. Here’s a step-by-step guide to help you smoothly transfer your documents. Don’t worry, it’s as easy as pie! 🥧

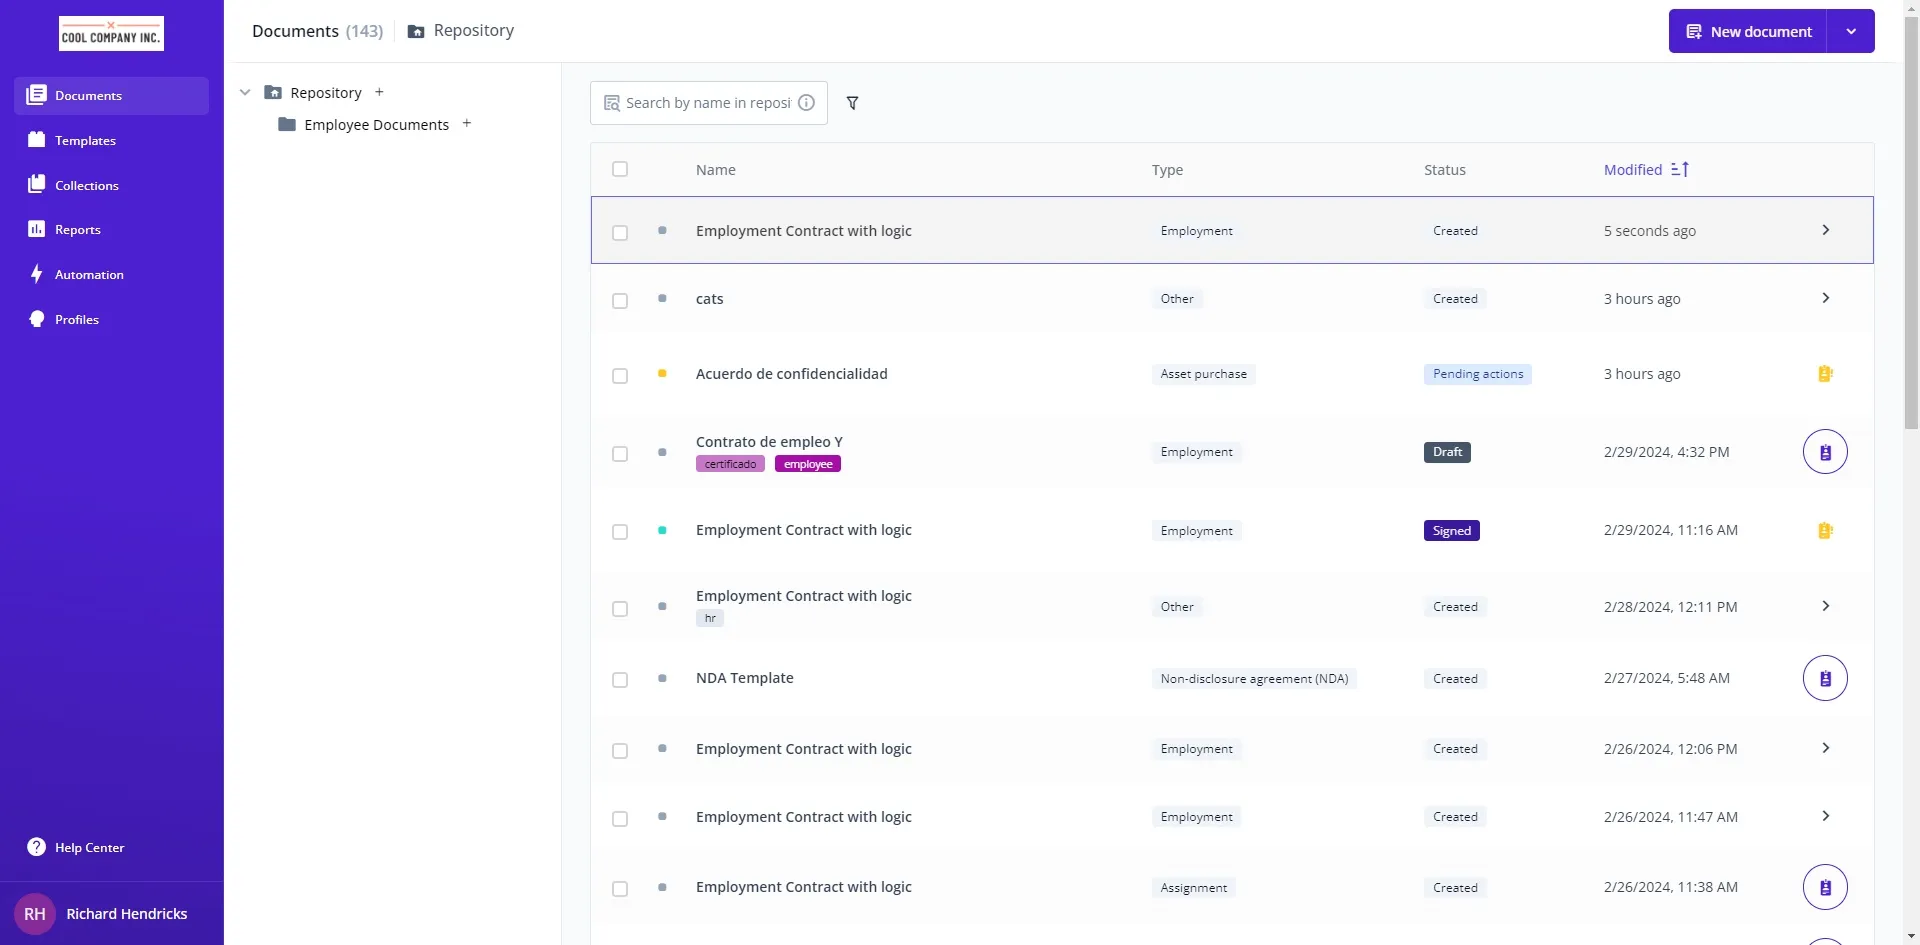
First things first, head over to your Bounsel documents page by visiting this link. This is where all your documents live, waiting to be organized.

Take your time to manually scroll through your documents or use the sorting options to find the files you want to move. This method gives you a good overview of what you have, allowing you to make informed decisions about organization.

Once you’ve found the documents you wish to move, click on the checkboxes next to each document. You can select as many documents as you need, making it easy to move multiple files at once. 

With your documents selected, look for the three dots icon at the top right of the document list. Clicking on this will reveal more options for what you can do with your selected documents.

From the dropdown menu that appears, select the “Move to” option. This is your first step in relocating the selected documents.

A window will pop up, asking you to choose the destination folder for your documents. Browse through your folders and select the appropriate one for the move.

After selecting your destination folder, click on the “Move” button to finalize the process. Your documents will then be transferred to the new folder.

Finally, navigate to the destination folder to verify that all selected documents have been moved successfully. Everything should now be in its right place, contributing to a more organized and efficient workspace.