Managing categories in Bounsel is a straightforward process that helps you keep your documents and information neatly organized. Follow these steps to manage, create, edit, or delete categories within your Bounsel workspace. 🚀
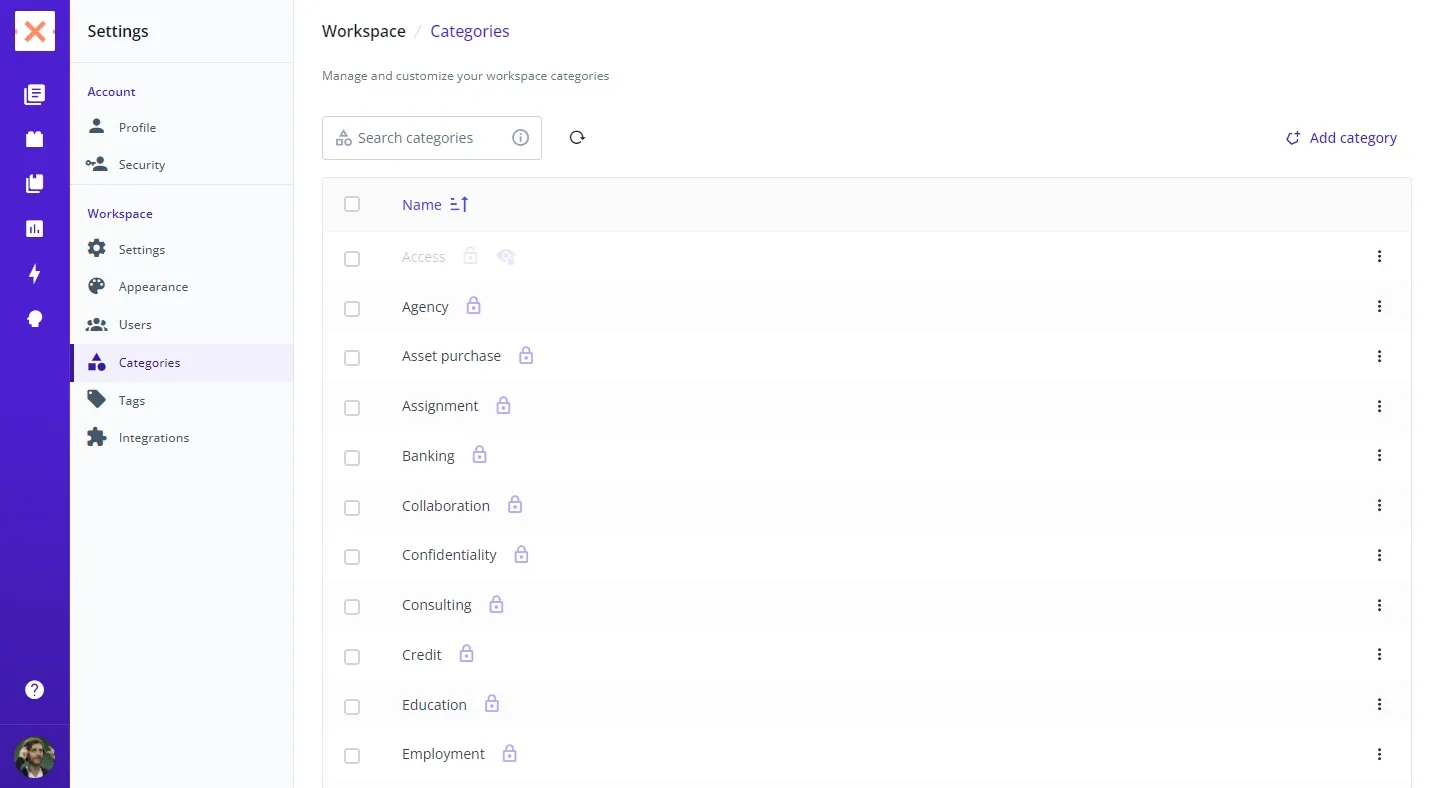
First, navigate to the categories section by visiting Bounsel Categories Settings.
Create
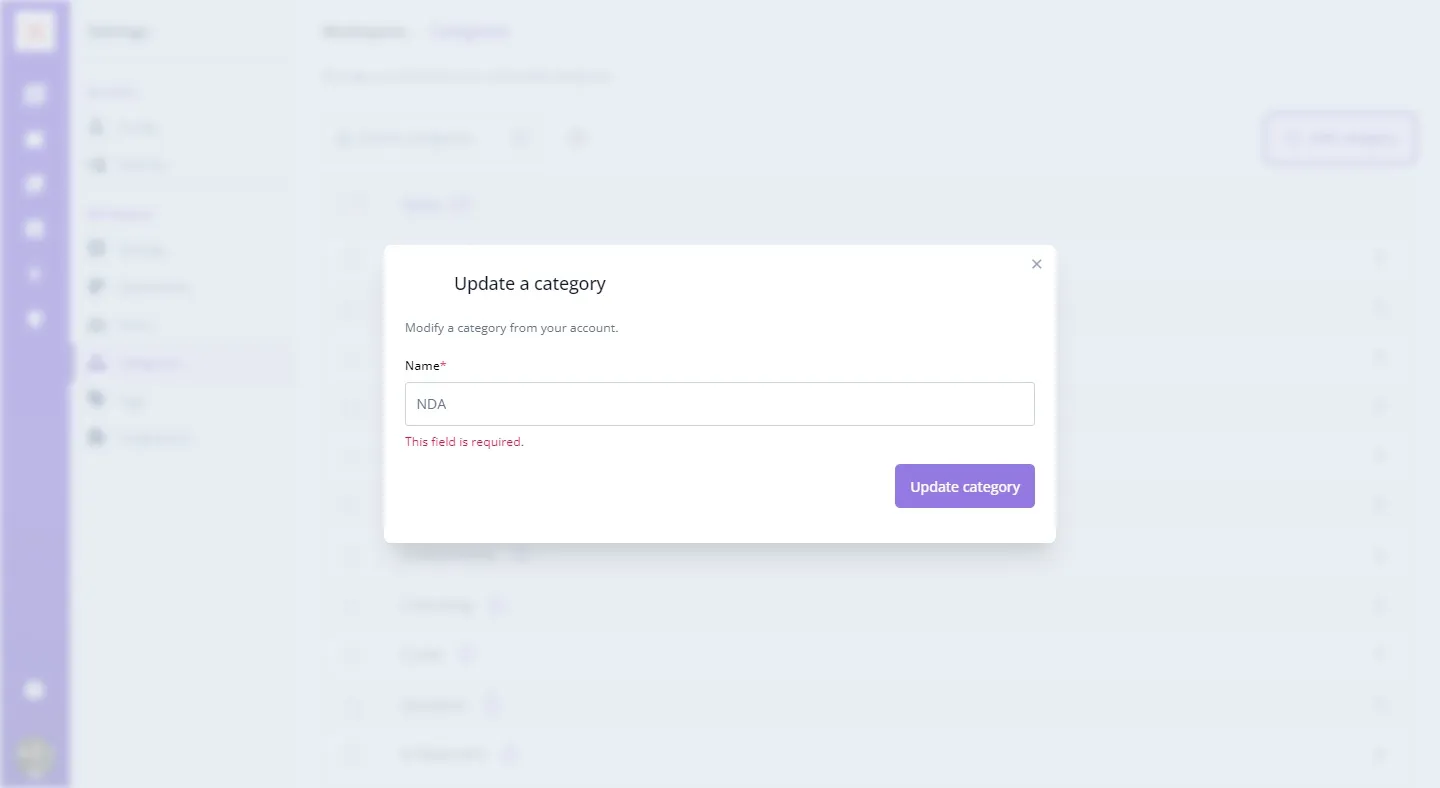
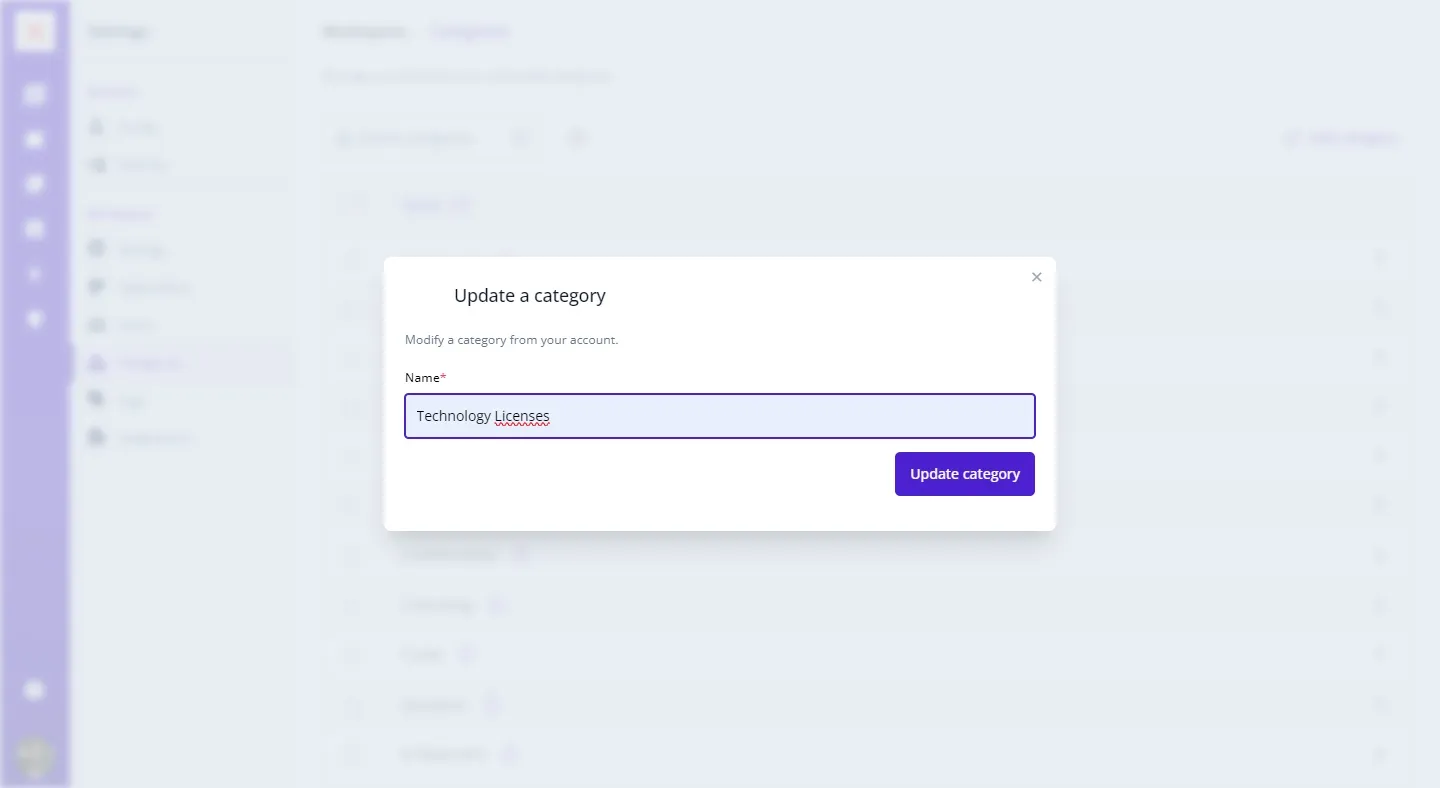
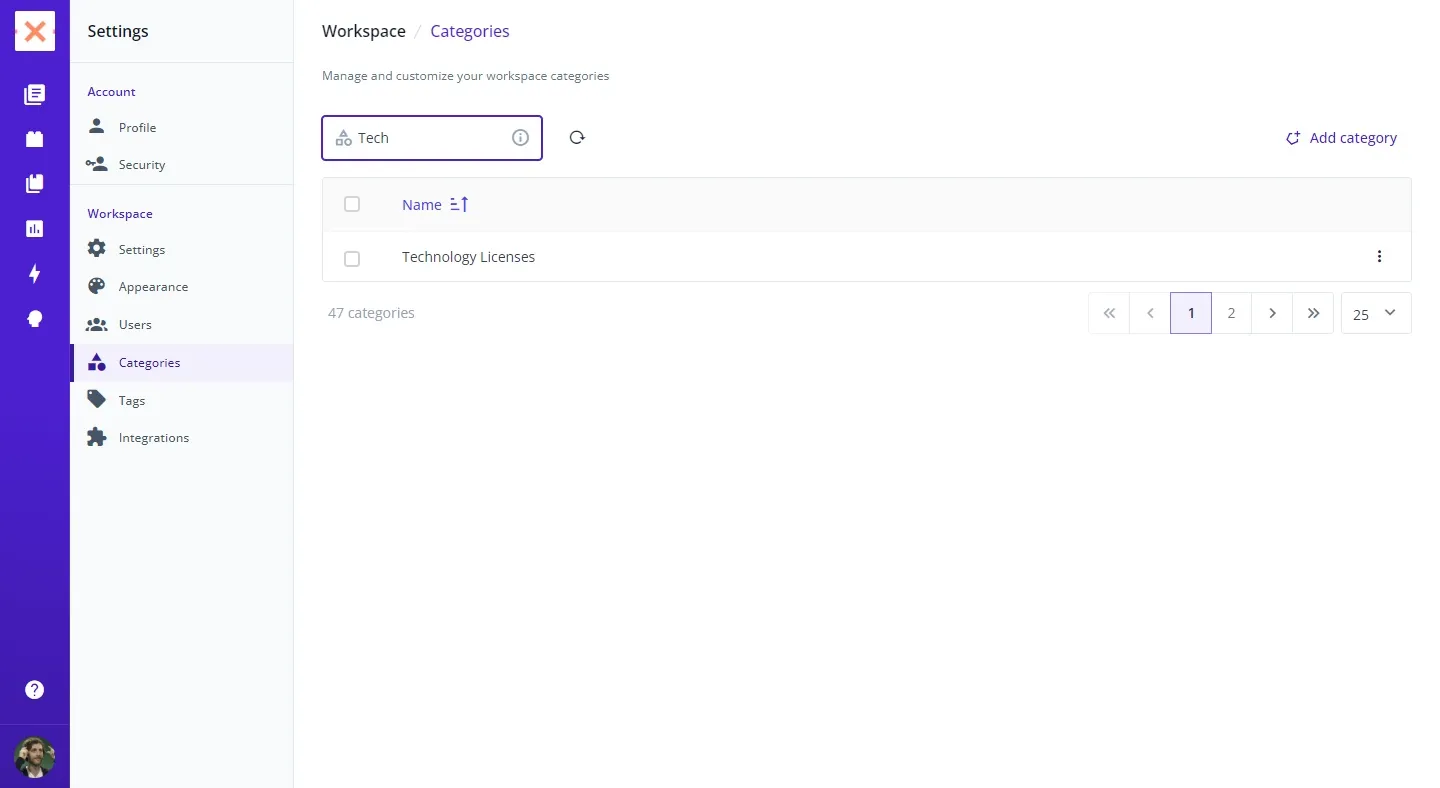
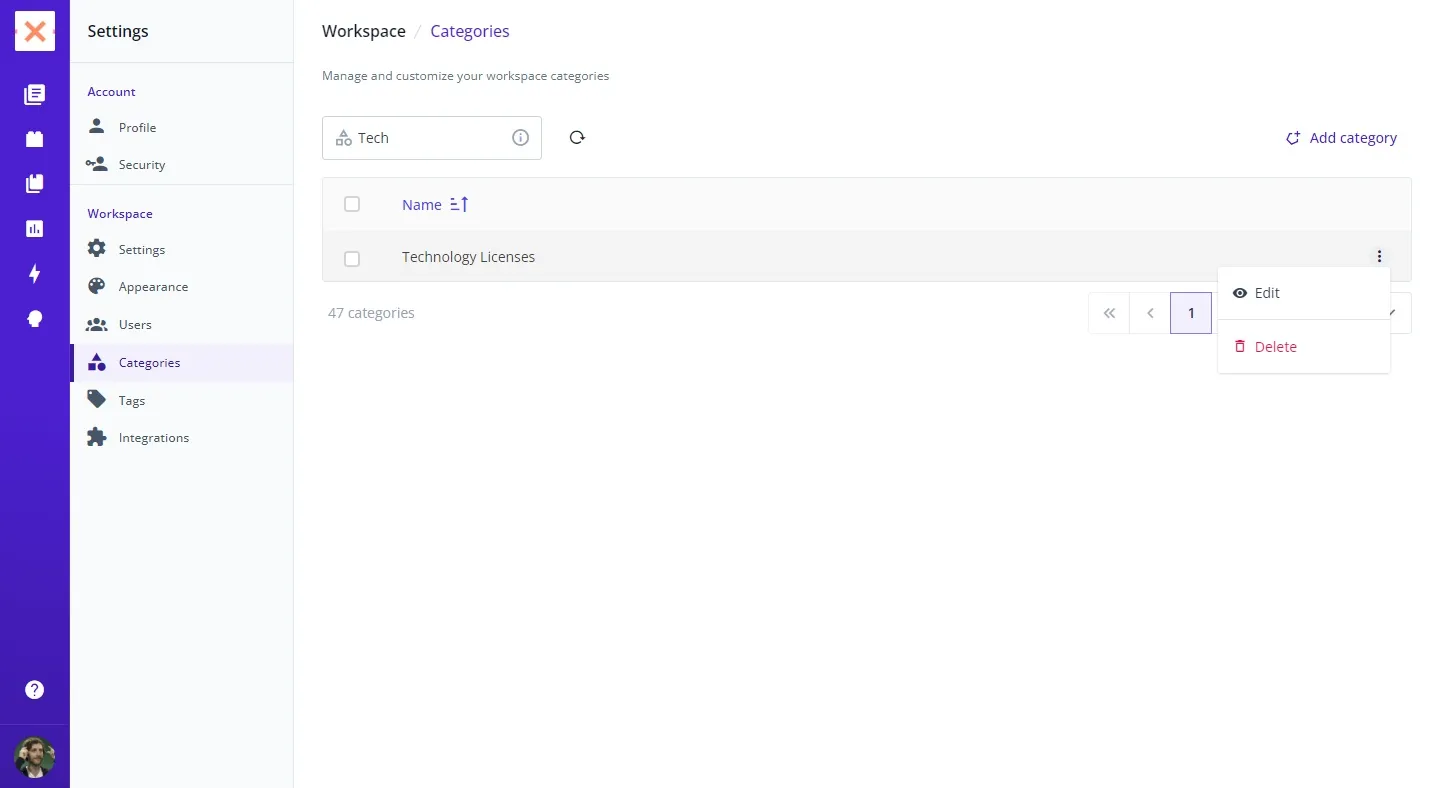
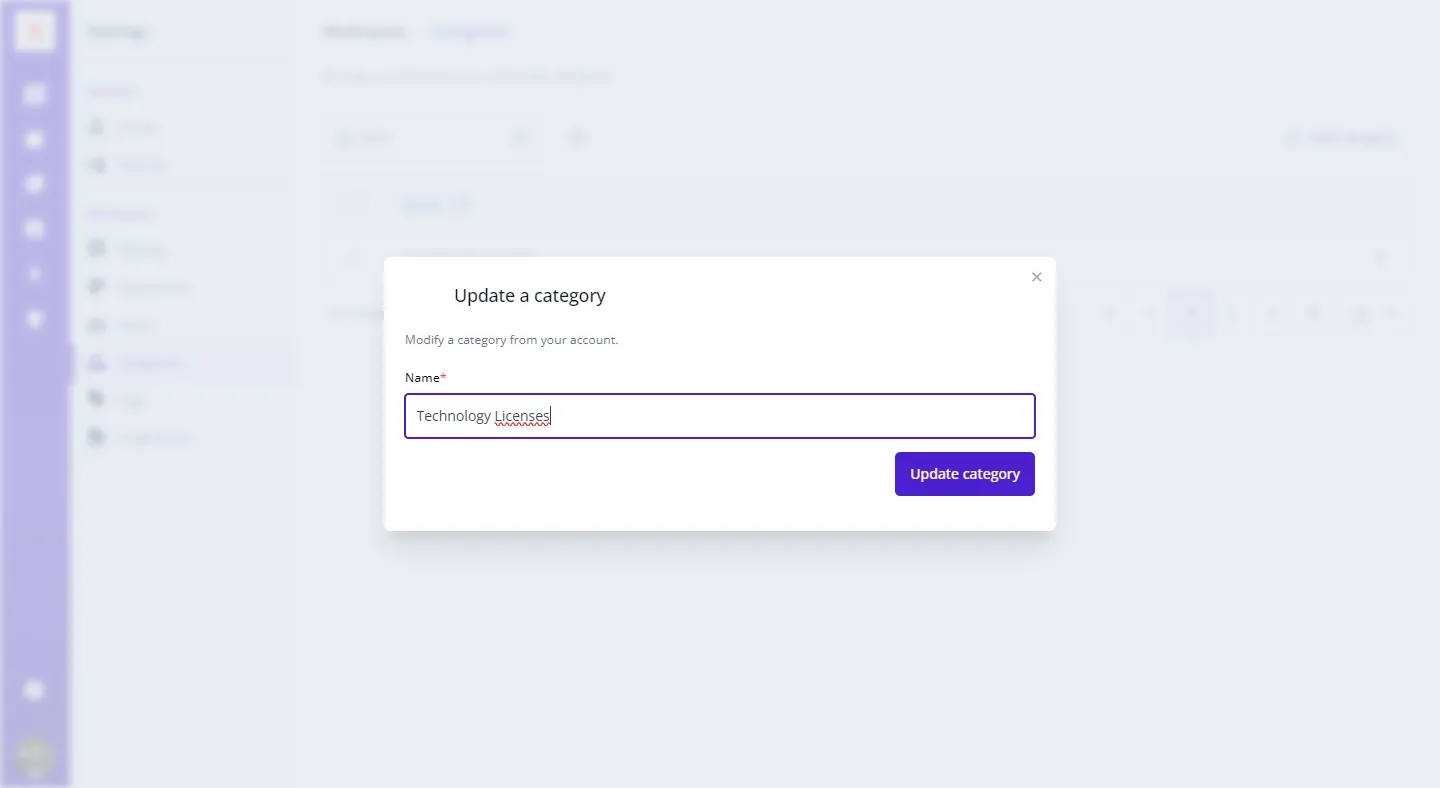
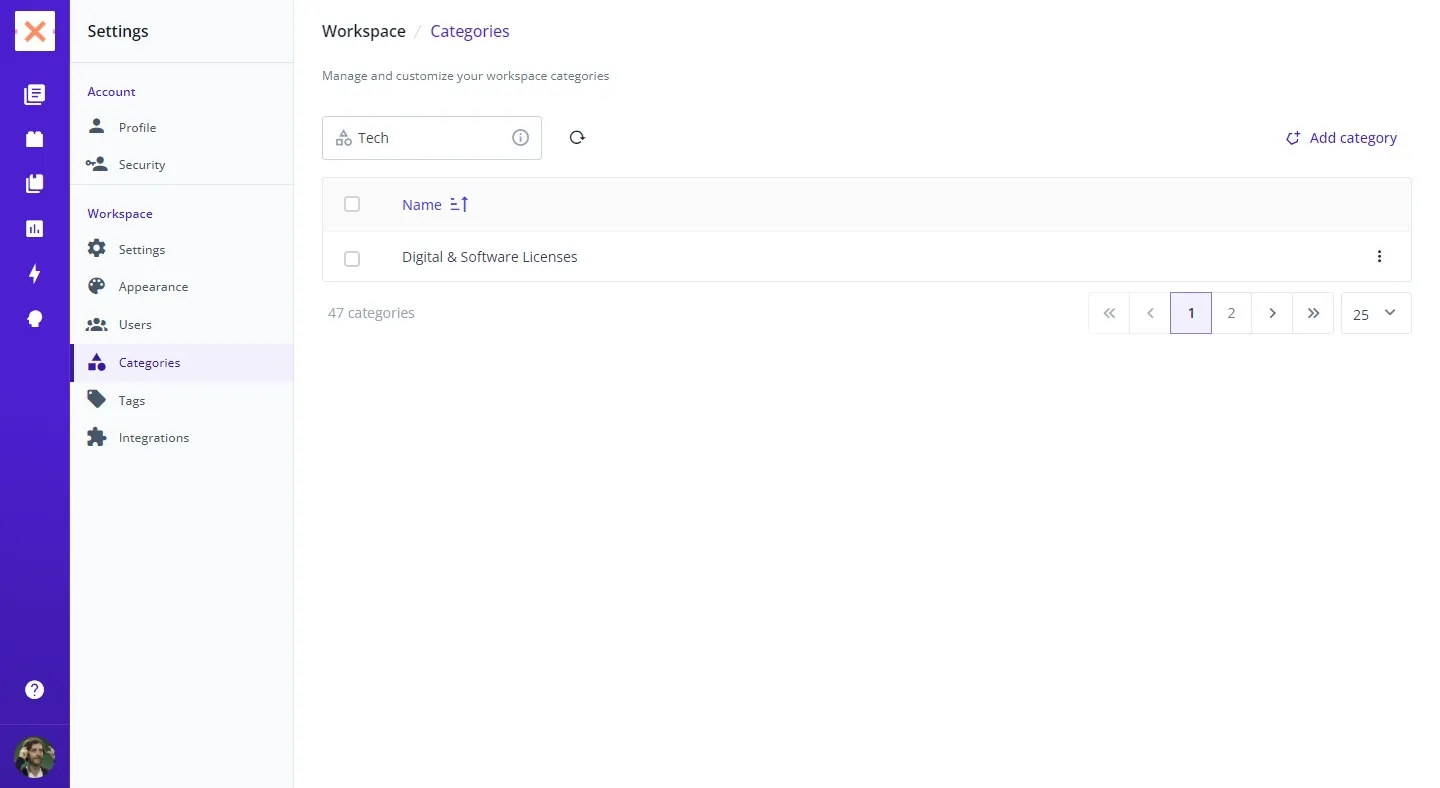
Edit


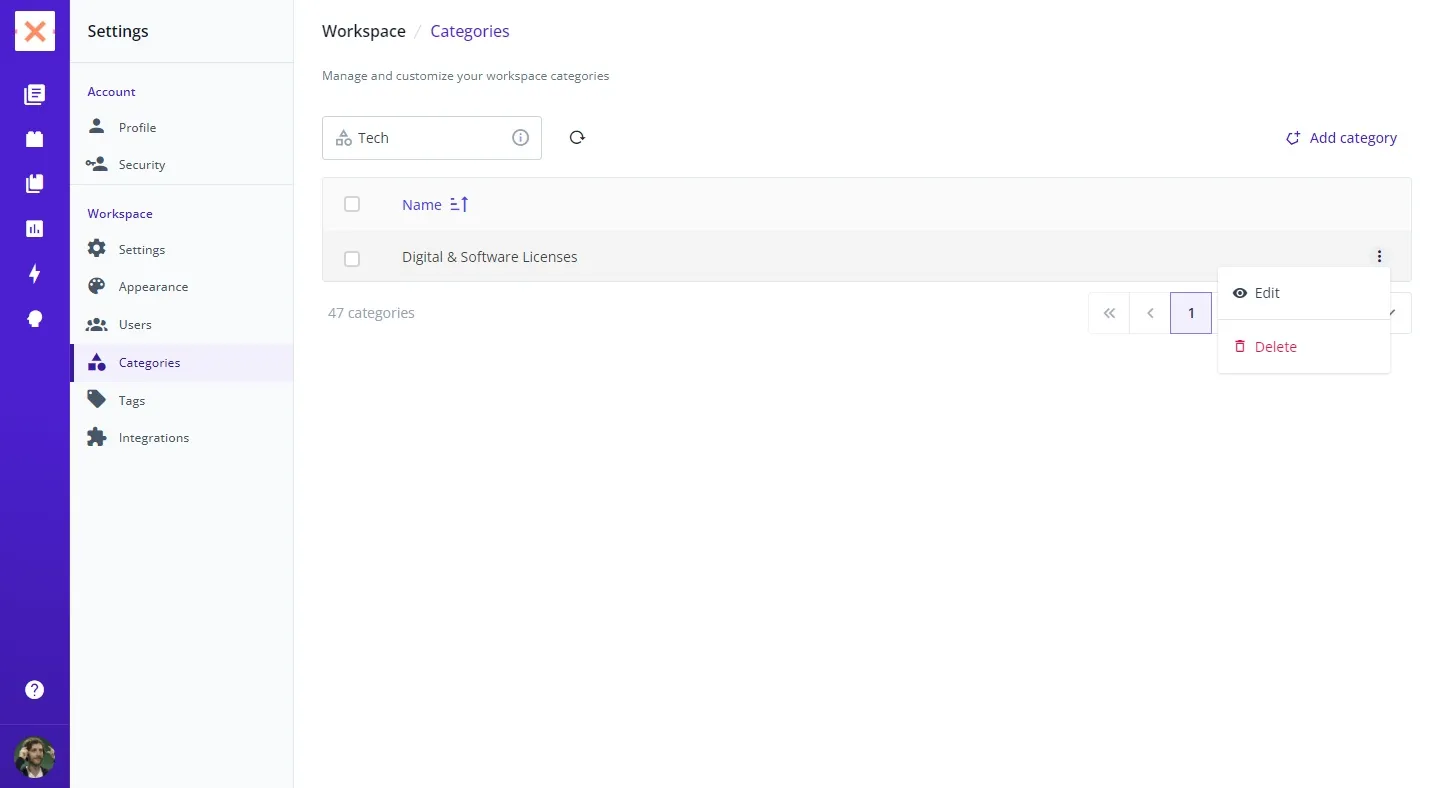
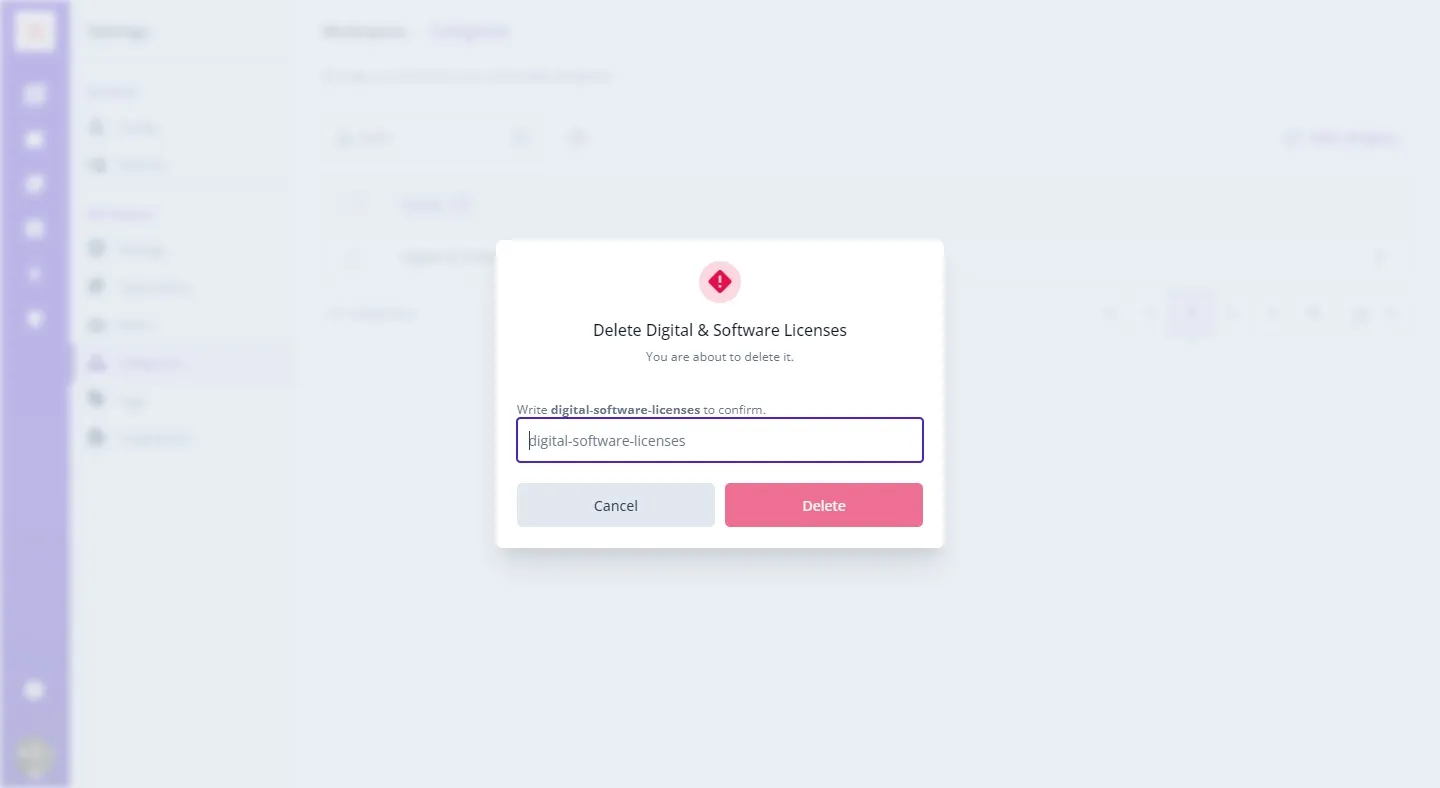
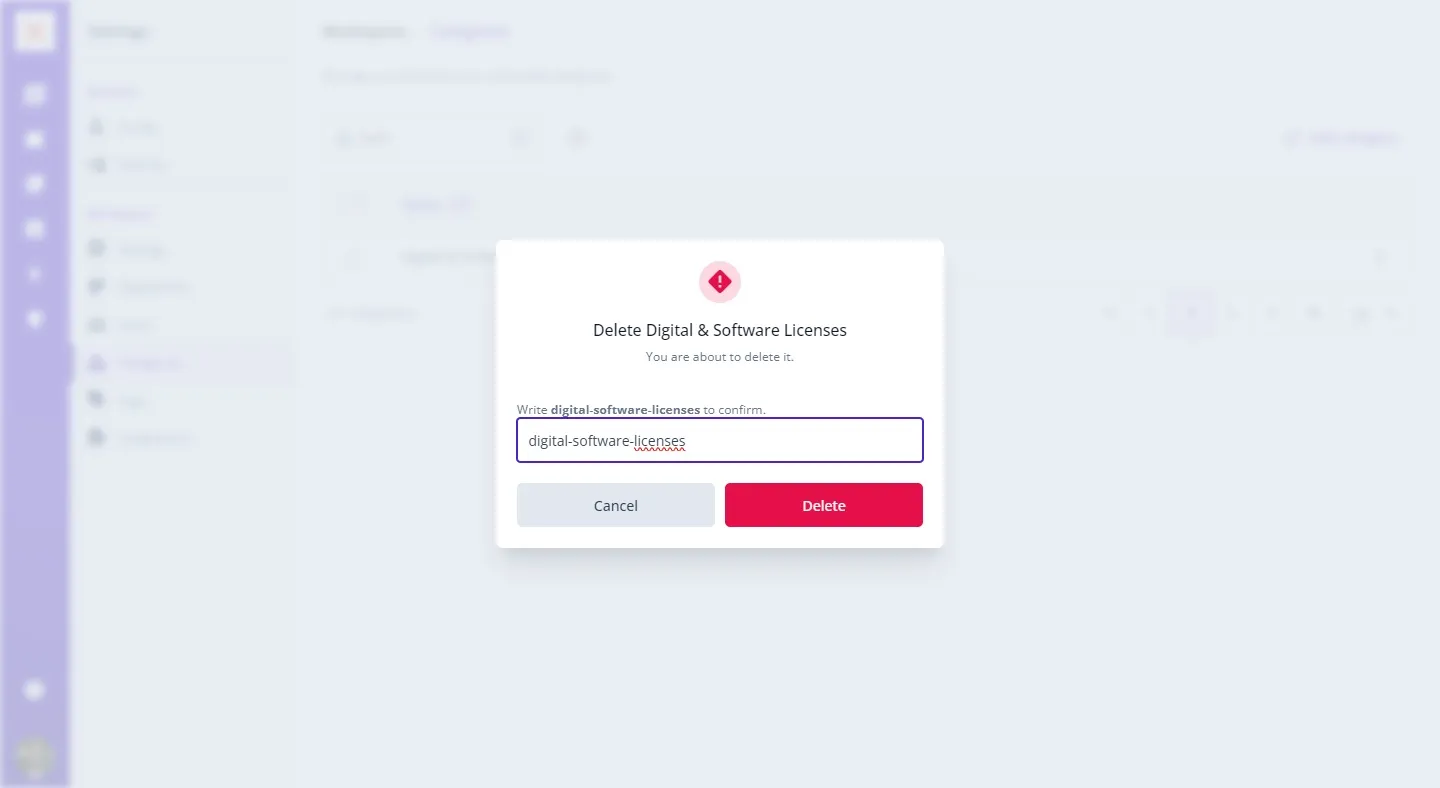
Delete
PRO TIP
Regularly review and update your categories to ensure they reflect the
current organization and structure of your documents. This practice will
enhance navigability and efficiency within your Bounsel workspace.