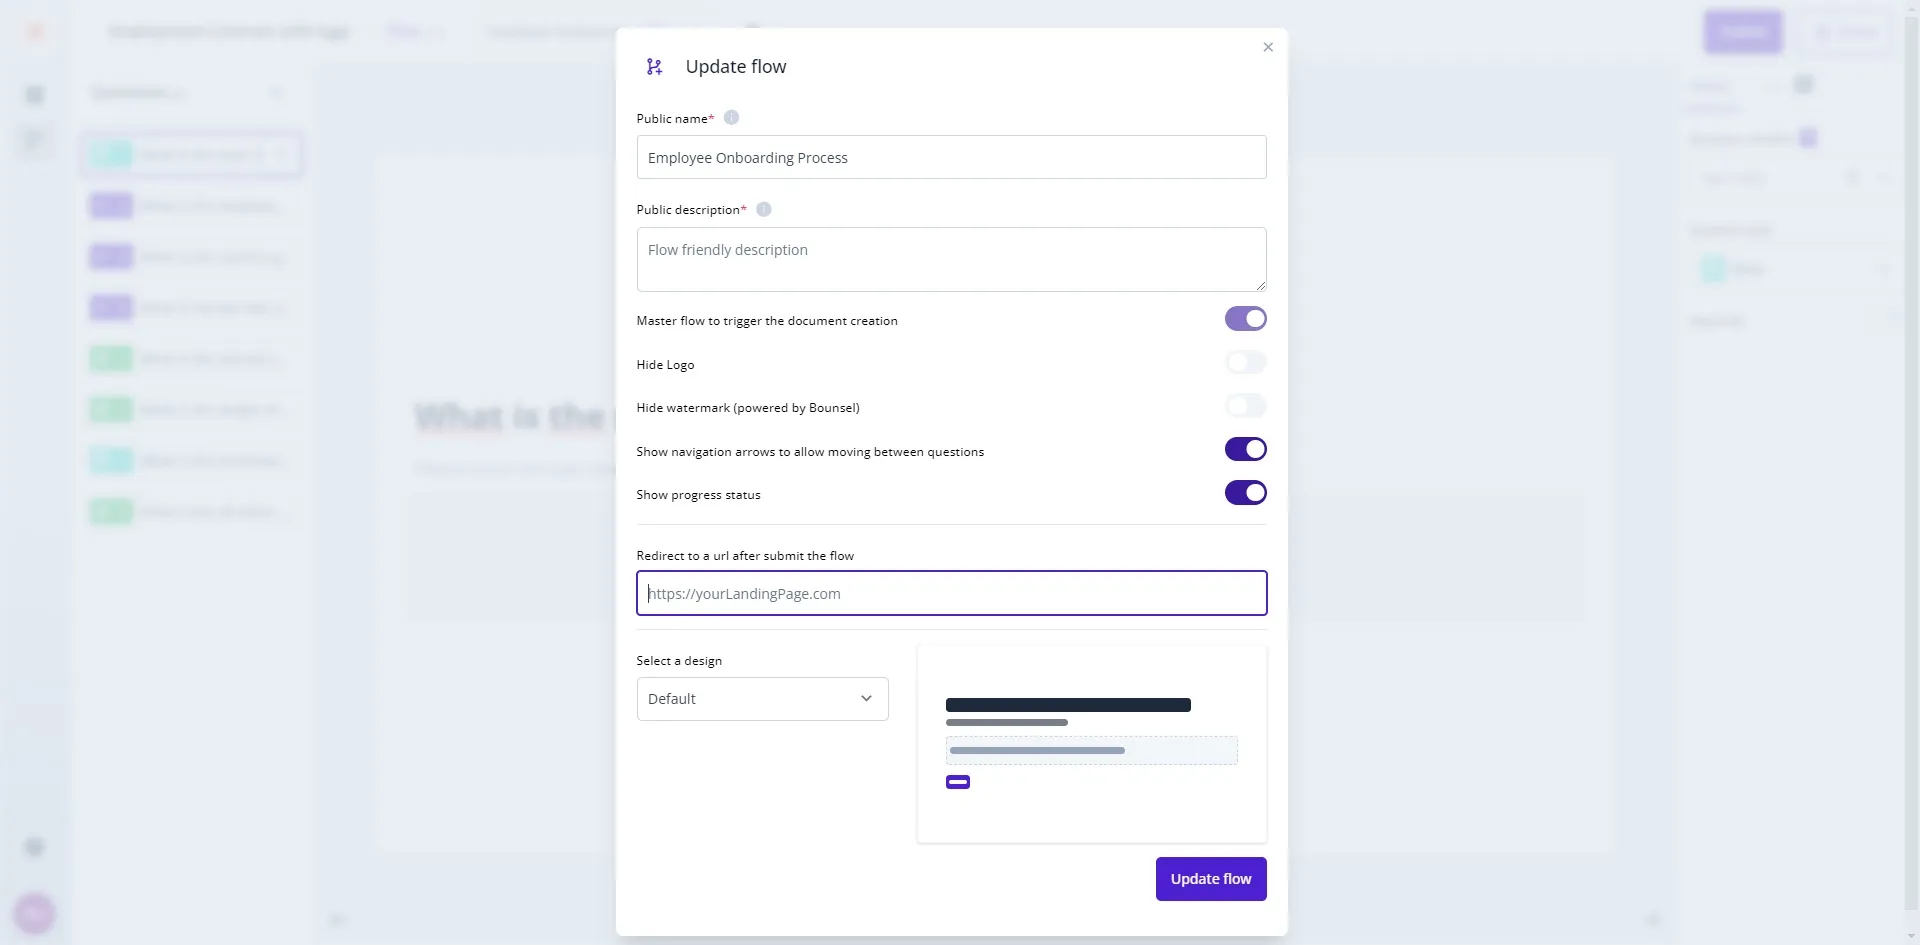
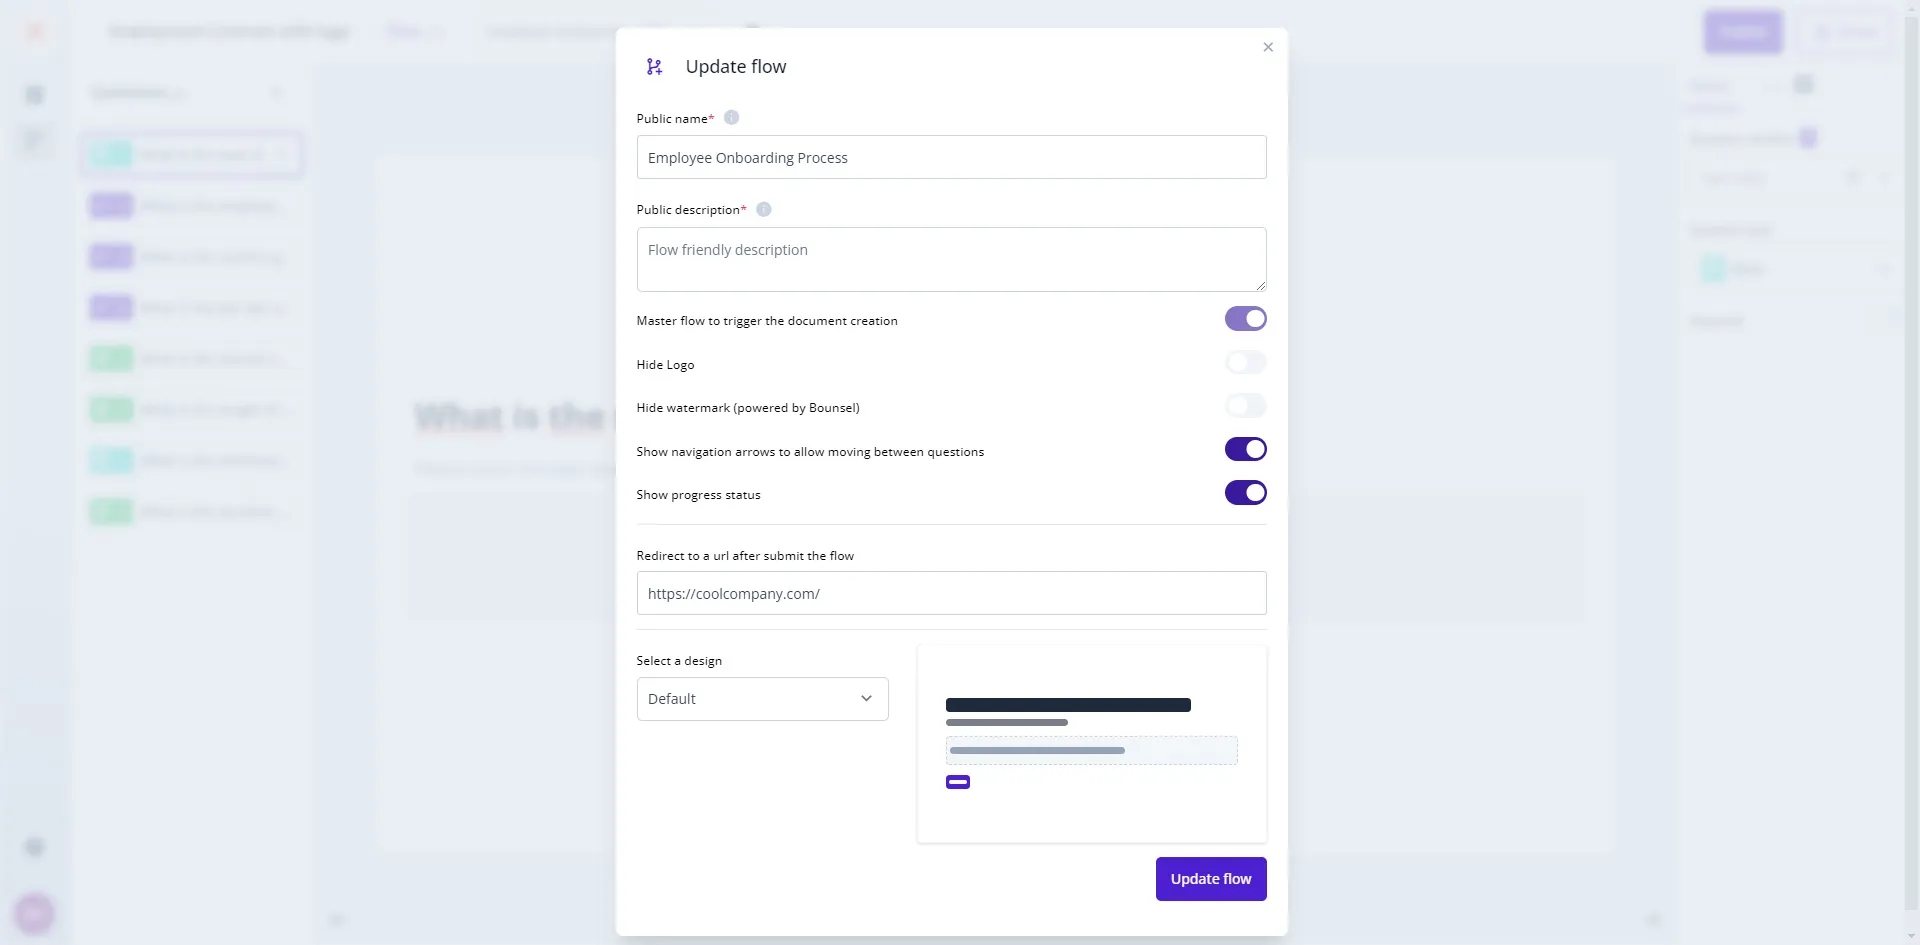
Customizing the style and details of your flow in Bounsel is a straightforward process that can significantly enhance the user experience. Whether you’re looking to update the design to match your brand or simply want to tweak the settings for better functionality, this guide will walk you through each step. Let’s make your flow stand out! 🌈
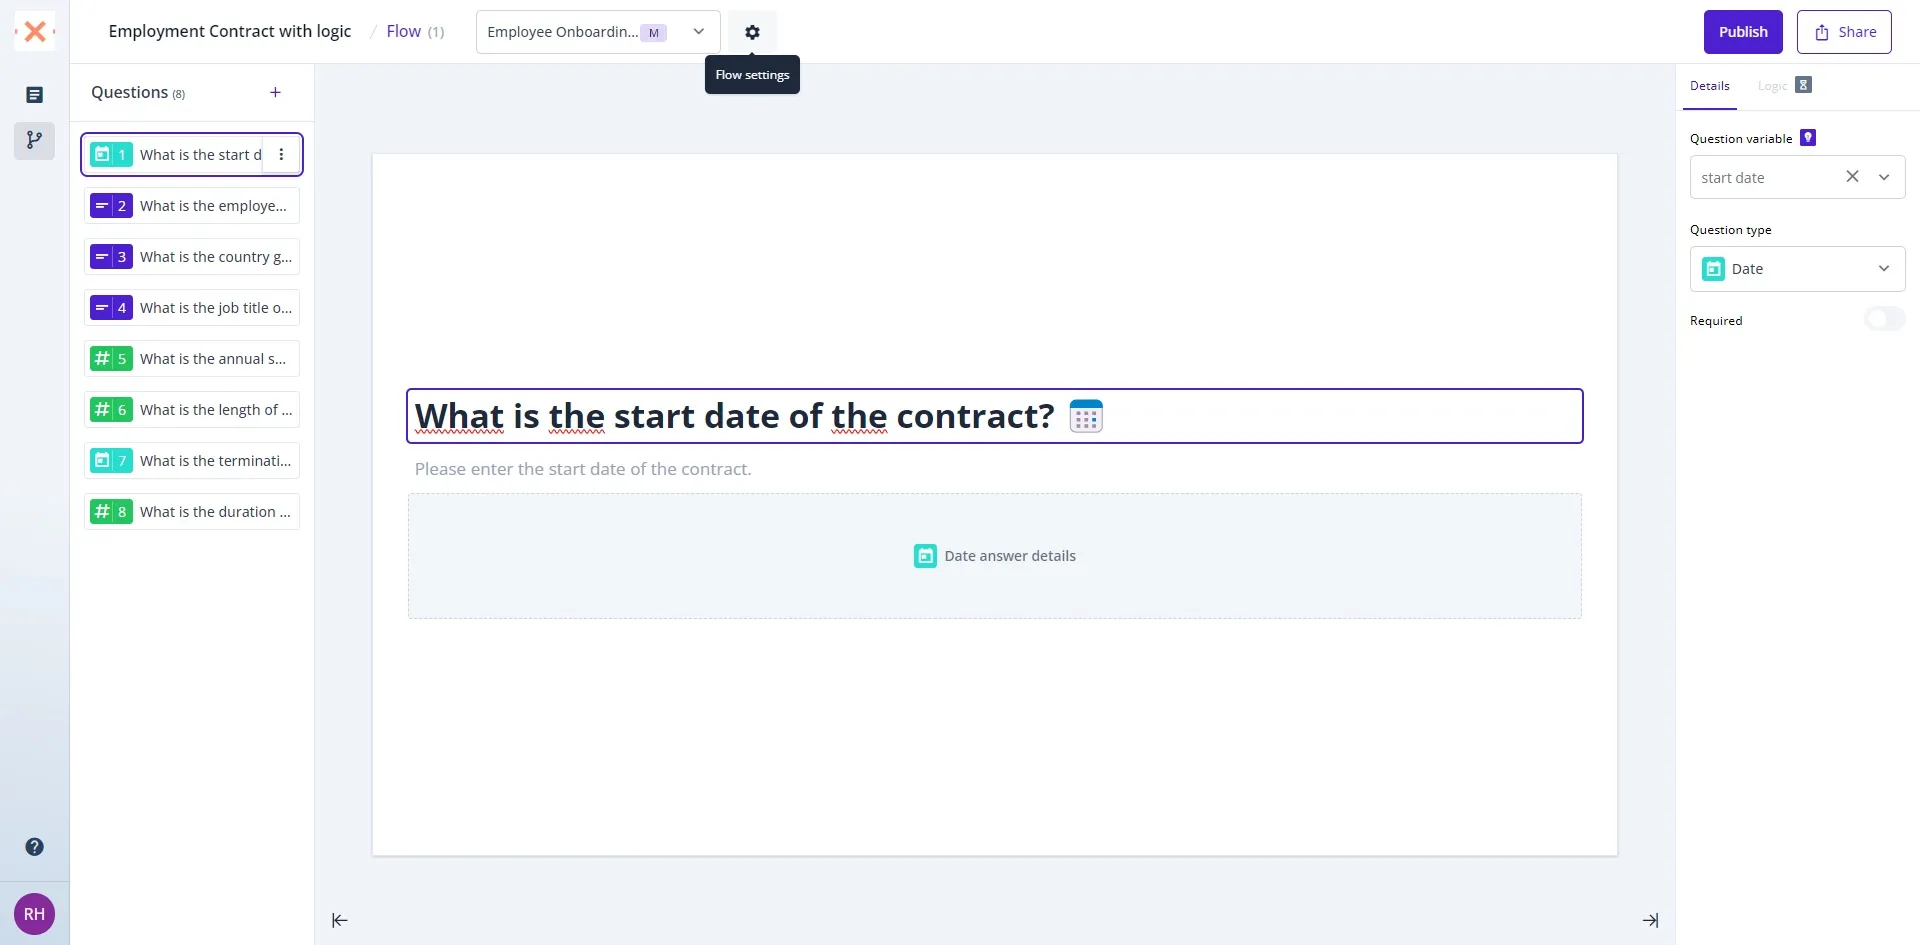
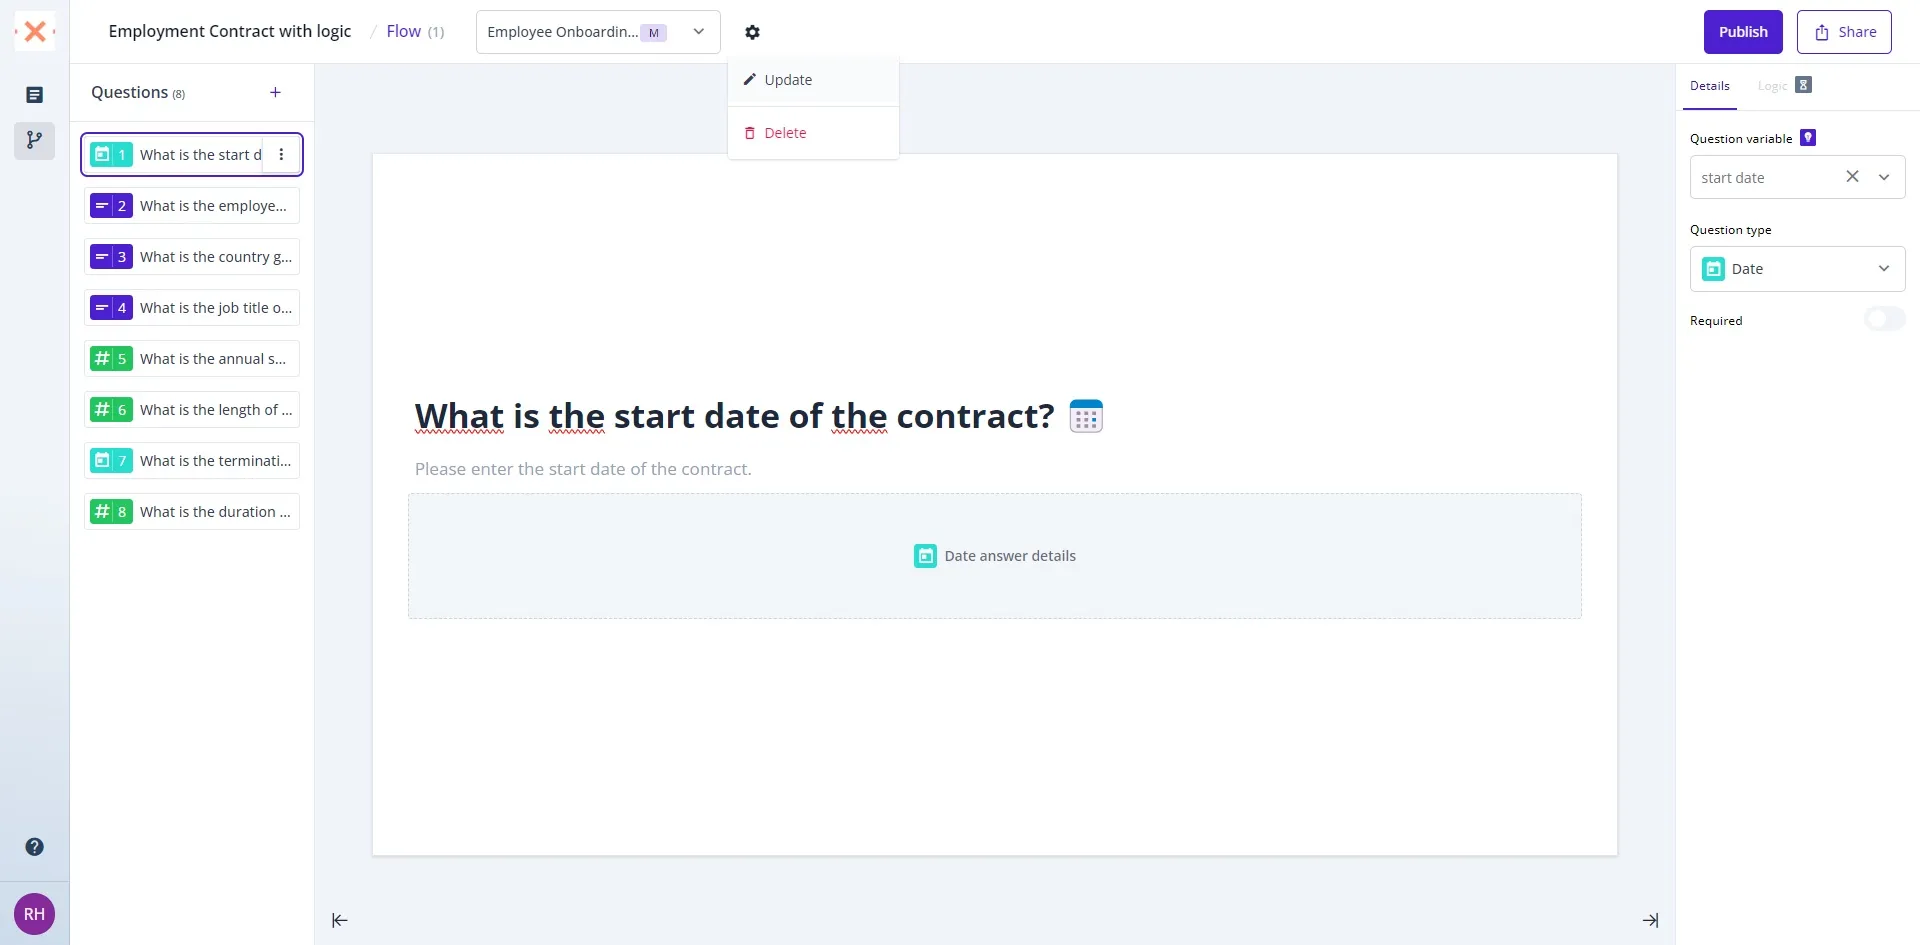
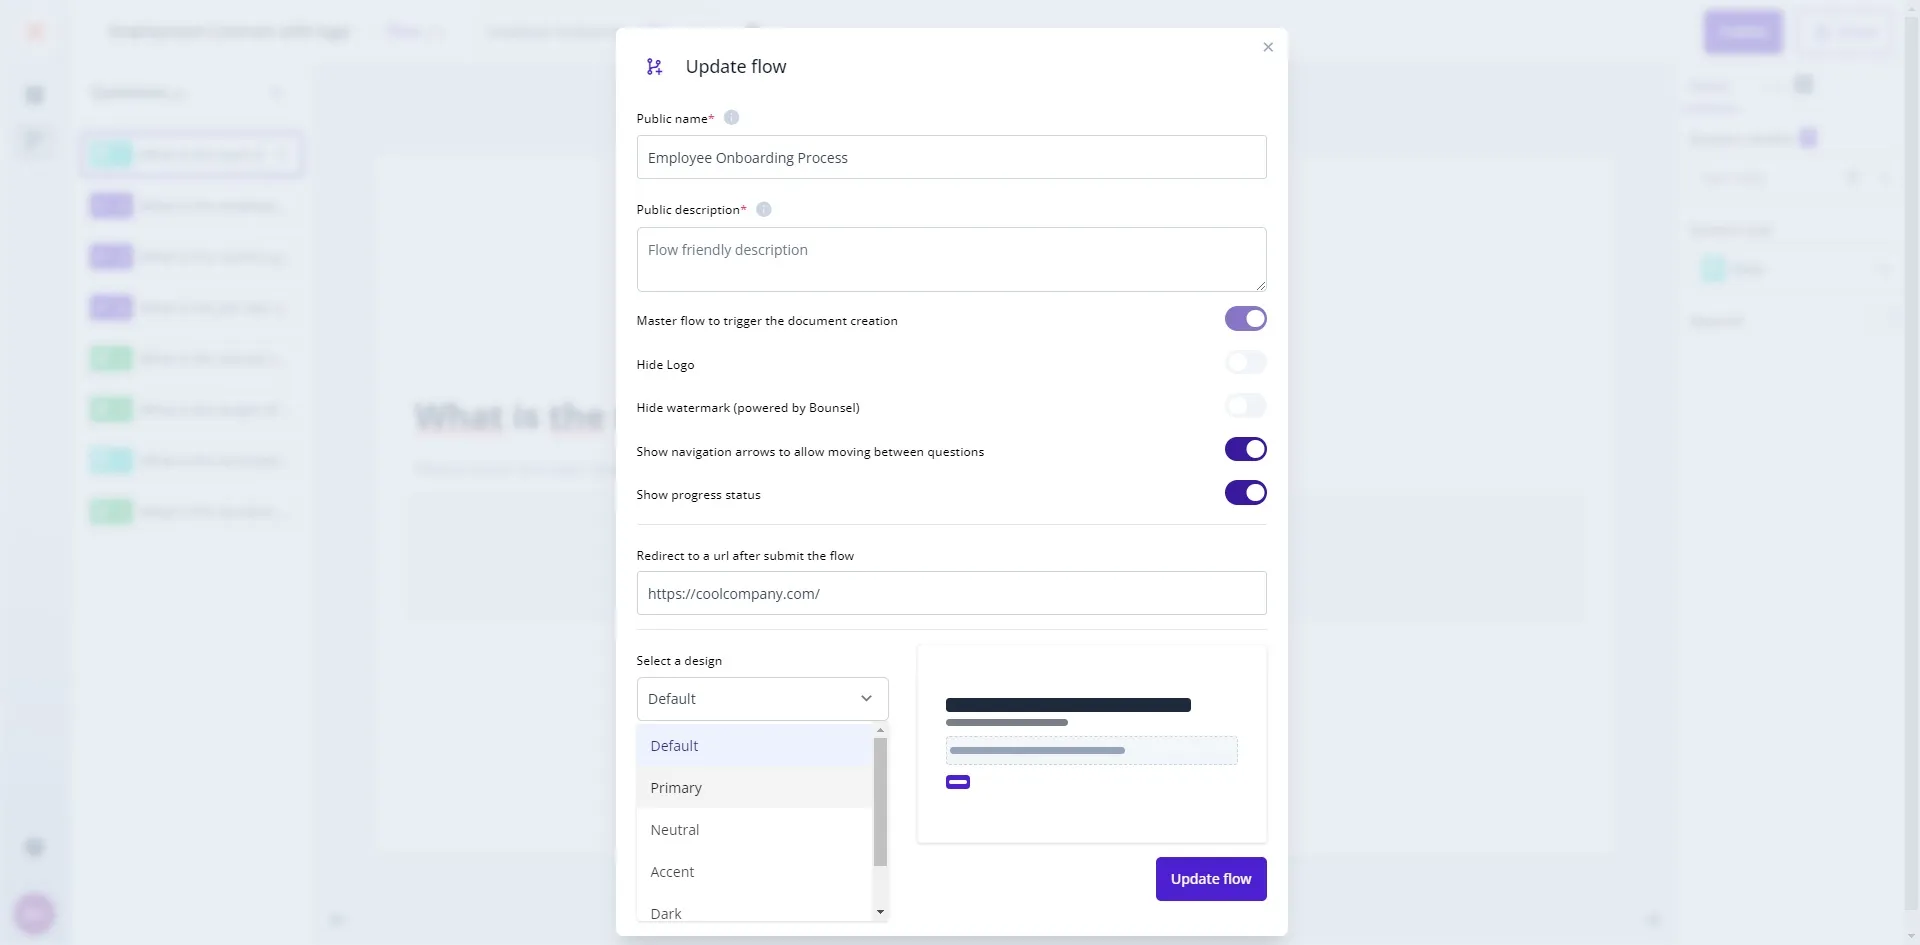
Begin by navigating to your flow interface. This is where all your flow creations and configurations live.

PRO TIP
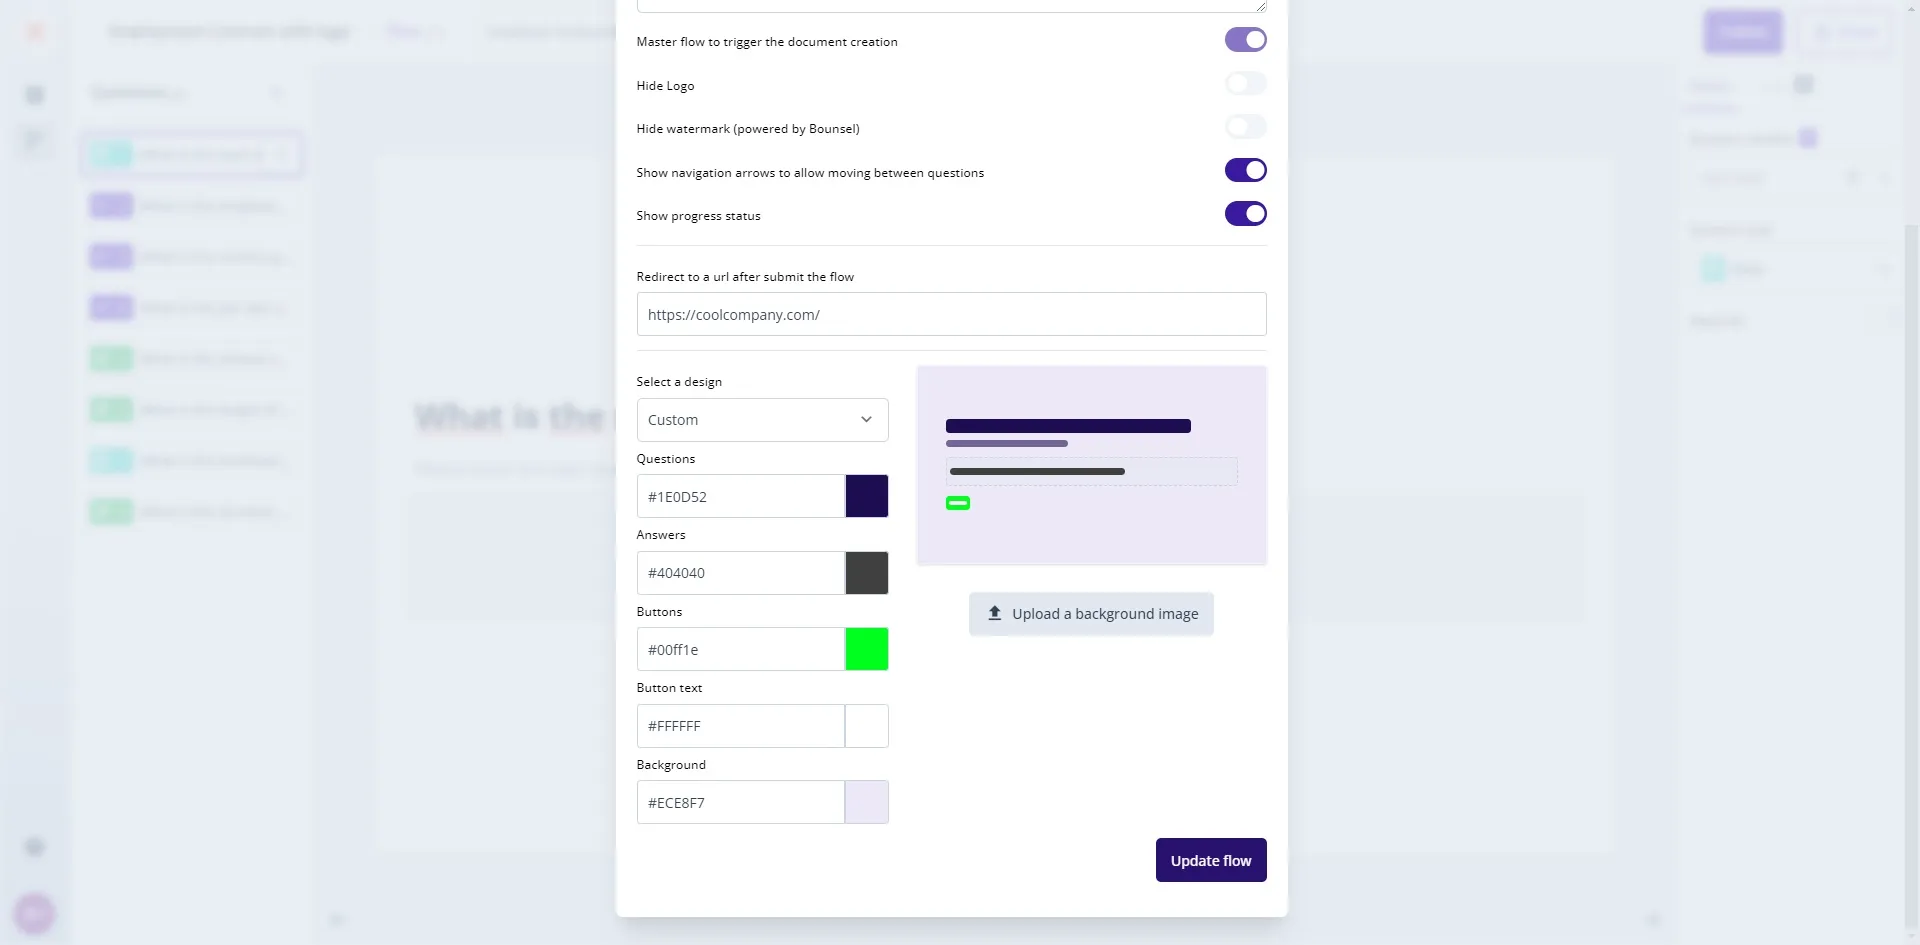
Remember, the design and flow settings are not just about aesthetics but
also about user experience. Test your flow after customization to
ensure it's intuitive and user-friendly. Consider asking a colleague or
friend to go through the flow and provide feedback. This step can
uncover valuable insights to further refine your design and settings.
Customizing your flow is a powerful way to enhance engagement and ensure it aligns with your brand. With these steps, you’re well on your way to creating a flow that not only looks great but also performs flawlessly. Happy customizing! 🎨