How to create a rule?

⌘K

How to create a rule?

Welcome to a world where efficiency meets innovation—where the automation of your document workflow not only becomes possible but also remarkably simple. Bounsel’s automation features are designed to transform how you manage, process, and interact with your documents. This guide will walk you through the process of setting up your first automation rule in Bounsel, step by step. Get ready to boost your productivity and take your document management to the next level!

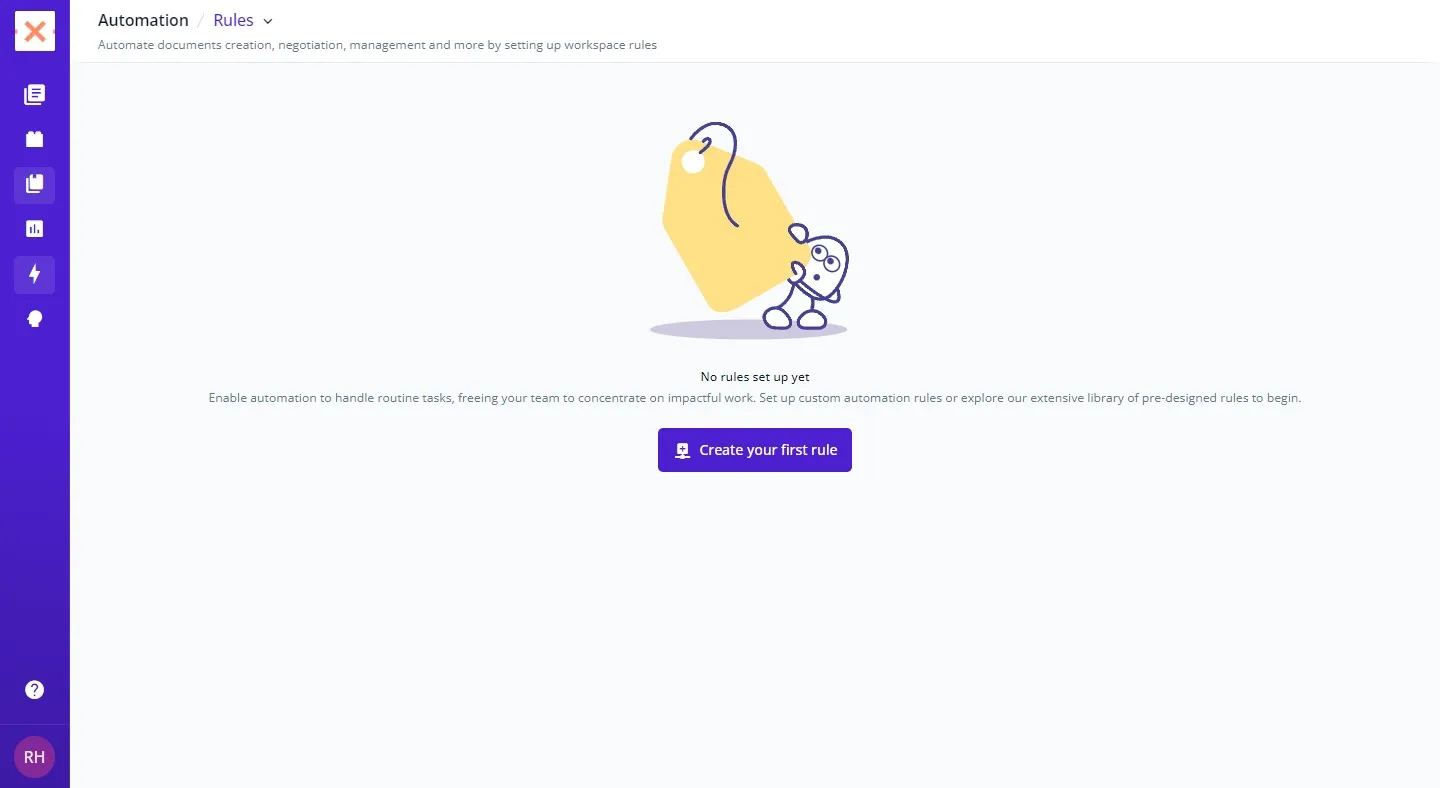
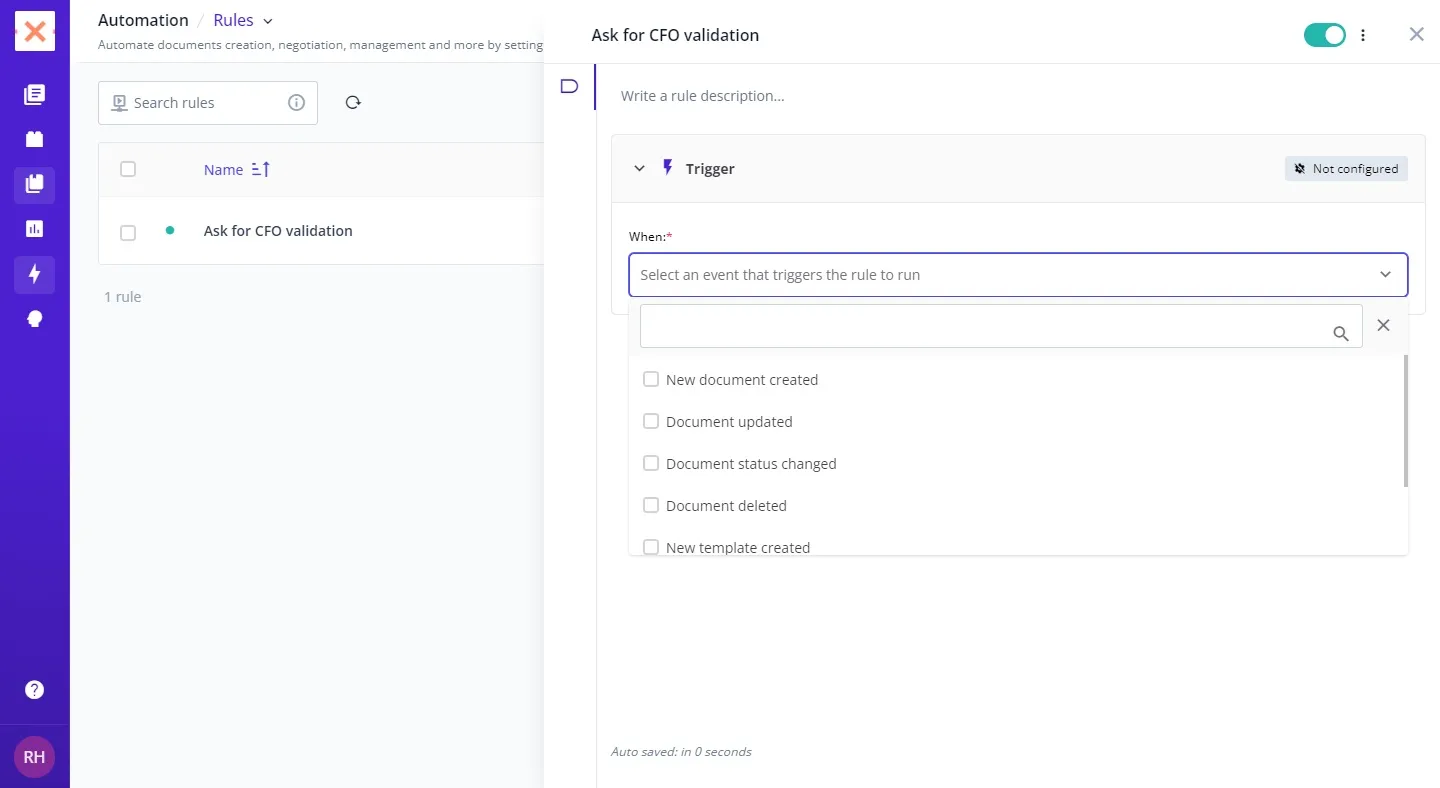
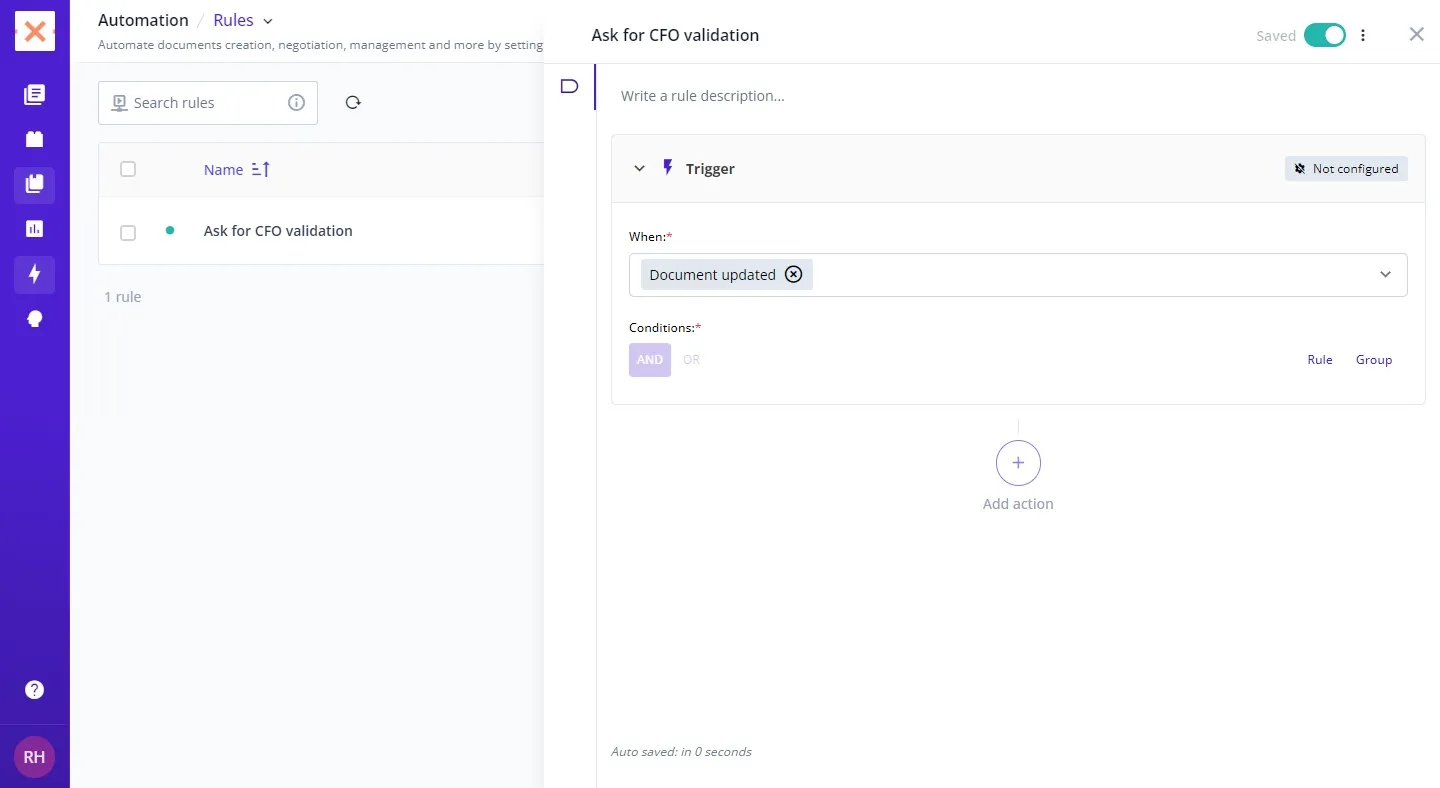
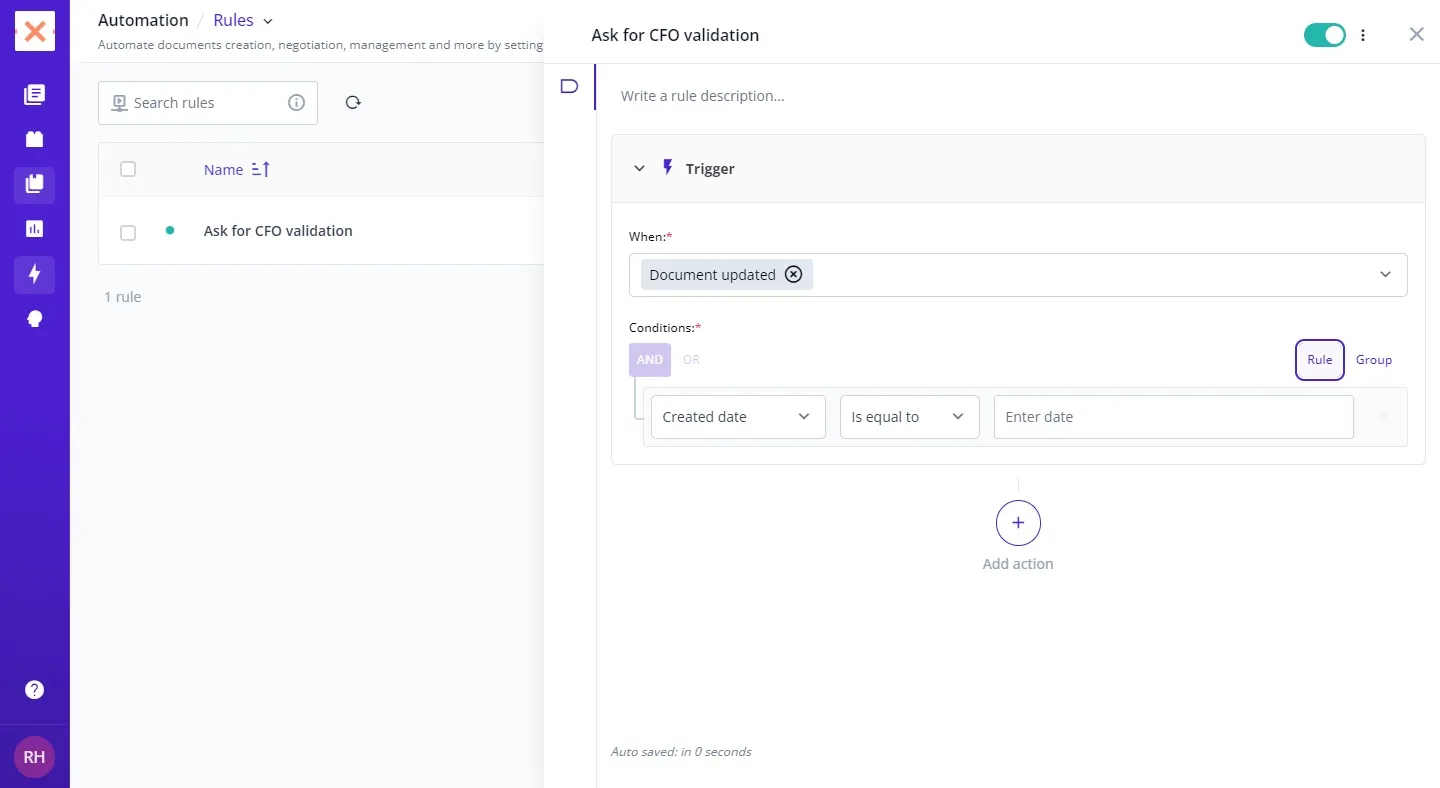
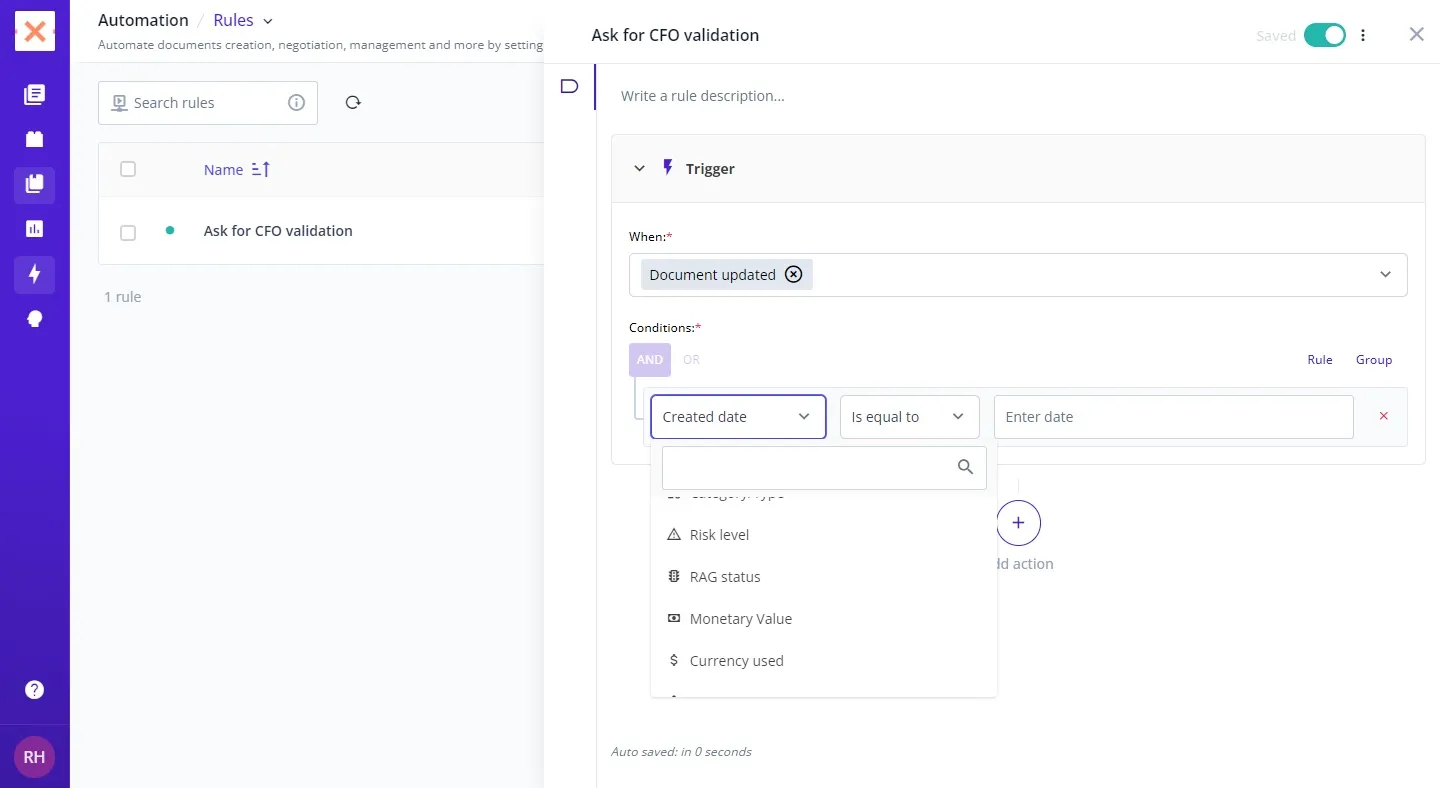
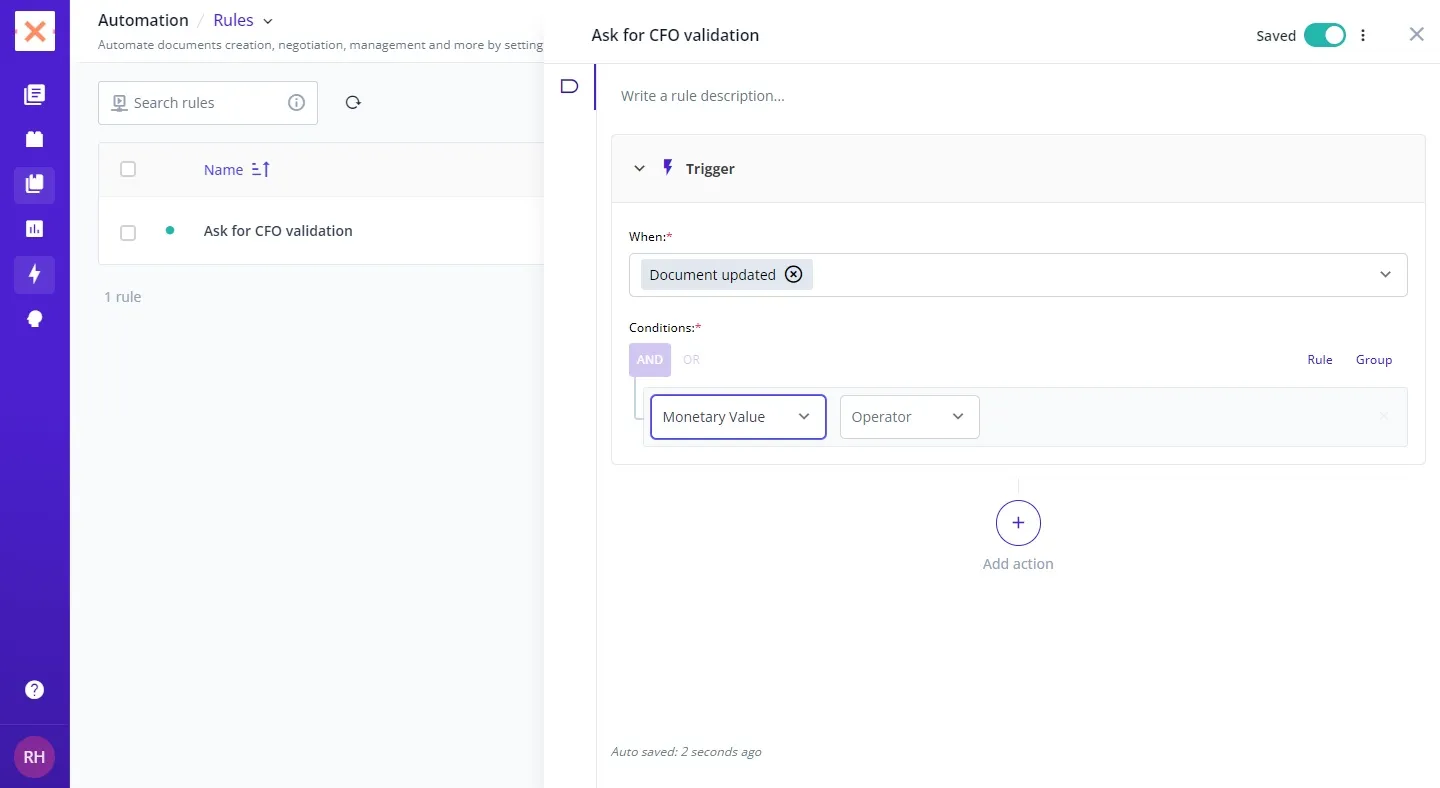
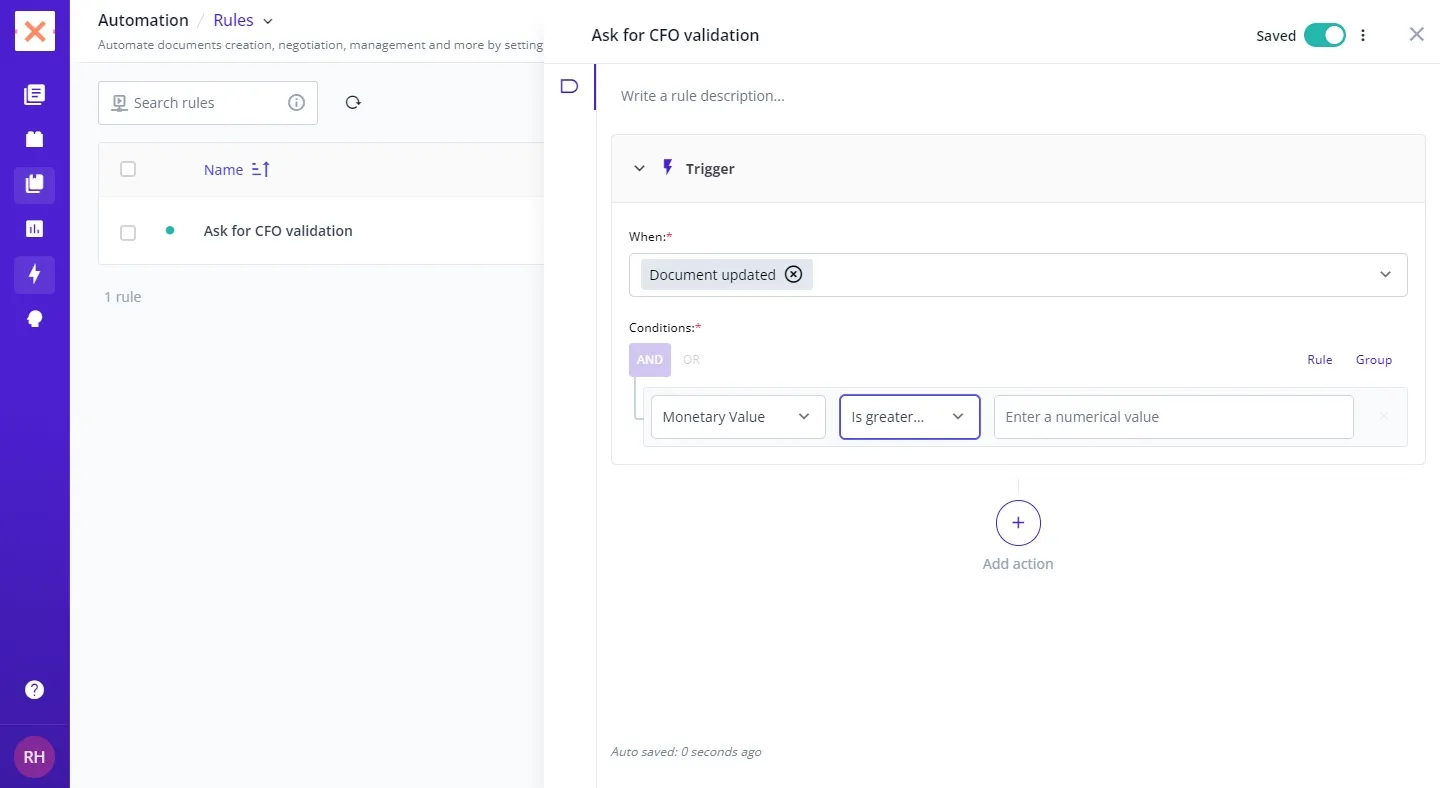
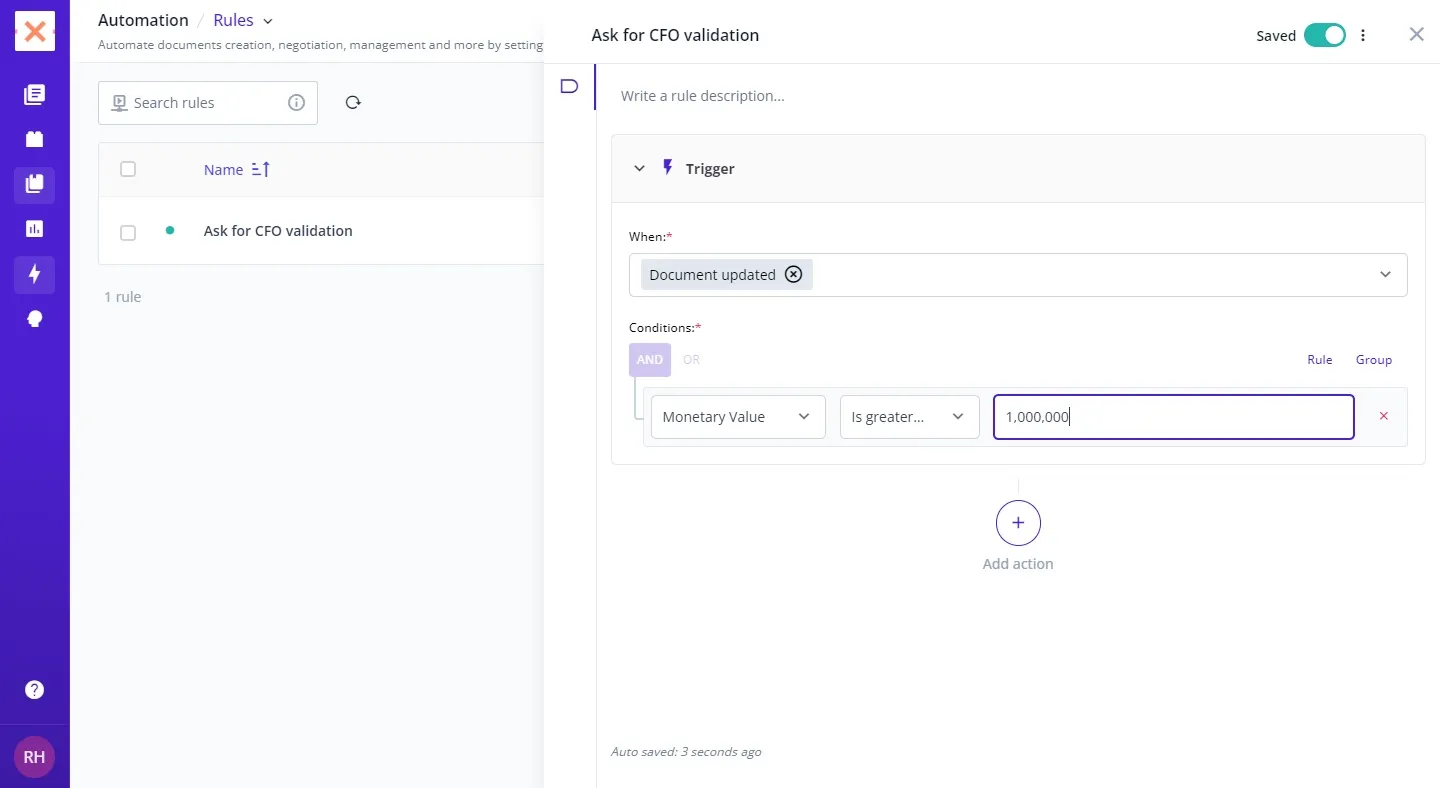
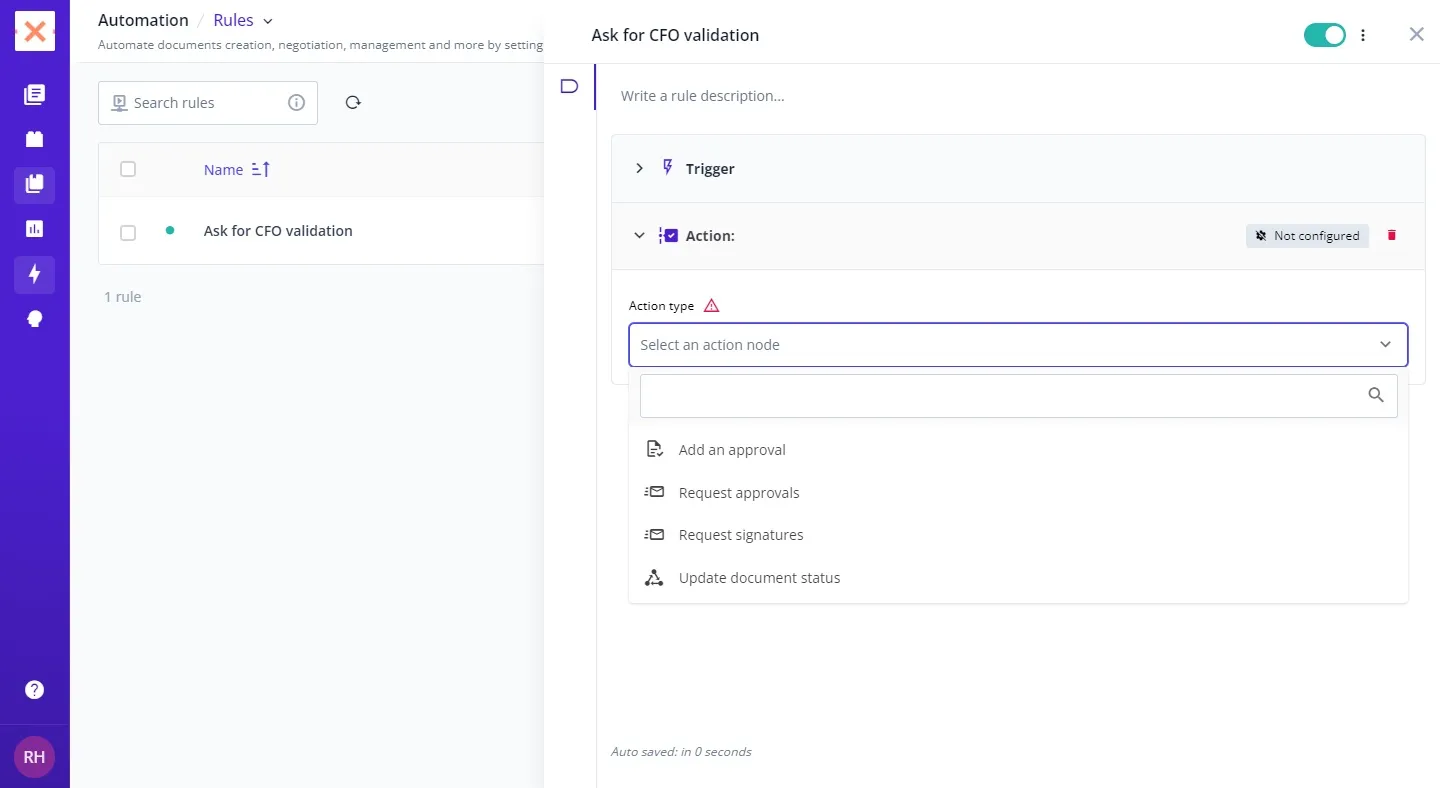
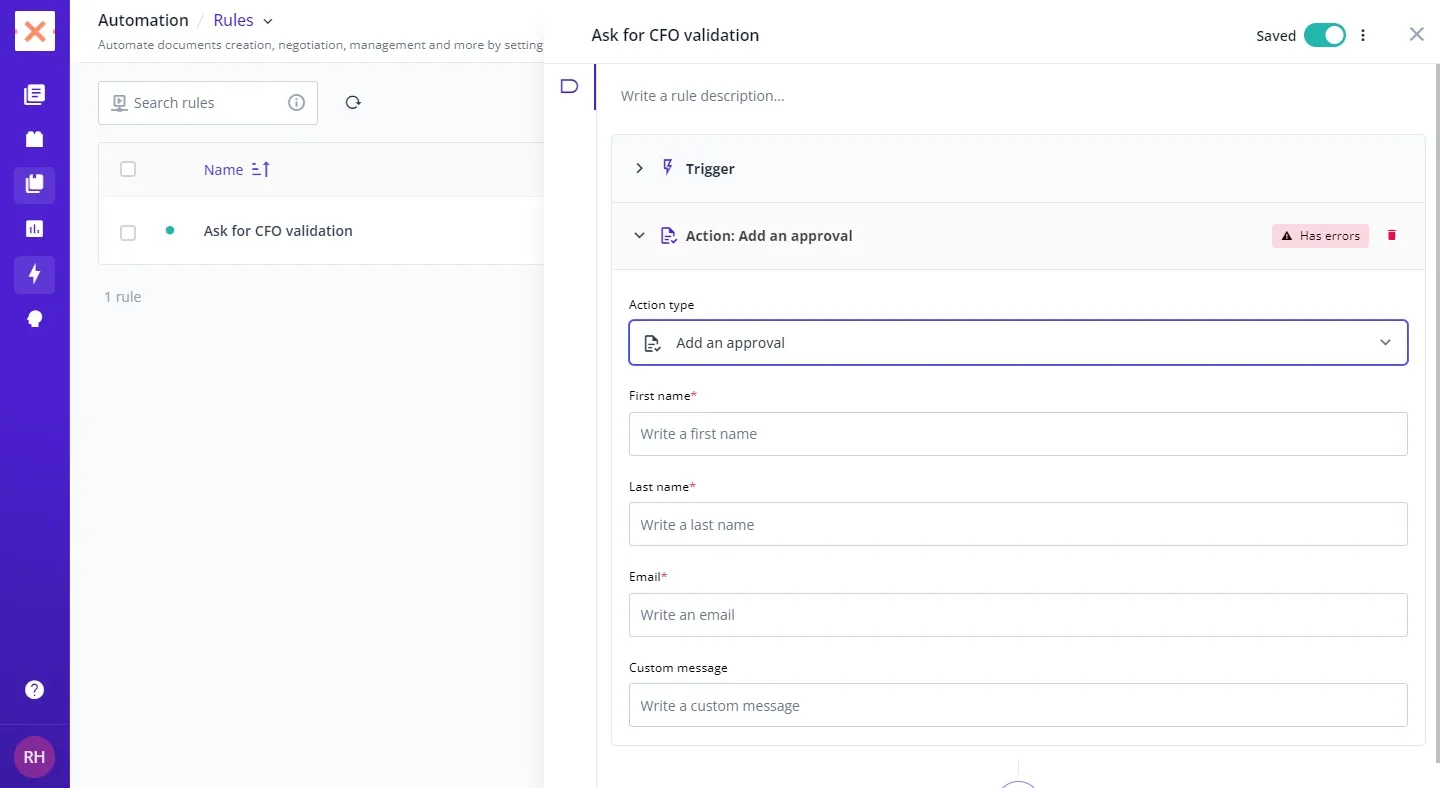
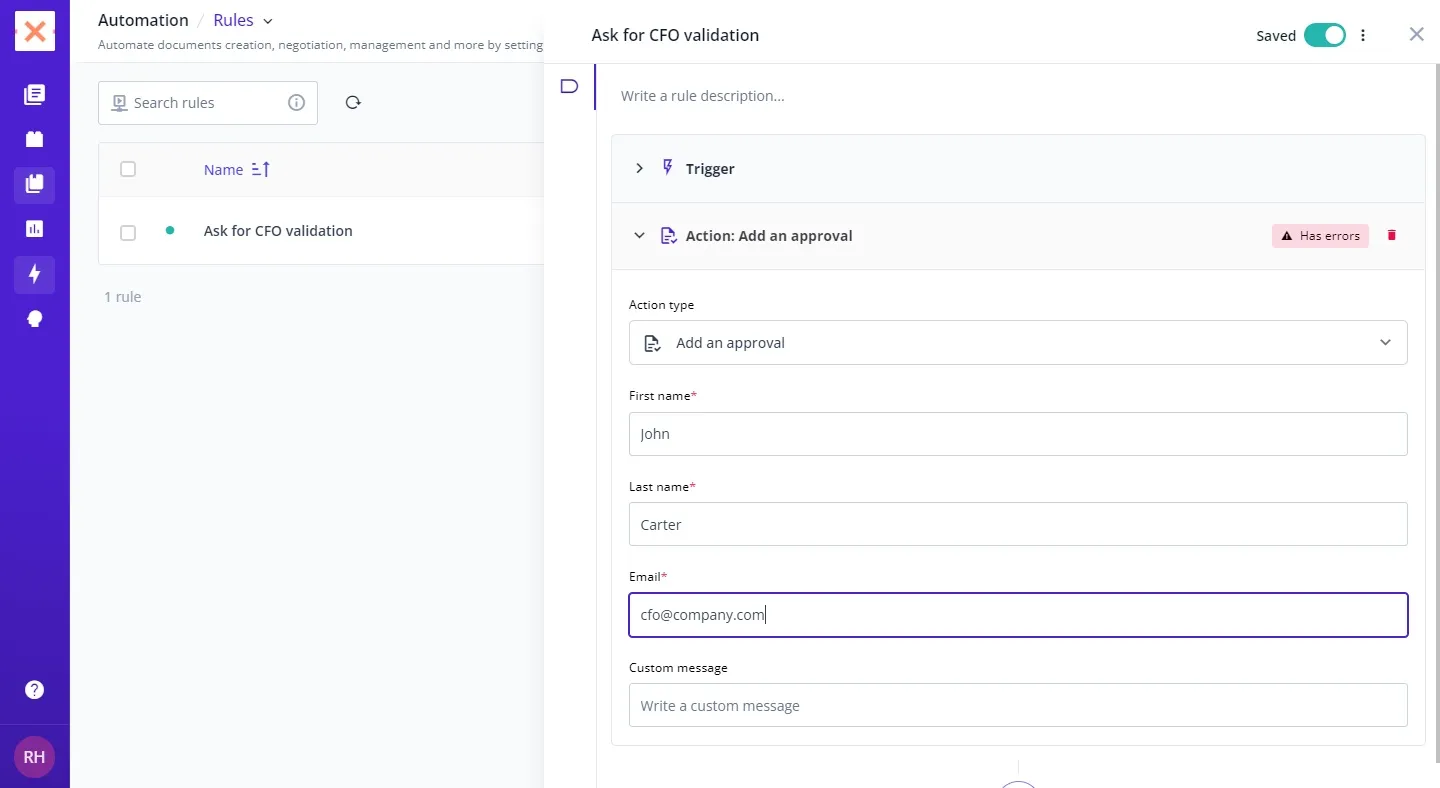
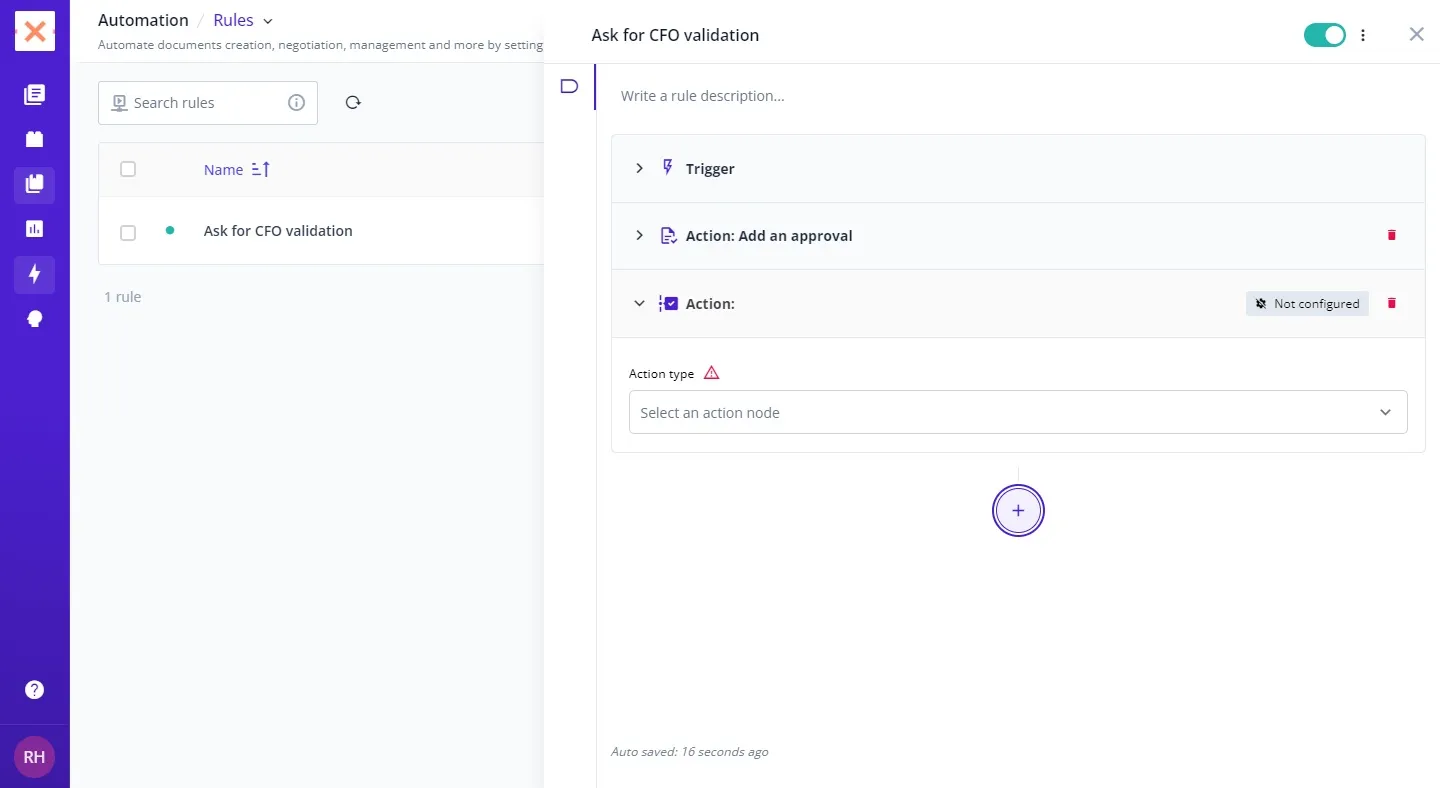
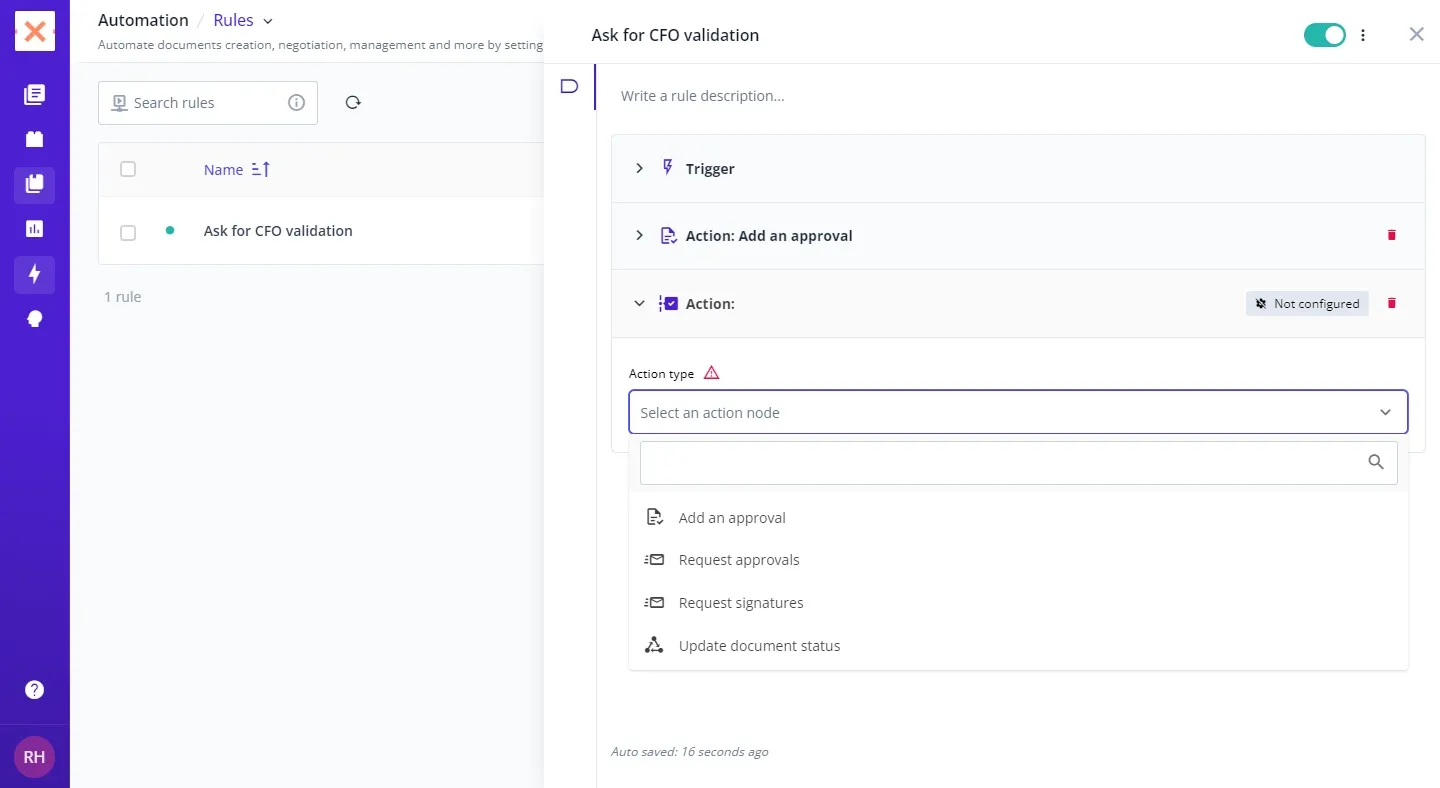
Head over to Bounsel rules. It’s where all the magic begins!

To begin, press the Create first rule button. This is your gateway to creating automated workflows that will save you time and effort.

Naming your rule is the first step towards customization. Choose a name that clearly describes its function or purpose.

After naming, confirm the name of your rule by pressing enter. This cements the identity of your newly created rule.After naming, confirm the name of your rule by pressing enter. This cements the identity of your newly created rule.

Triggers are the heart of automation. Press enter to create a new trigger that will act as the starting point for your rule.

Open the dropdown menu to choose the event that will trigger your rule. This defines when your automation kicks into action.

Selecting the trigger customizes your rule to react to specific events within your workflow.

Conditions allow you to specify when the rule should apply. Press Add a rule to define the criteria your documents need to meet.

Determine what the first condition checks for. This ensures your rule is applied only under the right circumstances.

Fine-tune your automation by setting the specific condition your document must meet to trigger the rule.

Further detail your automation plan by adding more specifics to your conditions and triggers.

By completing the setup of your conditions, you’re crafting a comprehensive plan that ensures your automation performs exactly as needed.

Actions are what happen when your conditions are met. Add an action to define what your automation will do.

Select from a dropdown of actions to decide what operation is performed by your rule.

In this example, add an approval process as your action, automating the approval workflow for your documents.

Fill in the form to specify the details of your action. This step ensures your action is executed according to your precise requirements.

With the action and trigger set, your automation rule takes a concrete shape, ready to streamline your workflow.

To further enhance your automation, add another action. This allows for more complex and useful automations.

Choose another action to complement or extend the capabilities of your current automation setup.

Choose another action to complement or extend the capabilities of your current automation setup.

Congratulations! You’ve successfully set up a comprehensive automation rule in Bounsel. Your workflow is now more efficient and streamlined than ever before.

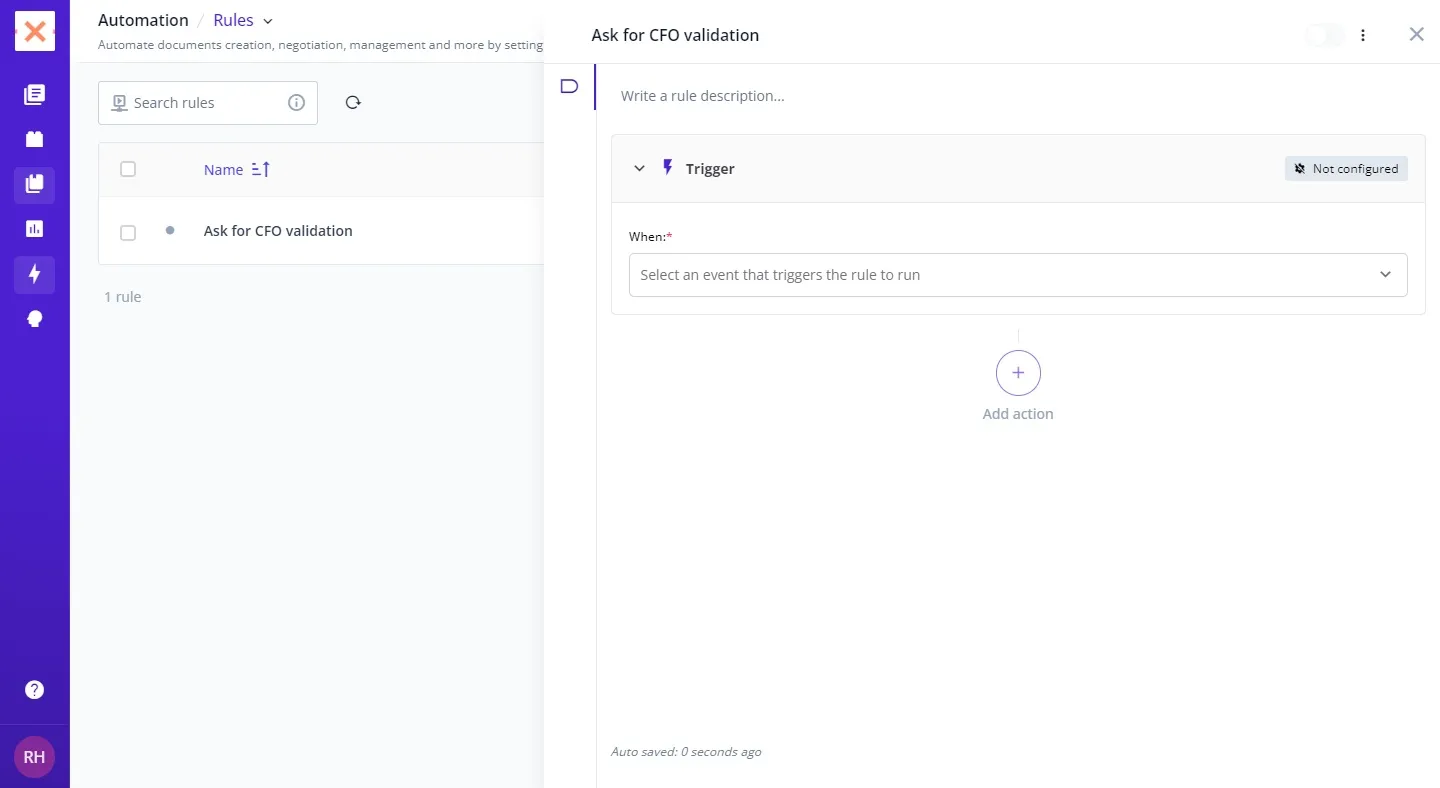
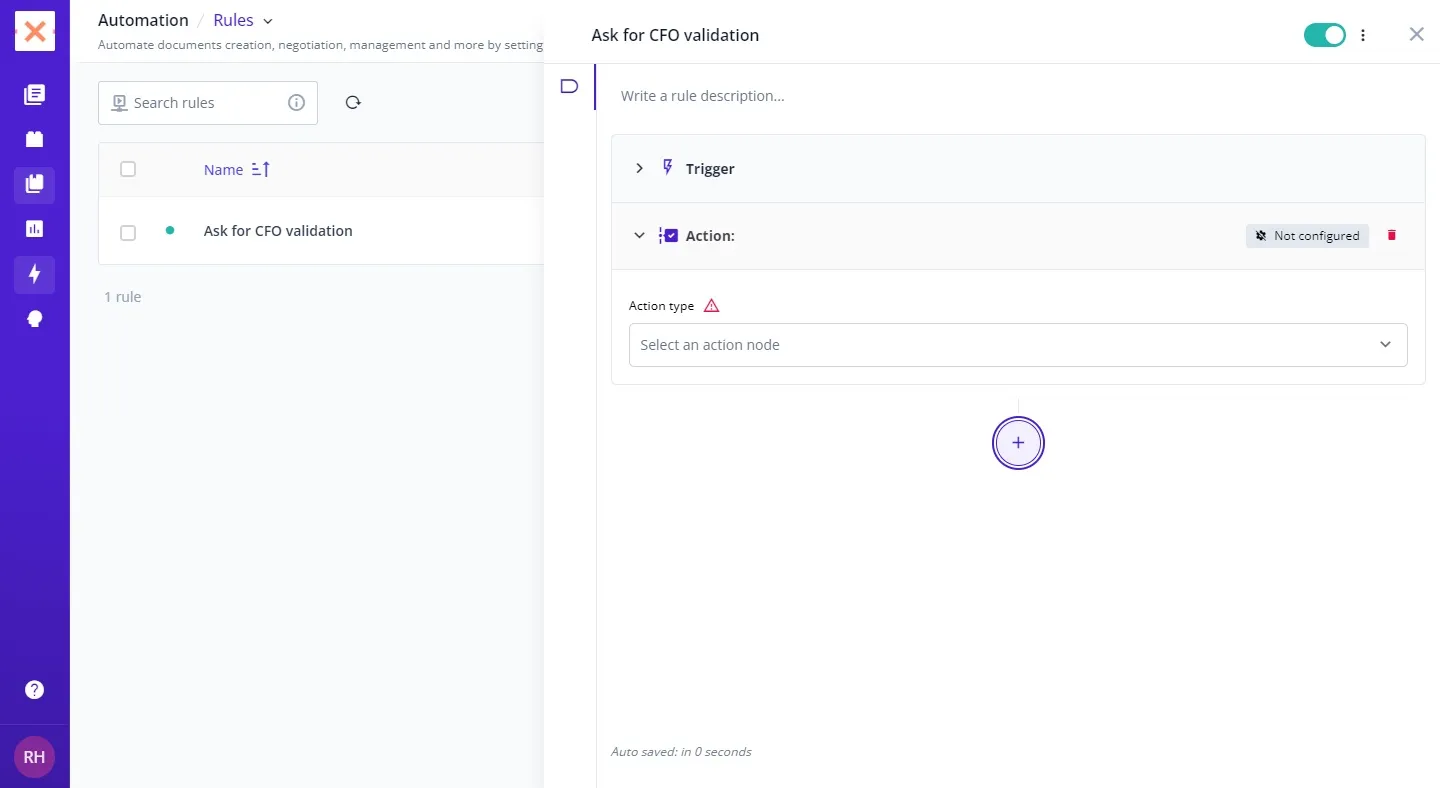
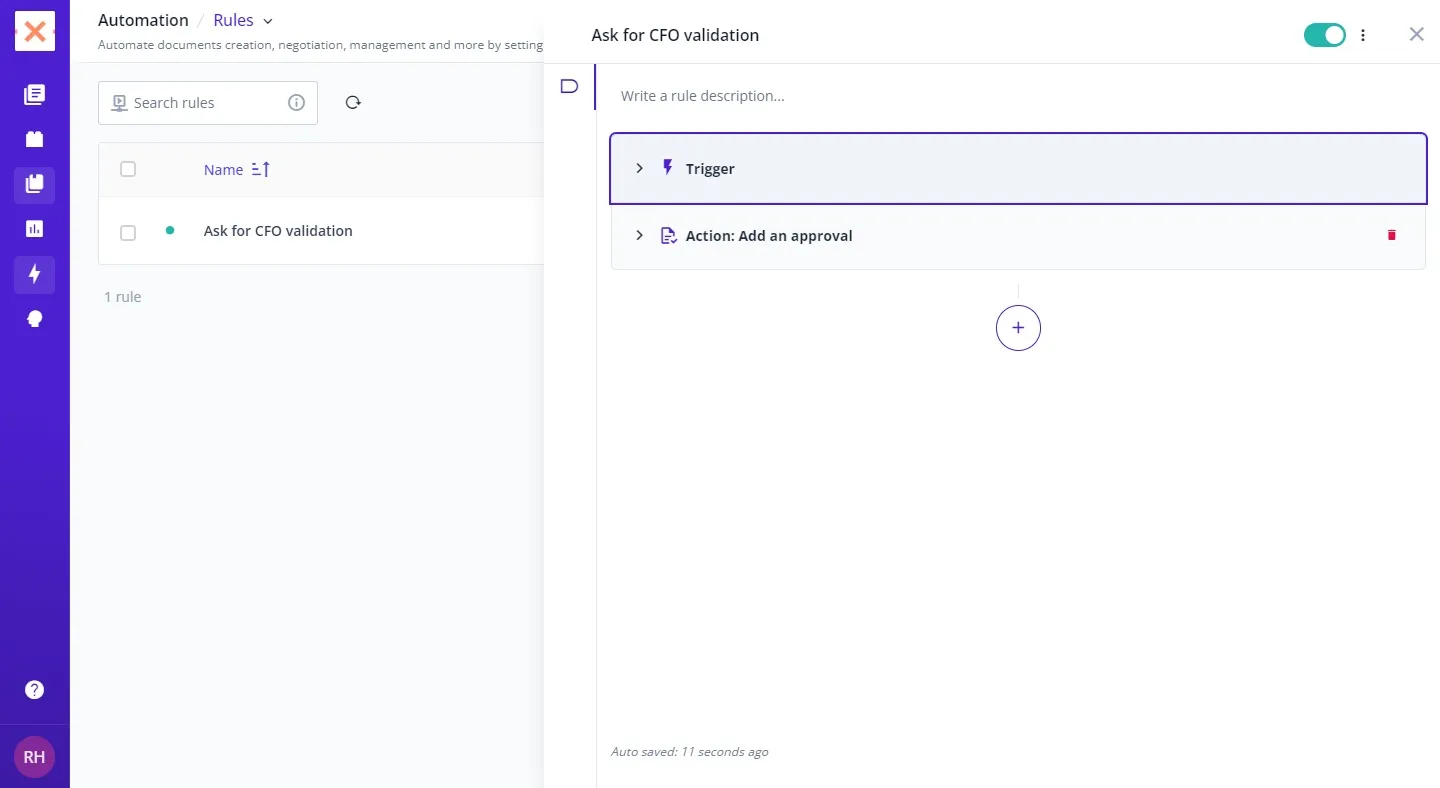
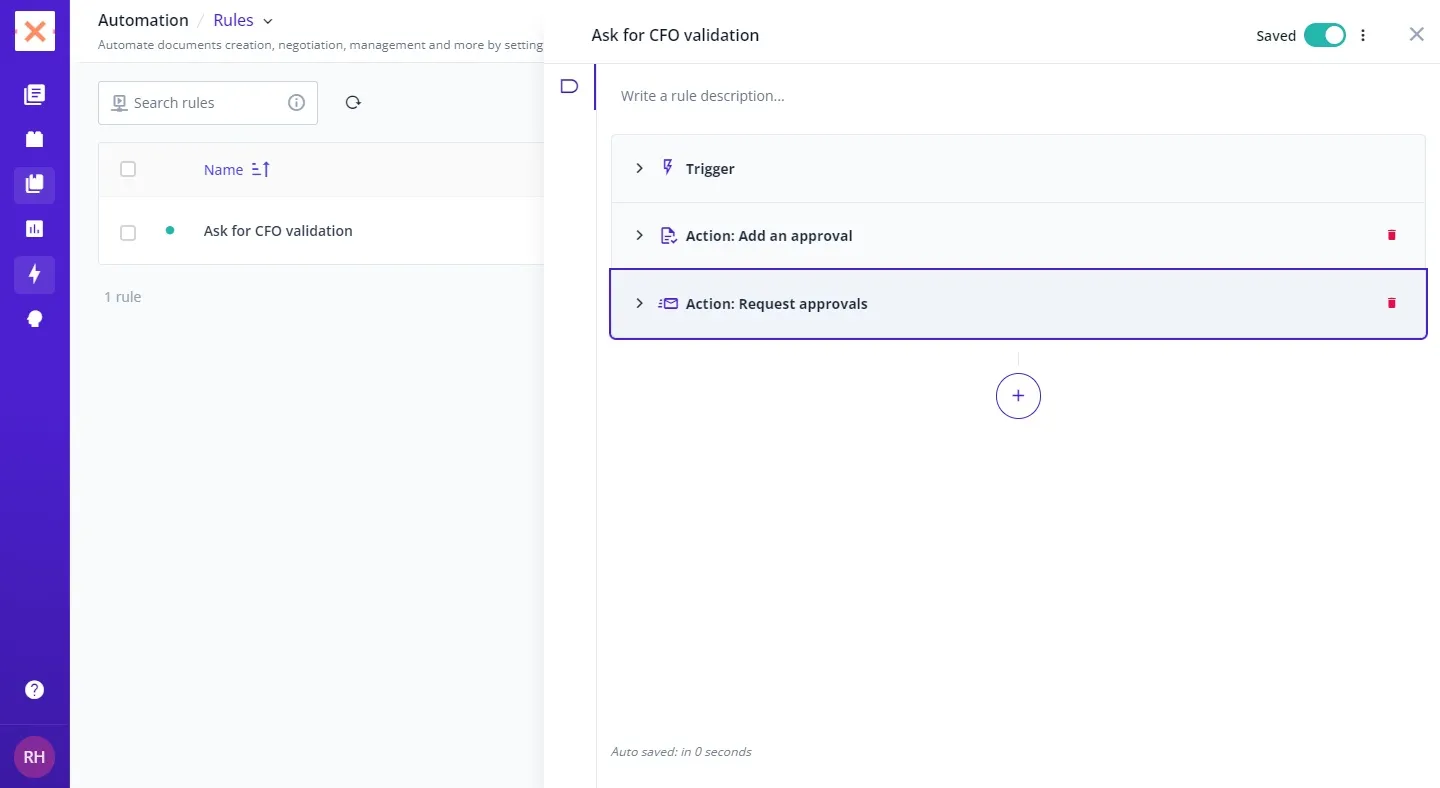
With these steps, you’ve unlocked the power of automation in Bounsel. You’re now ready to enjoy a more productive and efficient document management experience. Dive in and explore the possibilities! 🚀