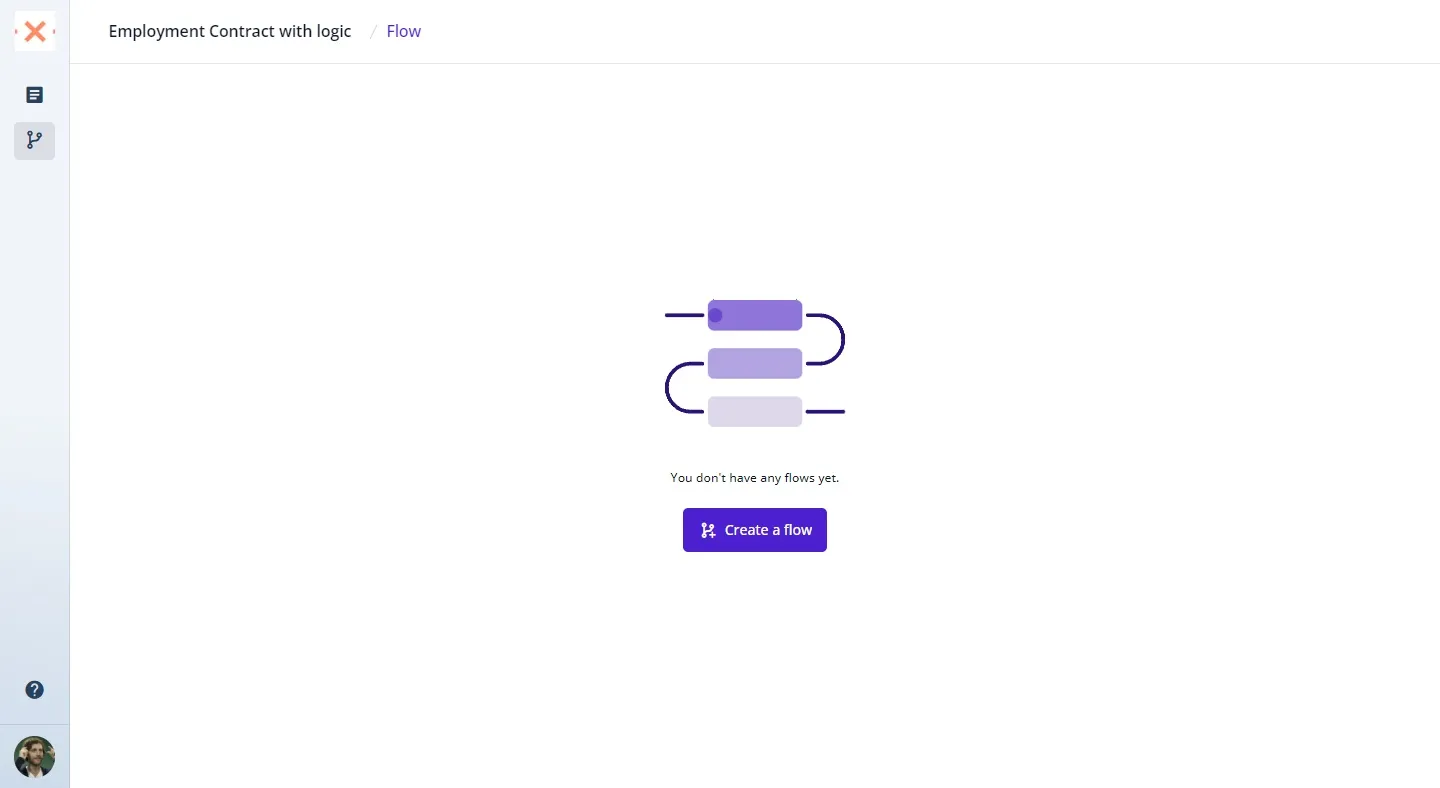
Creating a flow in your document can greatly enhance its structure and clarity, guiding the reader through a series of steps or processes in a visual and organized manner. Whether you’re aiming to outline a workflow, depict a process, or simply organize content in a sequential order, setting up a flow can make your document more engaging and easier to understand. Here’s a step-by-step guide on how to create a flow, complete with screenshots to ensure you can follow along easily. 🌟
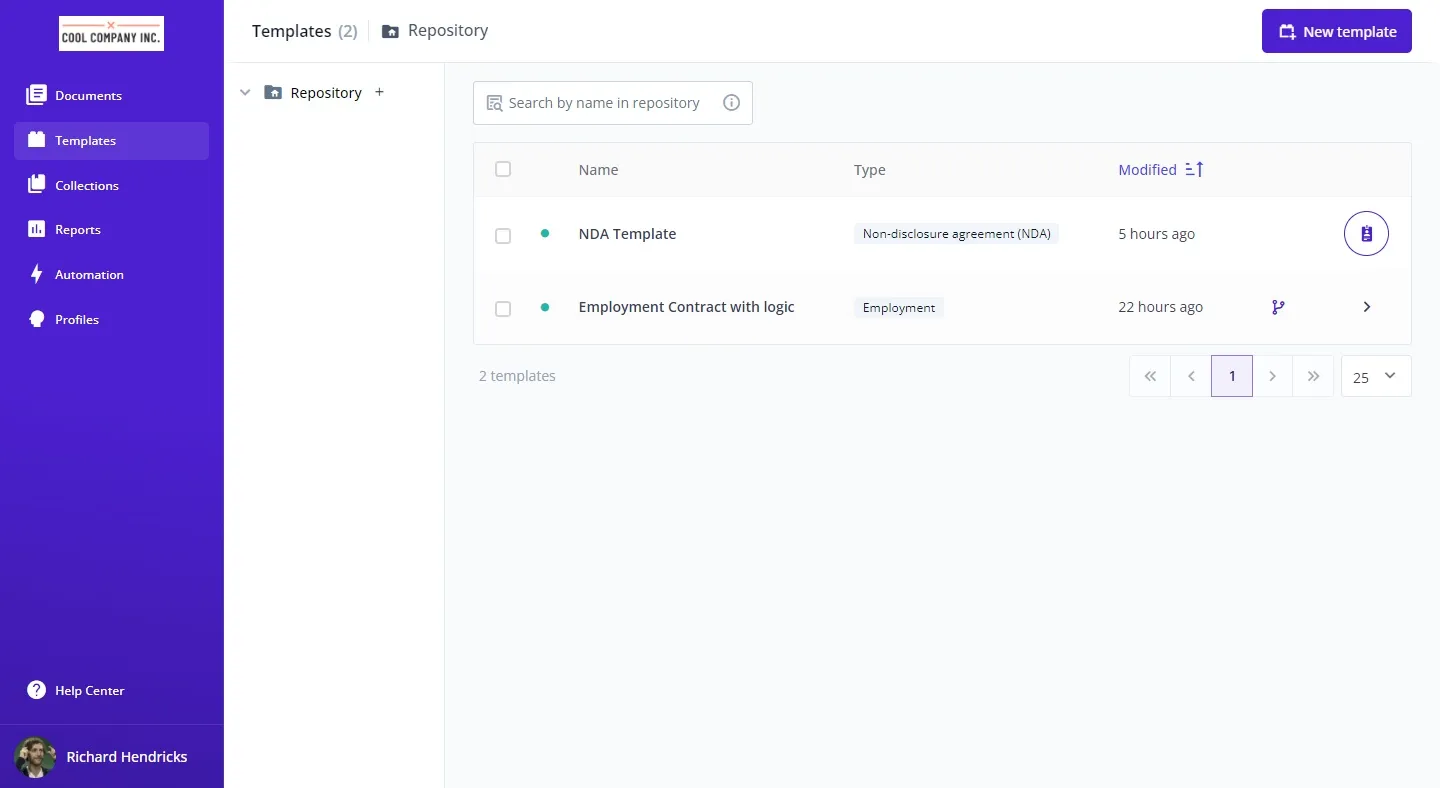
First, head over to the Bounsel template library by visiting https://bounsel.app/templates. This is your starting point for finding a wide range of pre-designed document formats that can serve as the foundation for your project.
PRO TIP
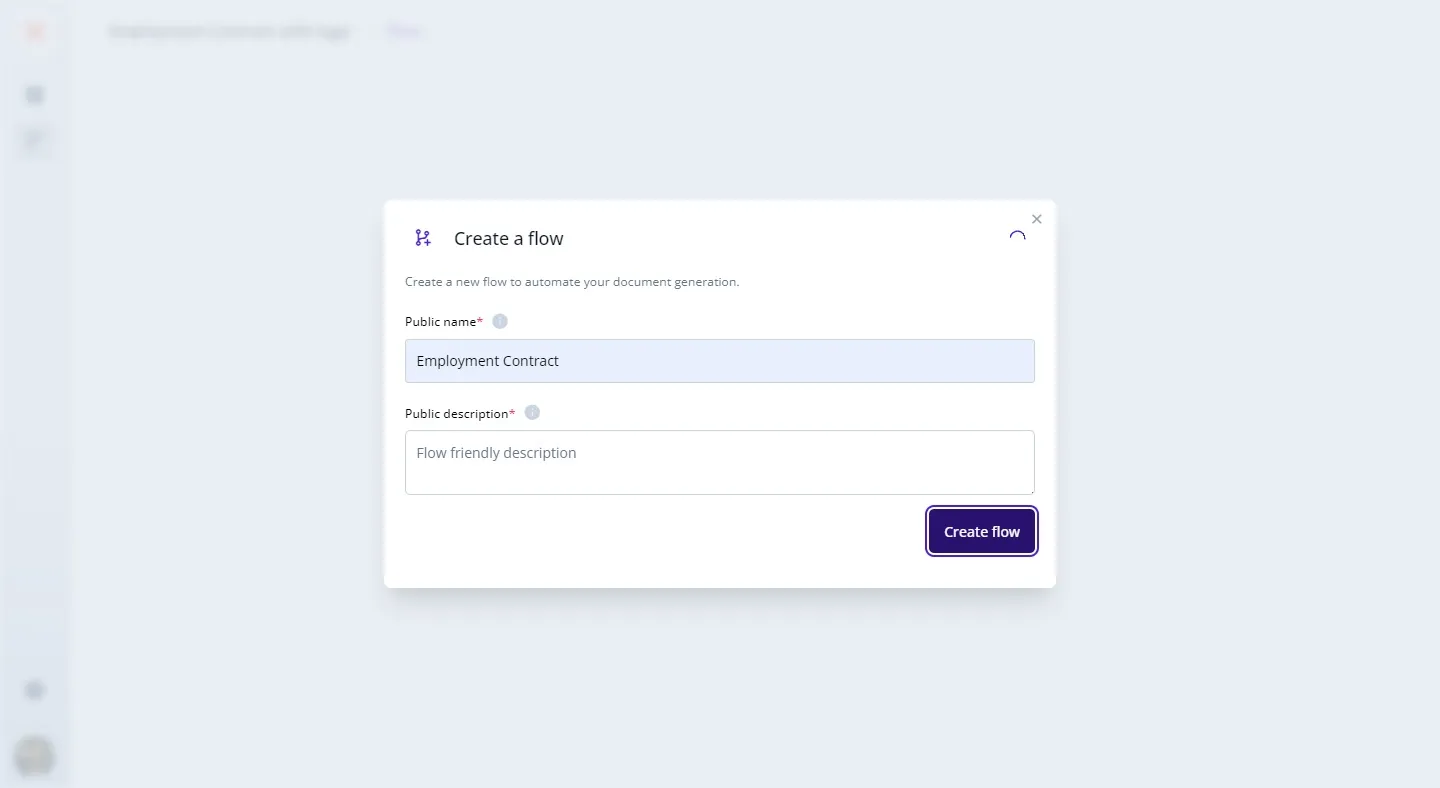
As you design your flow, think about the reader's journey through your document. Use clear labels, consistent symbols, and directional cues to make the flow as intuitive as possible. Remember, the goal is to enhance understanding and engagement, so keep your audience in mind at every step.