How to add a signatory

⌘K

How to add a signatory

Incorporating a signatory into your documents within Bounsel is a simple and intuitive process. Whether you’re finalizing a contract or approving an agreement, here’s how to ensure your documents are signed by the right people.

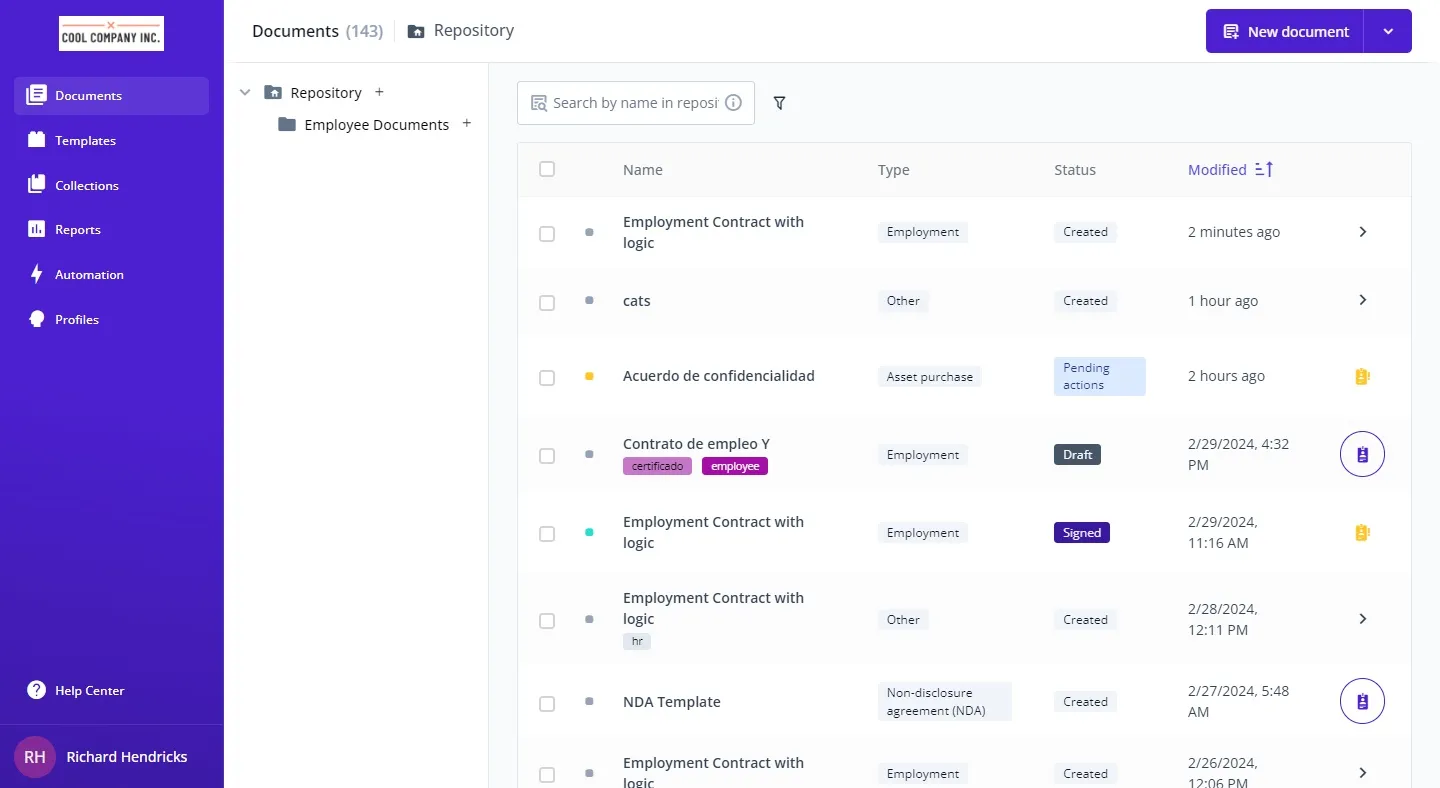
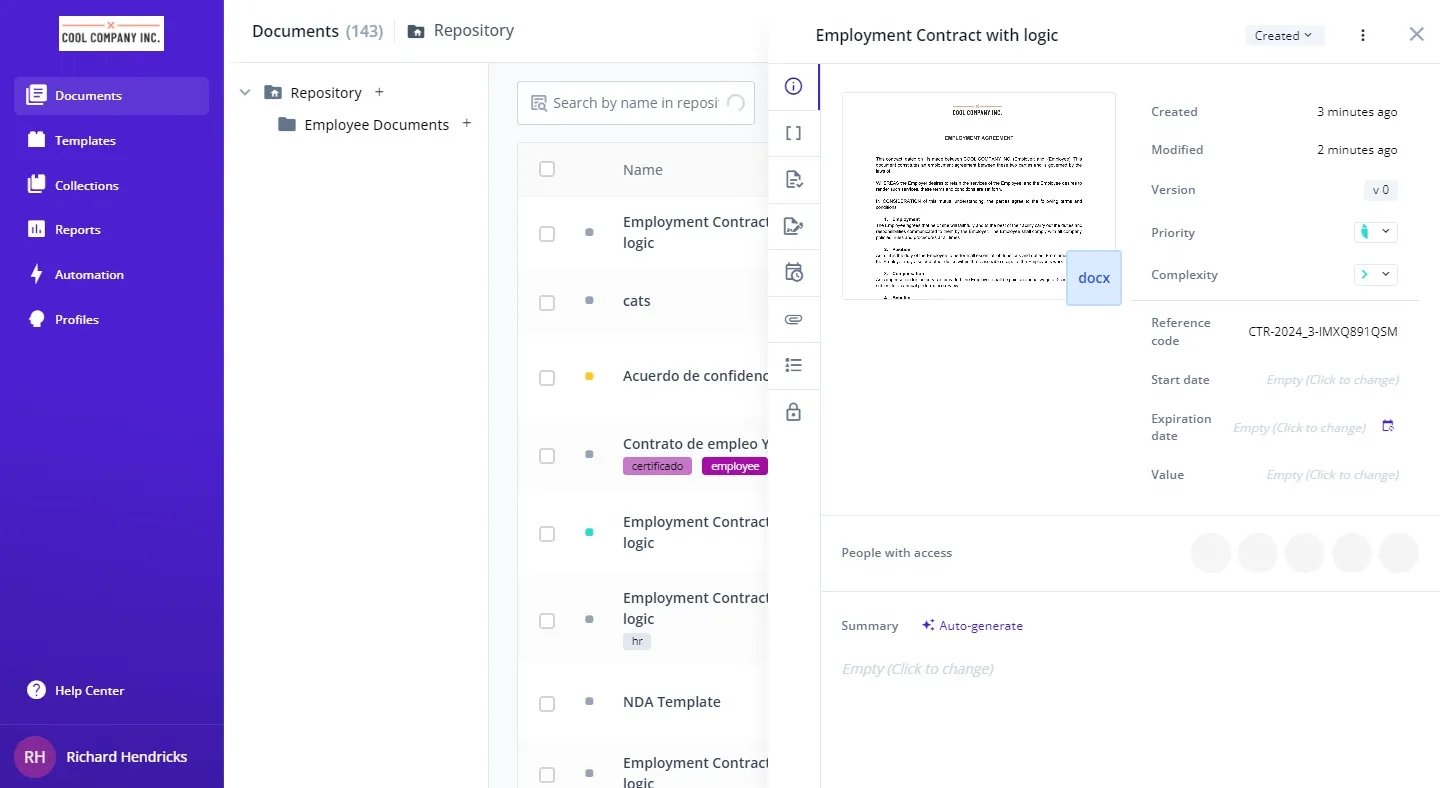
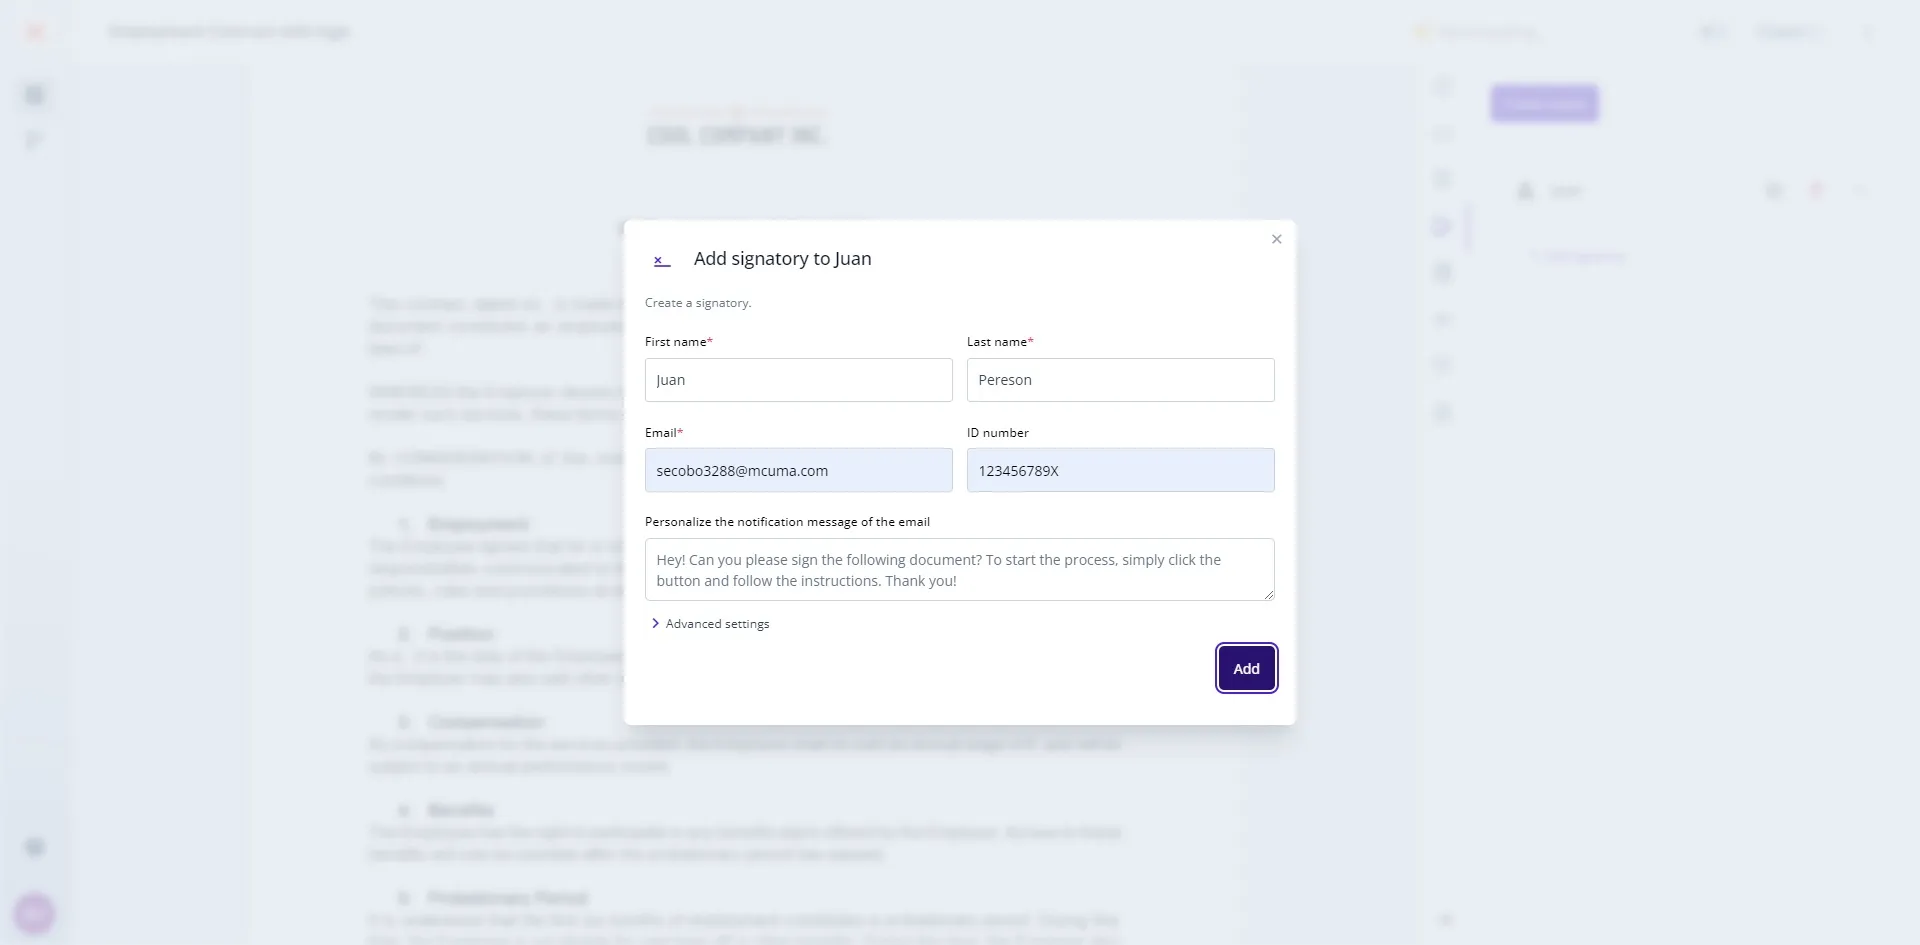
Navigate to the document section of Bounsel and select the document to which you wish to add a signature. This action opens a realm of possibilities for your document.

Upon selecting your document, a popup will appear. Here, click on the signature icon to access the signature section, your gateway to adding signatories.

The first step in the signature process is to create a party. This is done in our doc viewer, which opens upon clicking the signature button.

Once in the doc viewer, you’ll find the option to add a signature part in the document. Click again on the signature icon in the toolbar to proceed.

Click on “Create party” to specify the person or company the signature is intended for. This step ensures that the signature placement is correctly attributed.

Determine whether the signatory is a person or a company, input the name, and then click on “New party.” This action adds a new entity to your document, making it ready for a signature.

With the new party added, you can now invite the individual who will provide the signature.

Fill in the details for the person, add a personal message if desired, and click “Add.”

A signature placement will now appear on your document. Drag it to the desired location, and your task is complete.

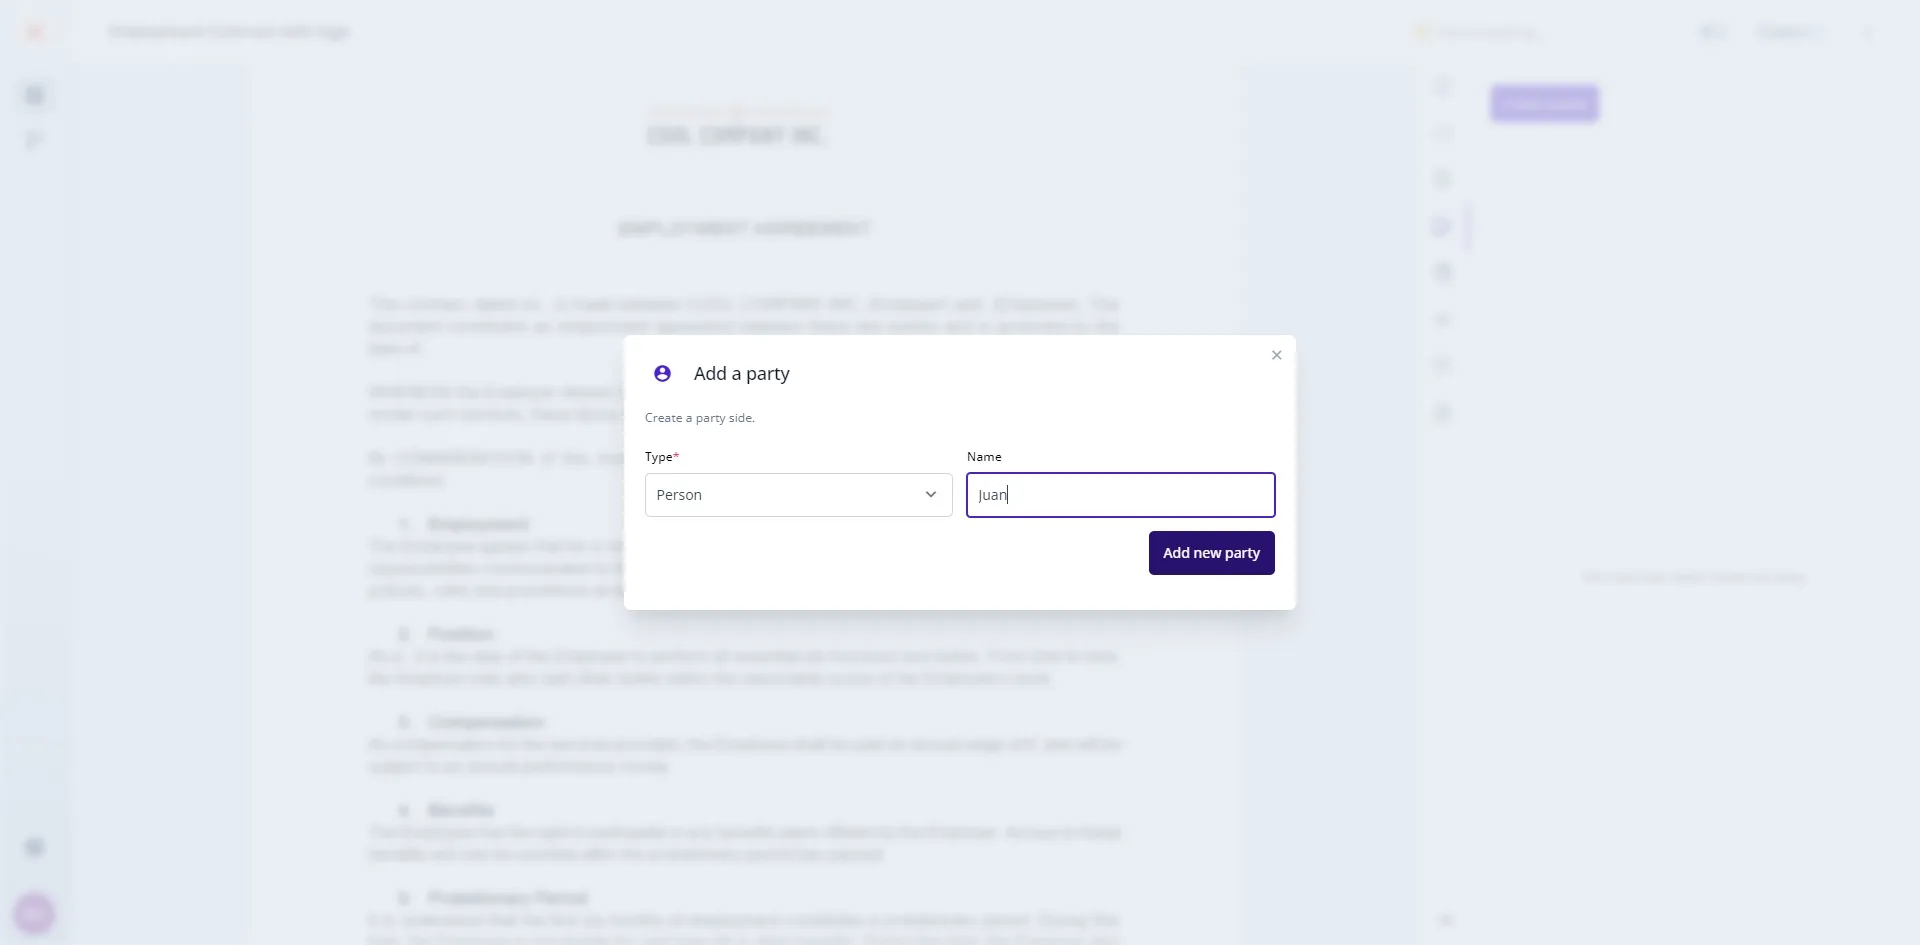
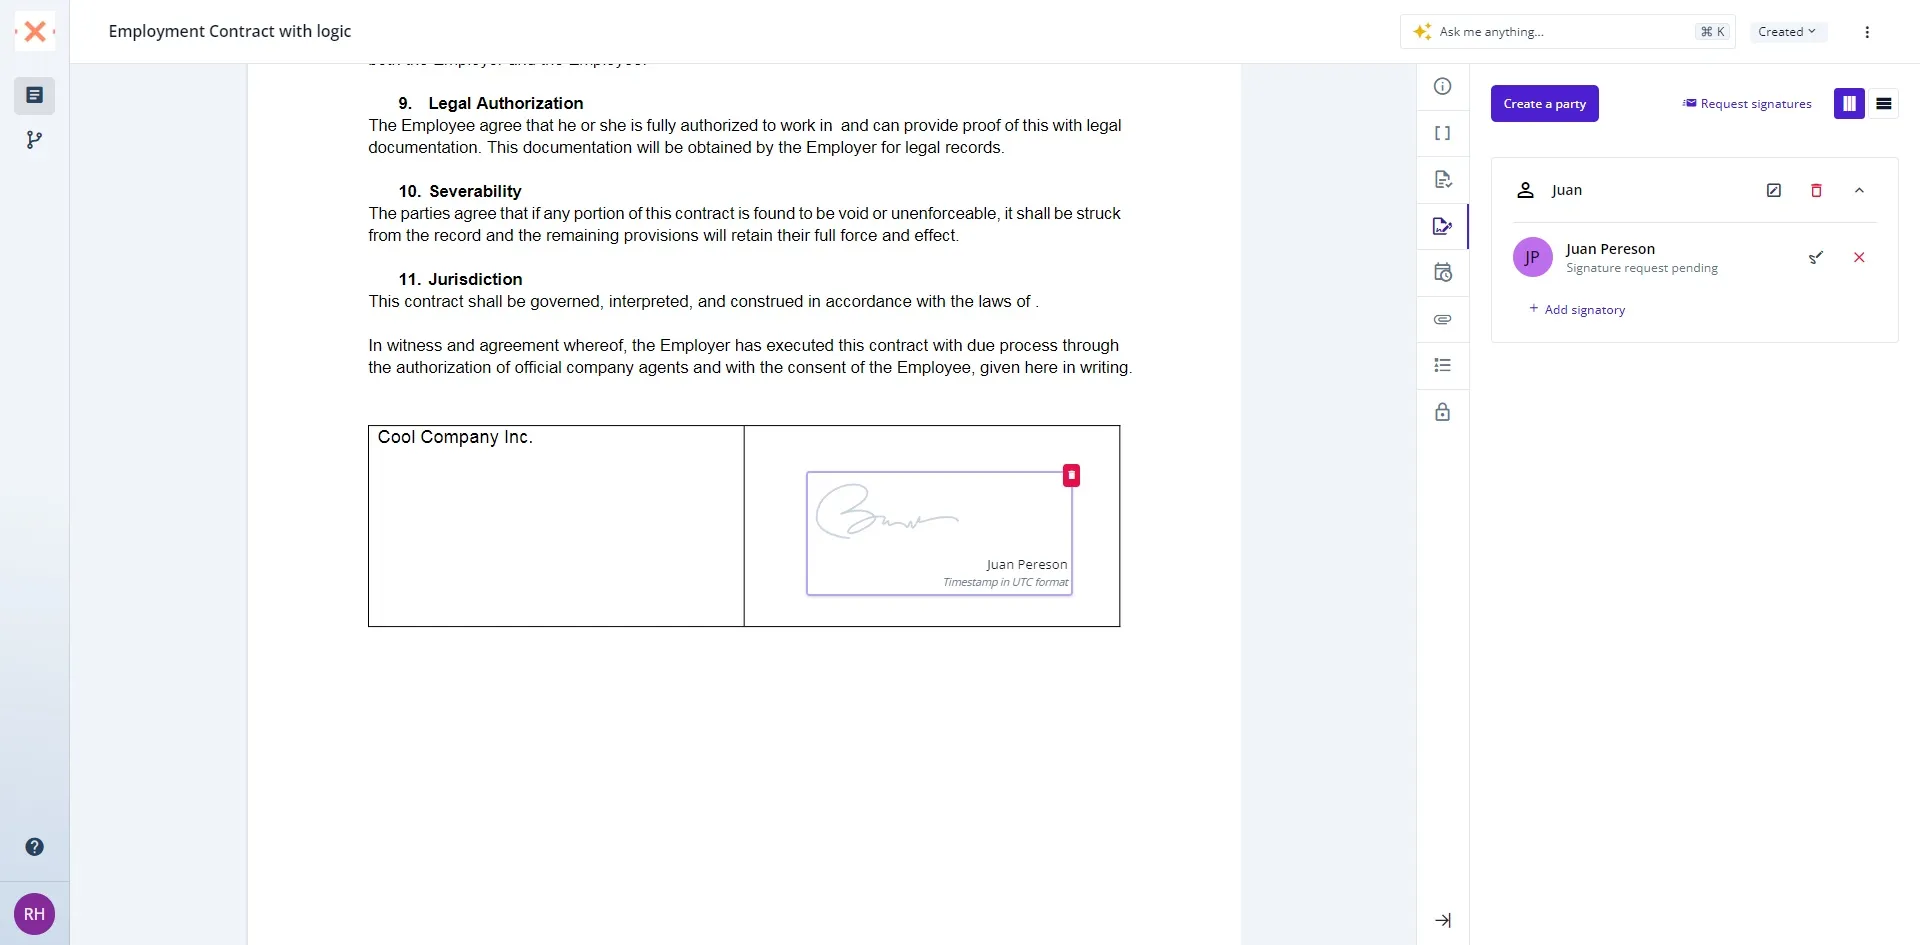
By following these steps, you’ve effectively added a signatory to your document in Bounsel, ensuring your agreements are fully executed. Bounsel streamlines the signature process, enhancing your document management efforts. 🌟