If you’re navigating through Bounsel and looking to declutter your workspace by hiding default categories, you’ve come to the right place! This guide will walk you through the process of hiding these categories, ensuring a more streamlined and personalized experience. Let’s dive in! 🚀
First off, head over to your categories settings page by visiting https://bounsel.app/settings/ws/categories. This is where all the magic happens!
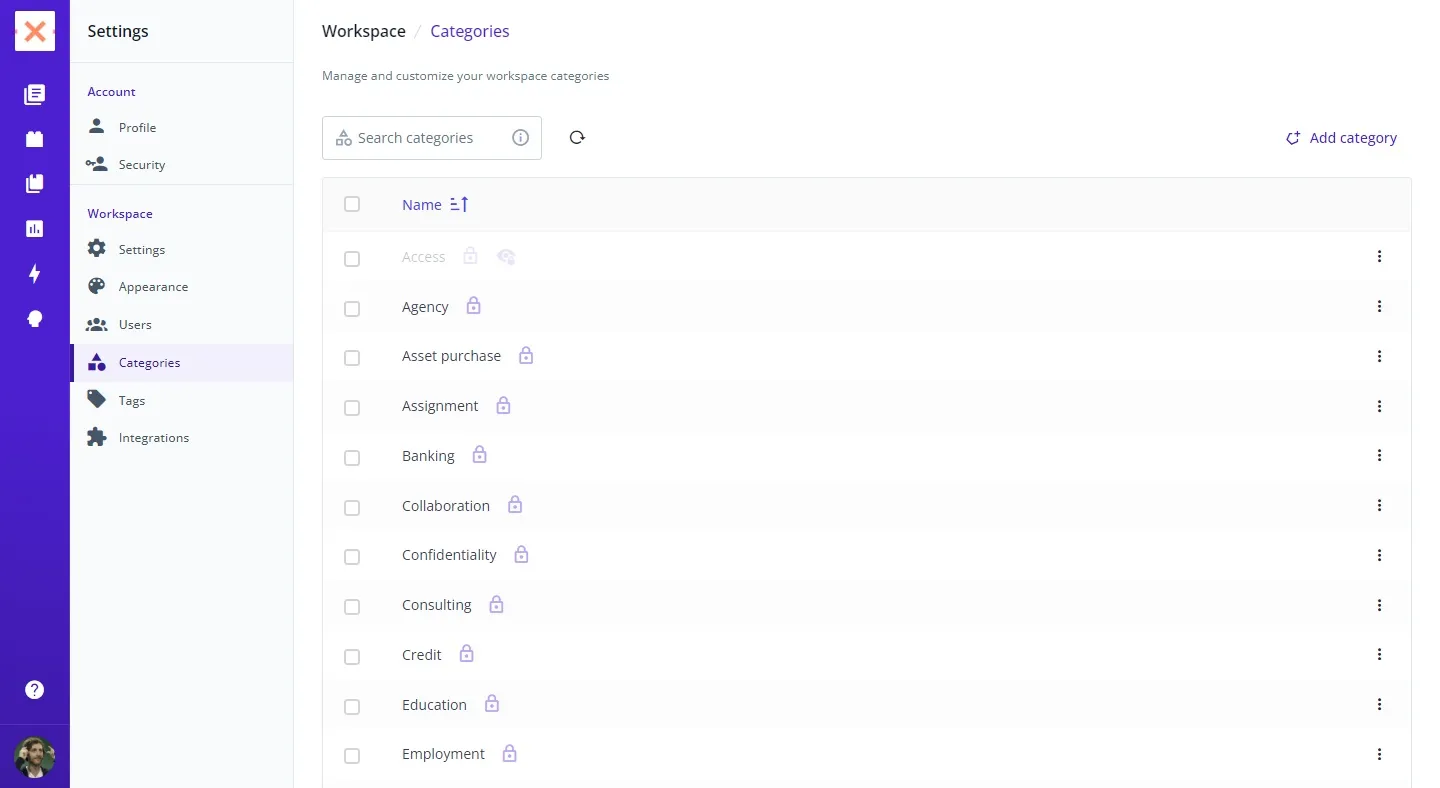

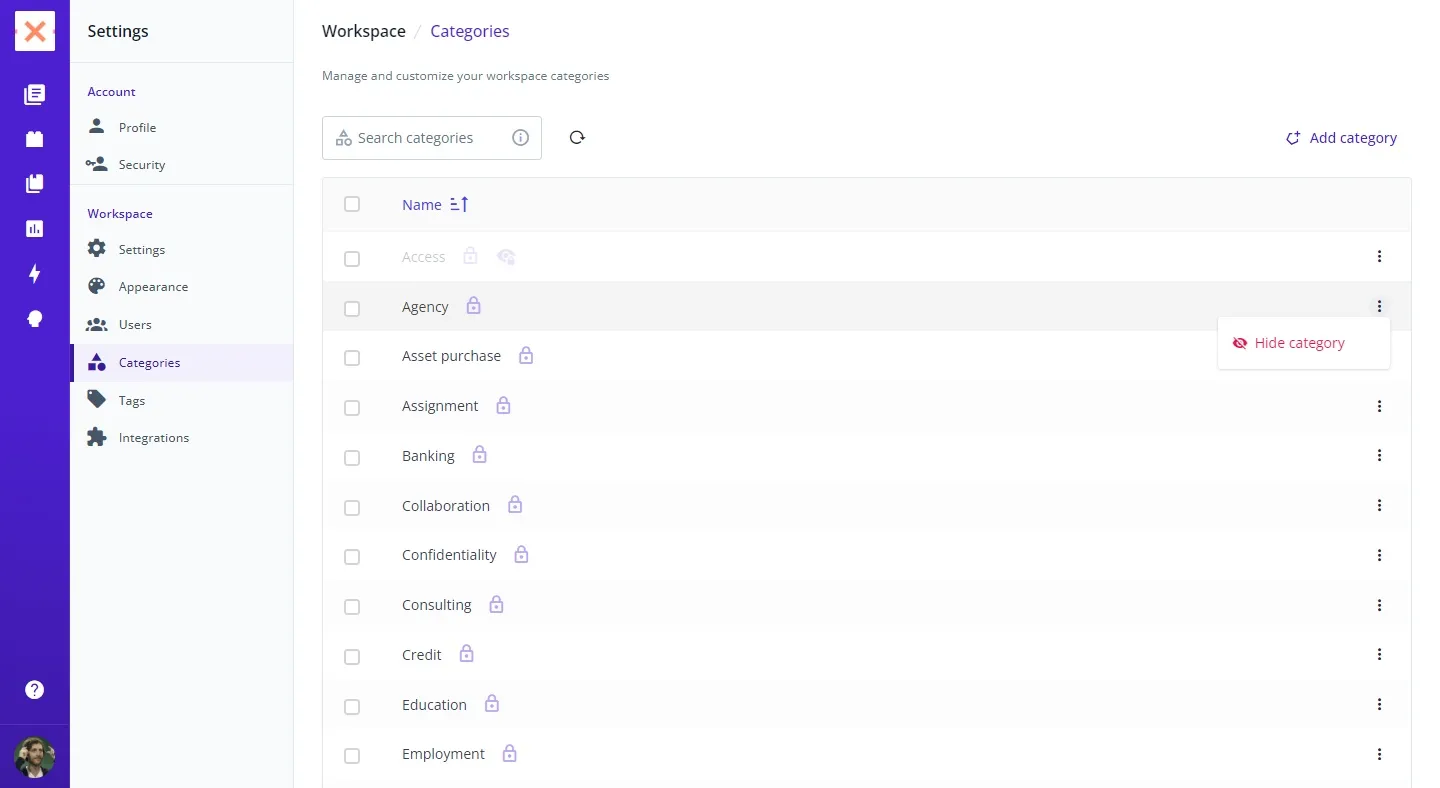
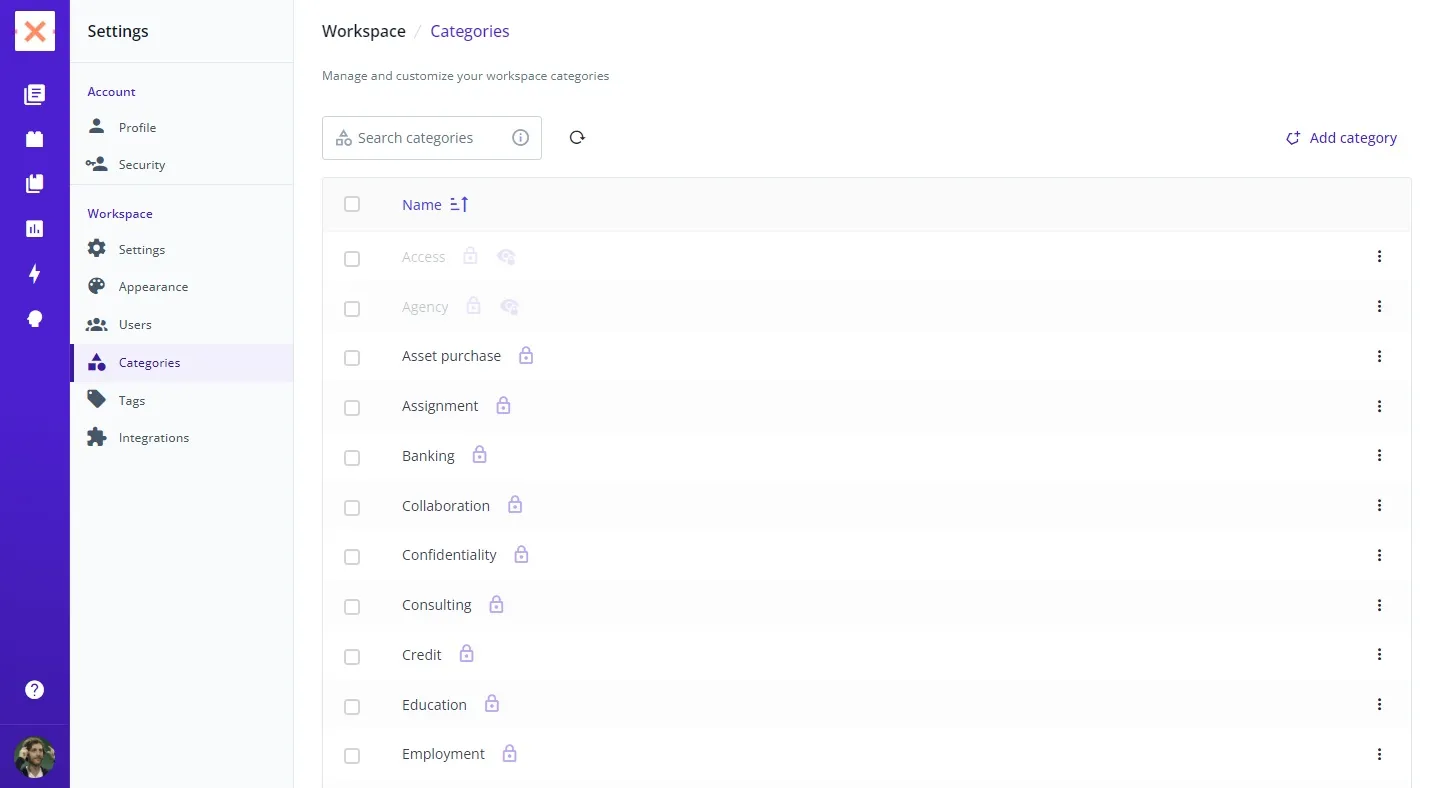
All categories marked with a lock are default and cannot be deleted. This visual cue helps you differentiate between customizable and non-customizable categories.
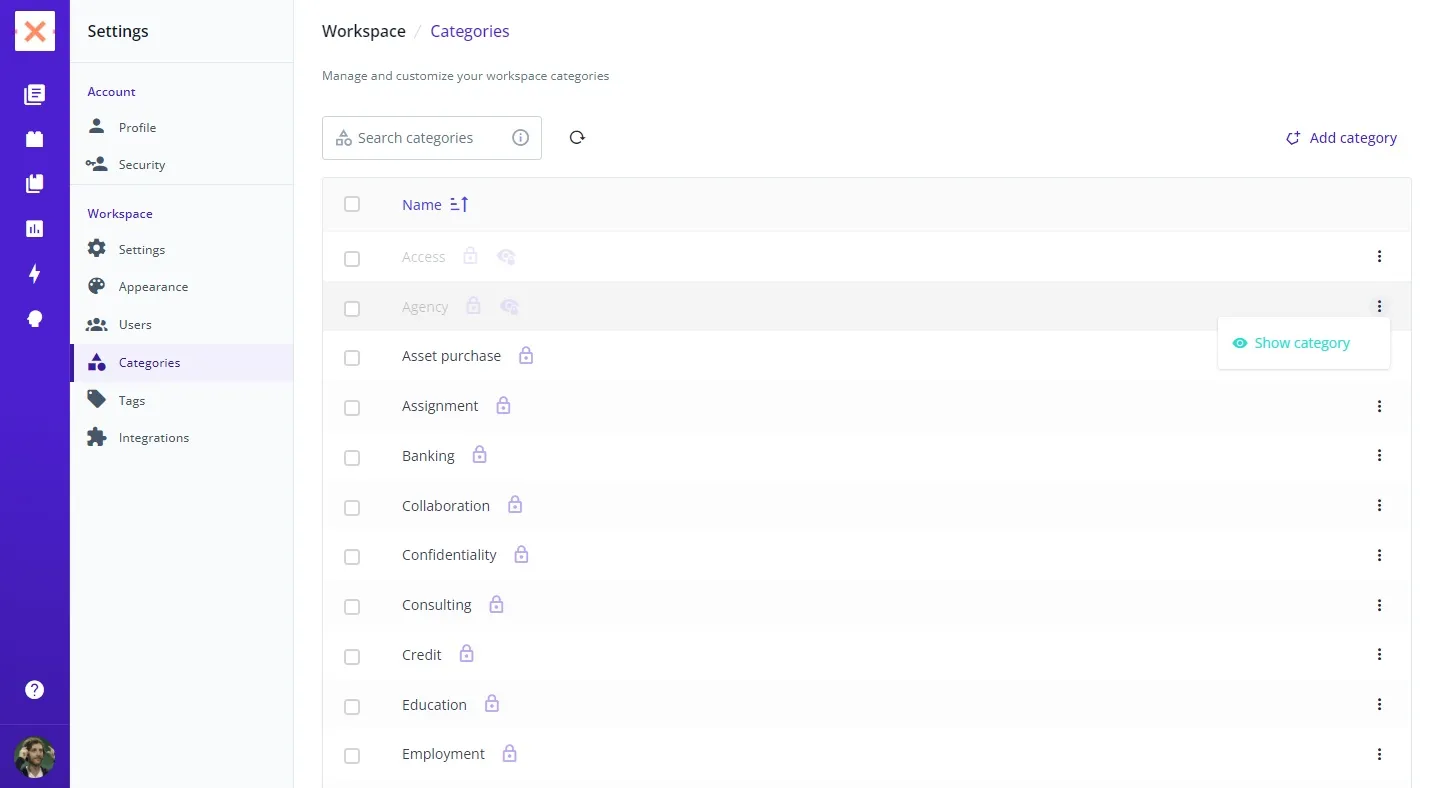
And that’s it! With these simple steps, you can easily manage the visibility of default categories in Bounsel, helping you maintain a cleaner and more efficient workspace. If you have any further questions or need more assistance, don’t hesitate to reach out for help. Happy organizing! 🌈