Welcome to Bounsel! 🎉 If you’re on the journey to streamline your document management and enhance your team’s collaboration, creating a workspace on Bounsel is your first step. Let’s dive into how you can set up your workspace in a few simple steps. Don’t worry; it’s easier than you think, and we’re here to guide you through each step. 🚀
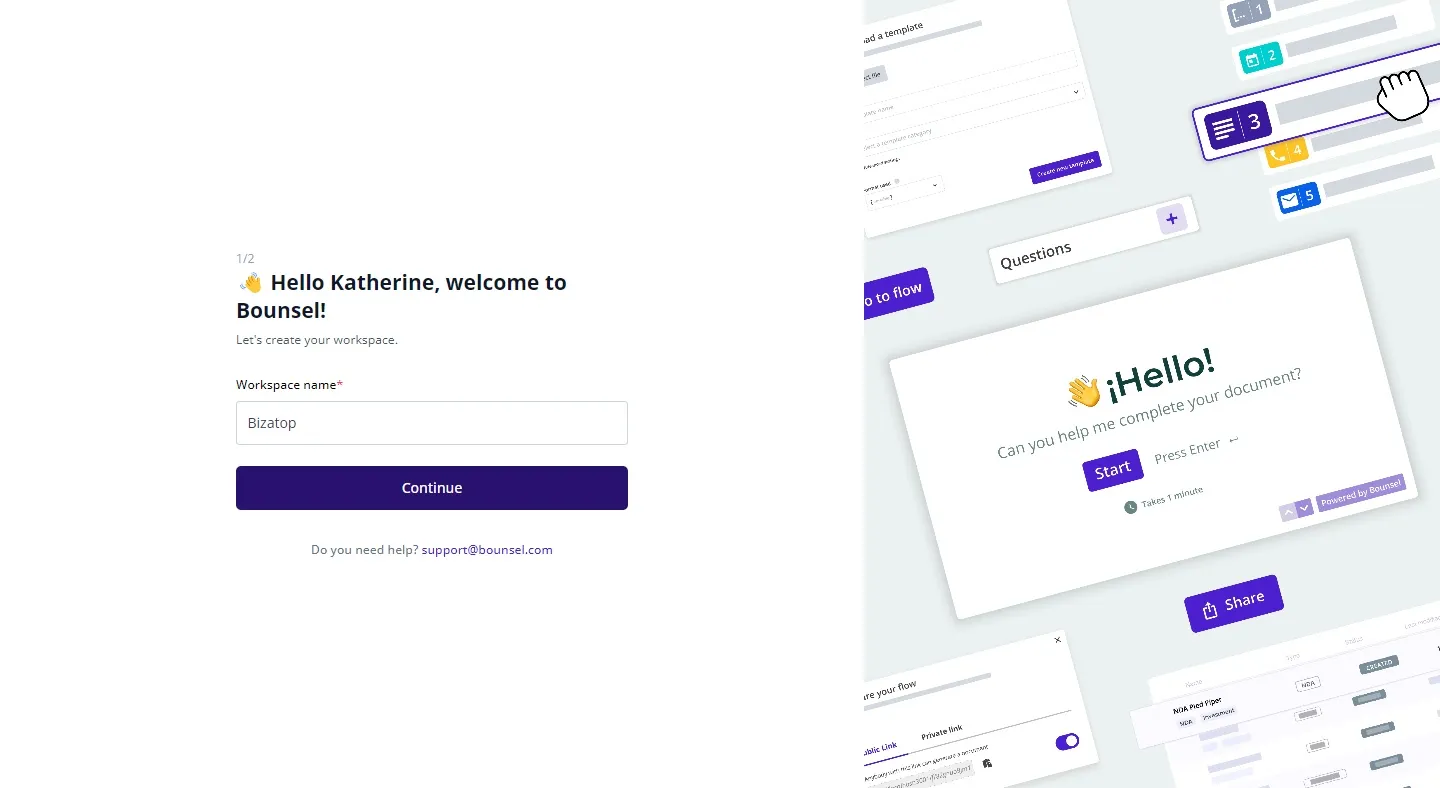
Visit Bounsel’s sign-up page to kickstart your adventure. This is where you’ll create your account, which is your first step towards unlocking all of Bounsel’s innovative features.

PRO TIP
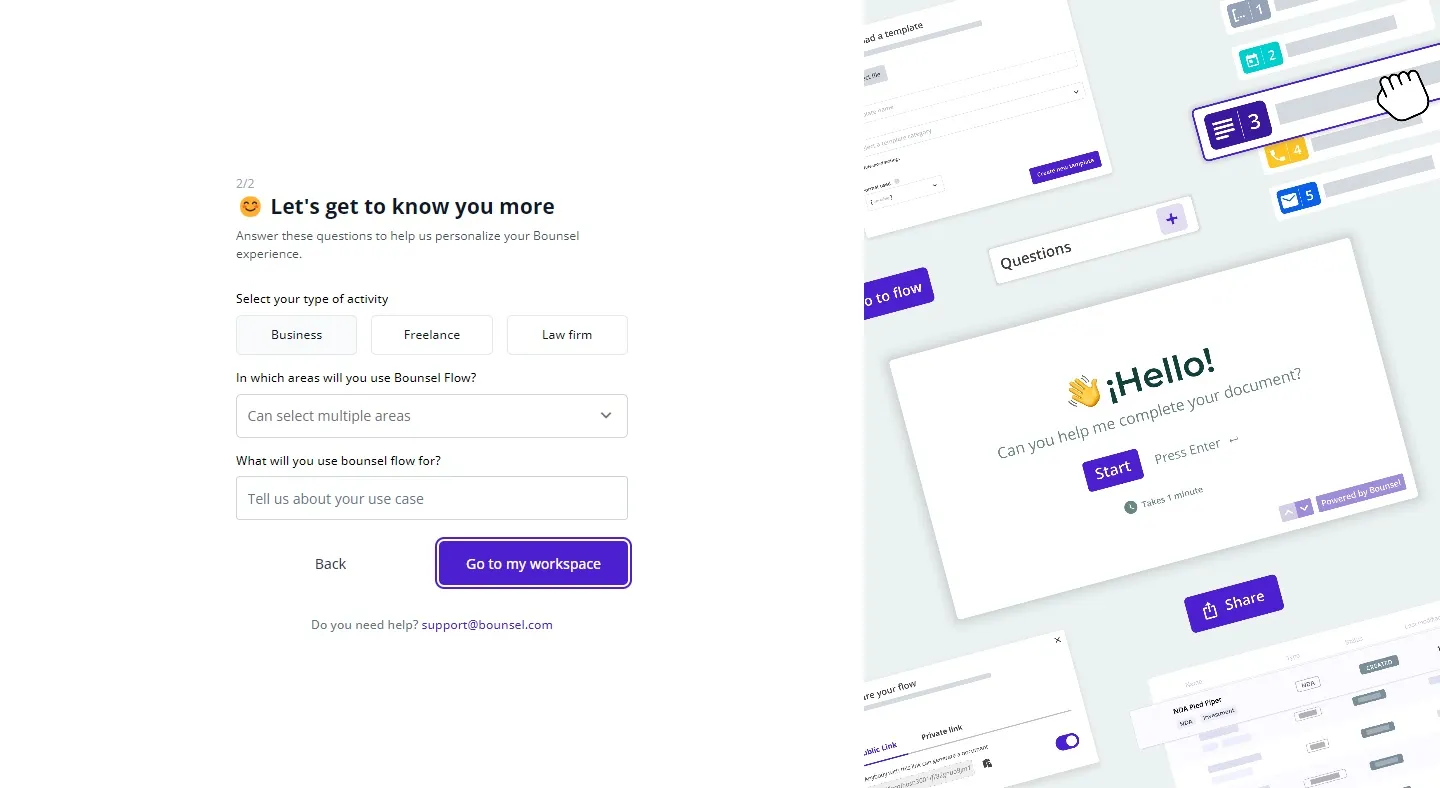
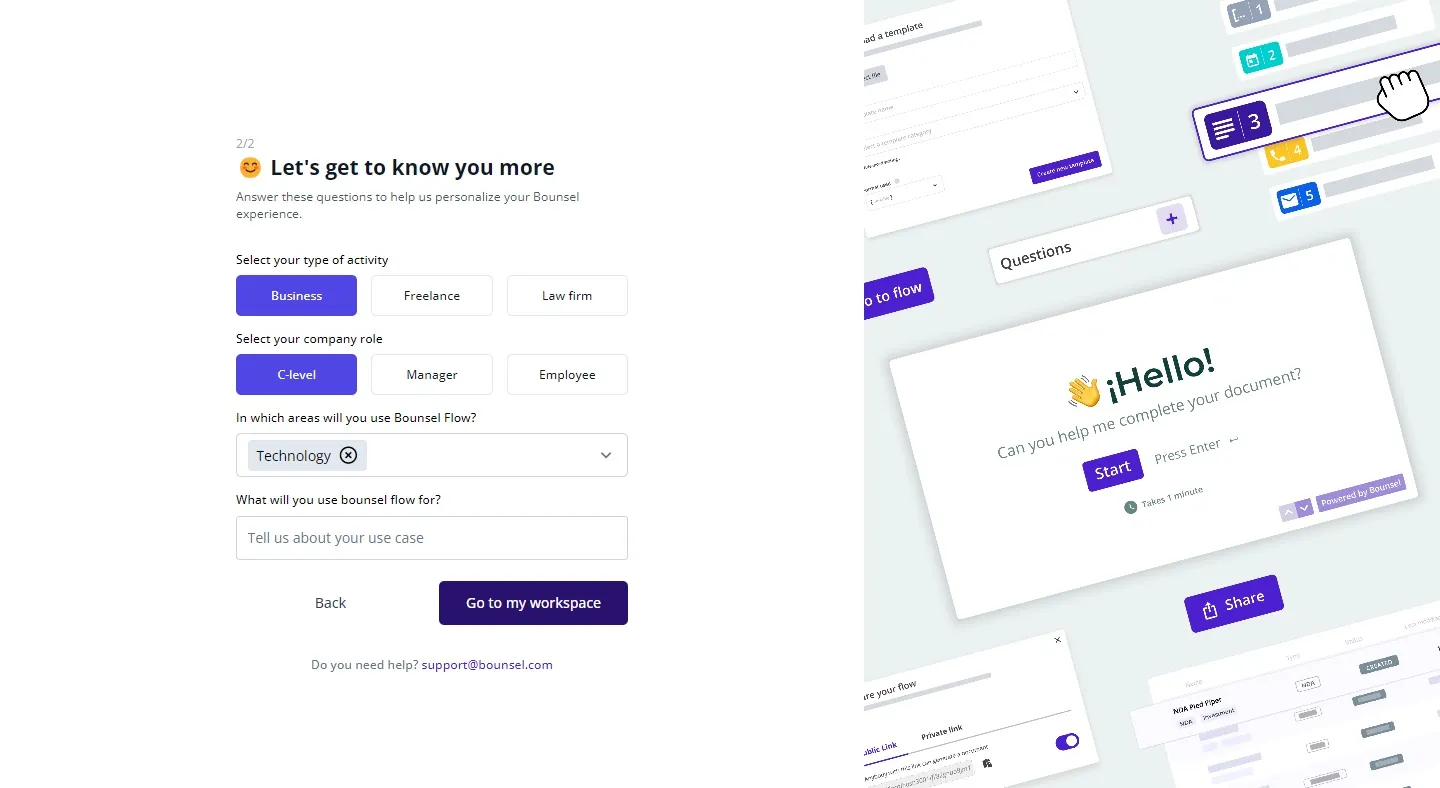
As you set up your new workspace, take a moment to dive into Bounsel's
customization options. Tailoring your workspace settings to align with
your team's workflow and preferences can significantly enhance
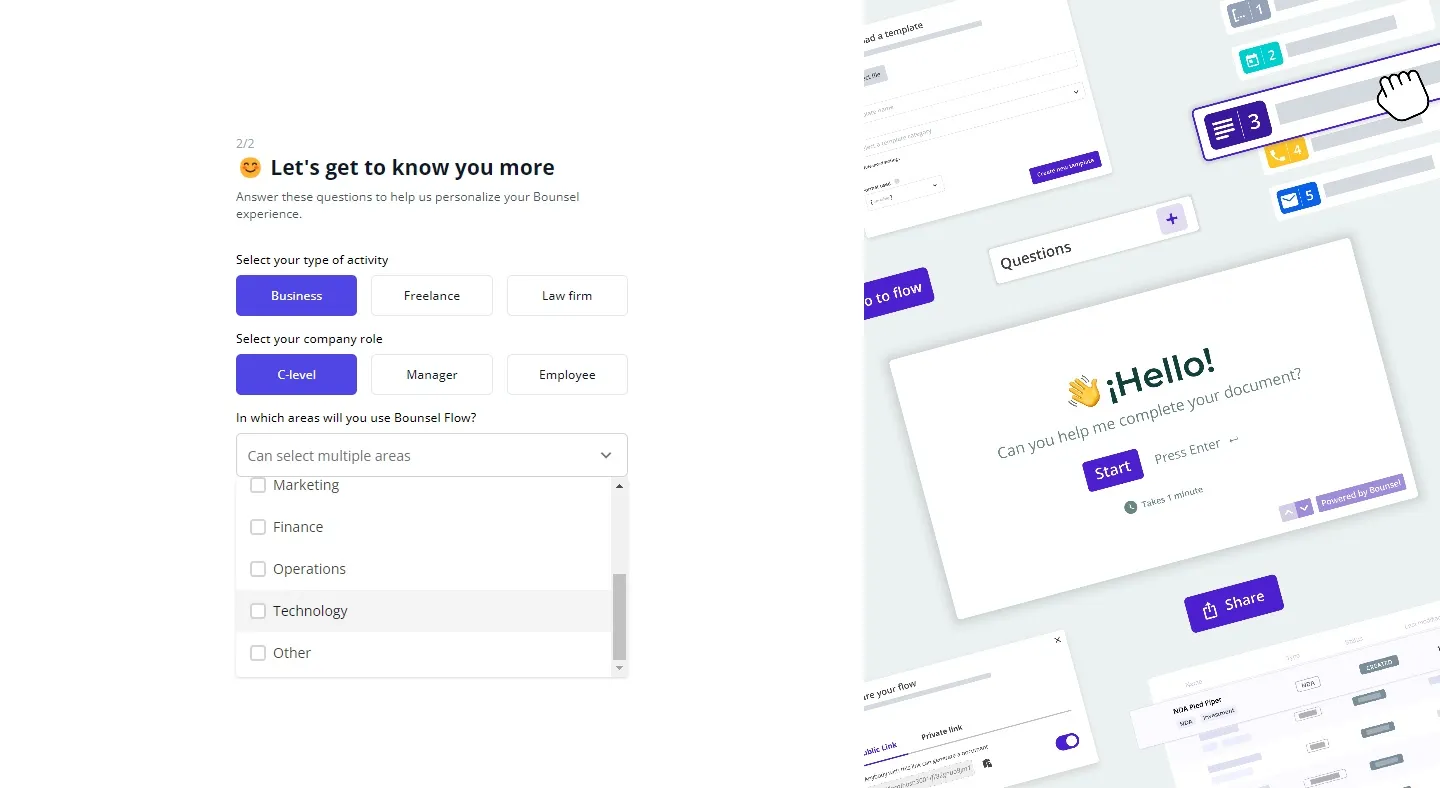
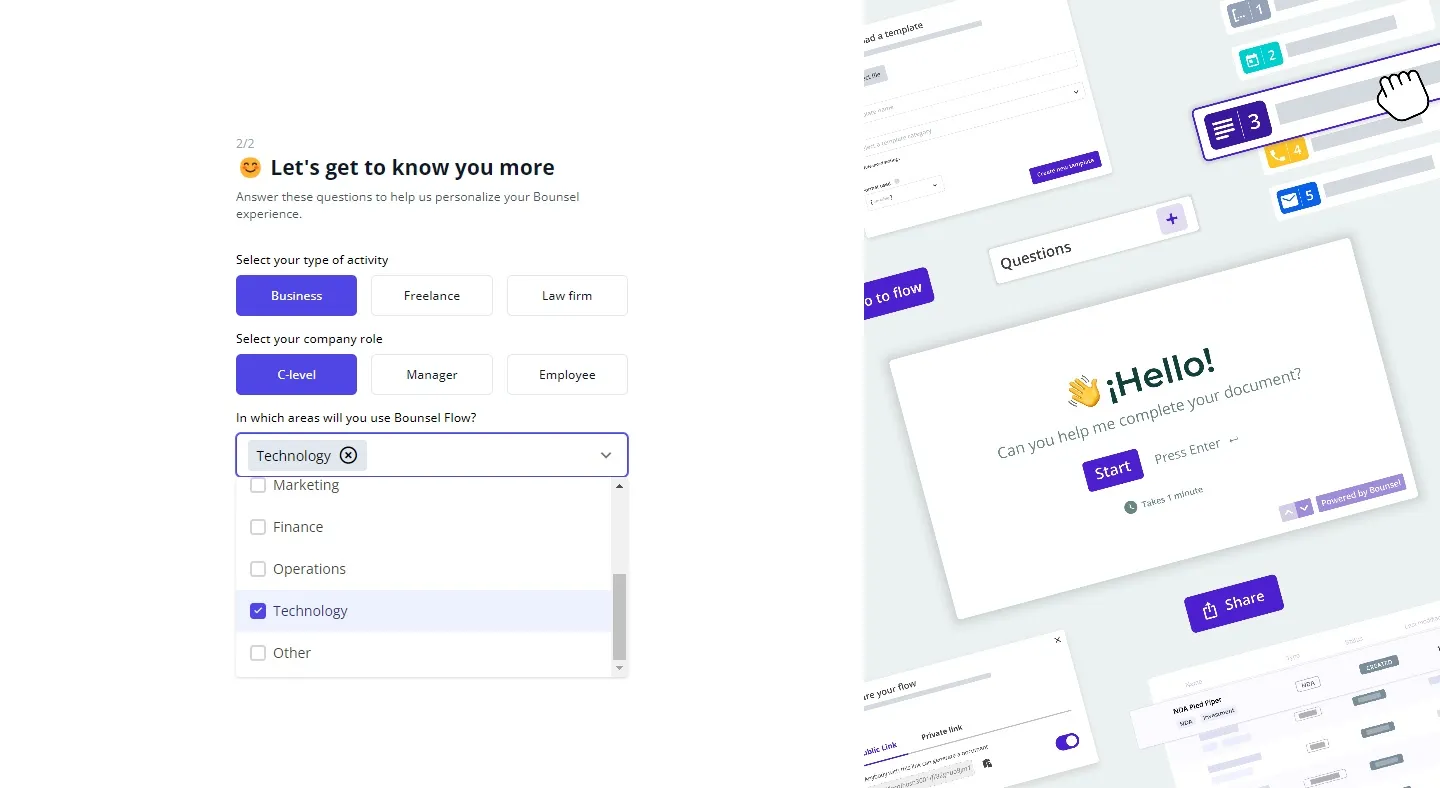
productivity and efficiency. From setting up custom roles and
permissions to integrating your favorite tools, personalizing your
workspace can transform your document management experience. This
initial investment in customization pays off by making your workspace
truly yours, ensuring it works for you and not the other way around.
Happy customizing!